Windsurf supports using git worktrees to run Cascade tasks in parallel without interfering with your main workspace. When using worktrees, each Cascade conversation gets its own session, allowing Cascade to make edits, or build and test code without interfering with your main workspace.Documentation Index
Fetch the complete documentation index at: https://docs.windsurf.com/llms.txt
Use this file to discover all available pages before exploring further.
Basic worktree usage
The simplest way to get started with using worktrees is switch to the “Worktree” mode in the bottom right corner of the Cascade input.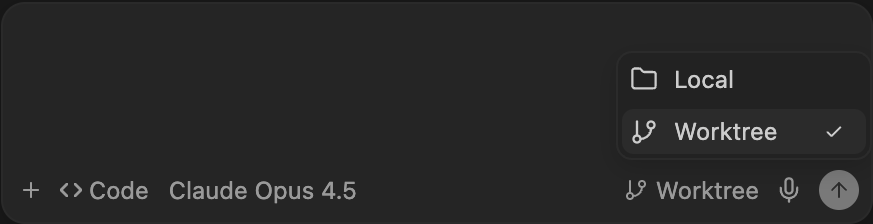
Currently, you can only switch to a worktree at the beginning of a Cascade session. Conversations cannot be moved to a different worktree once started.

Location
Worktrees are organized by repo name inside~/.windsurf/worktrees/<repo_name>.
Each worktree is given a unique random name.
To see a list of active worktrees, you can run git worktree list from within the repository directory.
Setup hook
Each worktree contains a copy of your repository files, but does not include.env files or other packages that aren’t version-controlled.
If you would like to include additional files or packages in each worktree, you can use the post_setup_worktree hook to copy them into the worktree directory.
The post_setup_worktree hook runs after each worktree is created and configured. It is executed inside the new worktree directory.
The $ROOT_WORKSPACE_PATH environment variable points to the original workspace path and can be used to access files or run commands relative to the original repository.
Example
Copy environment files and install dependencies when a new worktree is created. Config (in.windsurf/hooks.json):
hooks/setup_worktree.sh):
Cleanup
Windsurf automatically cleans up older worktrees when creating a new worktree to prevent excessive disk usage. Each workspace can have up to 20 worktrees. Worktrees are cleaned up based on when they were last accessed—the oldest ones are removed first. This cleanup happens on a per-workspace basis, ensuring that worktrees from different repositories remain independent of each other. Additionally, if you manually delete a Cascade conversation, Windsurf will automatically delete the associated worktree.Source Control Panel
By default, Windsurf does not show worktrees created by Cascade in the SCM Panel. You can setgit.showWindsurfWorktrees to true in your settings to override this and enable visualizing the worktrees in the SCM Panel.