> ## Documentation Index
> Fetch the complete documentation index at: https://docs.windsurf.com/llms.txt
> Use this file to discover all available pages before exploring further.
# 欢迎使用 Windsurf
> 在 Mac、Windows 或 Linux 上下载并安装 Windsurf IDE。导入 VS Code 或 Cursor 设置,配置主题,并开始在 AI 驱动的辅助下进行编码。
面向明日的编辑器,今日即享。
Windsurf 是新一代 AI IDE,旨在让你始终保持高效流畅。在本页,你将了解如何在电脑上安装 Windsurf、完成上手引导,并开启你的第一个 AI 驱动项目。
}
href="/zh/windsurf/cascade"
>
你的智能代理聊天助手,前所未有地与你协作。
用量与额度。
全新升级的终端体验。
MCP (模型上下文协议,Model Context Protocol) 服务器可扩展代理的功能。
Memories 与规则有助于定制行为。
即刻理解你的代码库。
高级配置选项。
自动化重复性的工作流程。
一键部署应用。
查看 Windsurf 的最新动态,请参阅我们的 [changelog](https://windsurf.com/changelog)!
## 设置
开始之前,请确保你的设备符合要求,点击下载链接,并按照说明安装并运行 Windsurf。
如果你想了解如何更新 Windsurf,请[点击此处](#update-windsurf)。
最低系统版本:OS X Yosemite
最低系统版本:Windows 10
最低系统版本:>= 20.04 (或 glibc >= 2.31,glibcxx >= 3.4.26)
最低系统版本:glibc >= 2.28,glibcxx >= 3.4.25
## 入门
启动 Windsurf 后,你会看到下方的页面。让我们开始吧!请注意,你随时可以通过使用 “Reset Onboarding” Command 重新开始此入门流程。
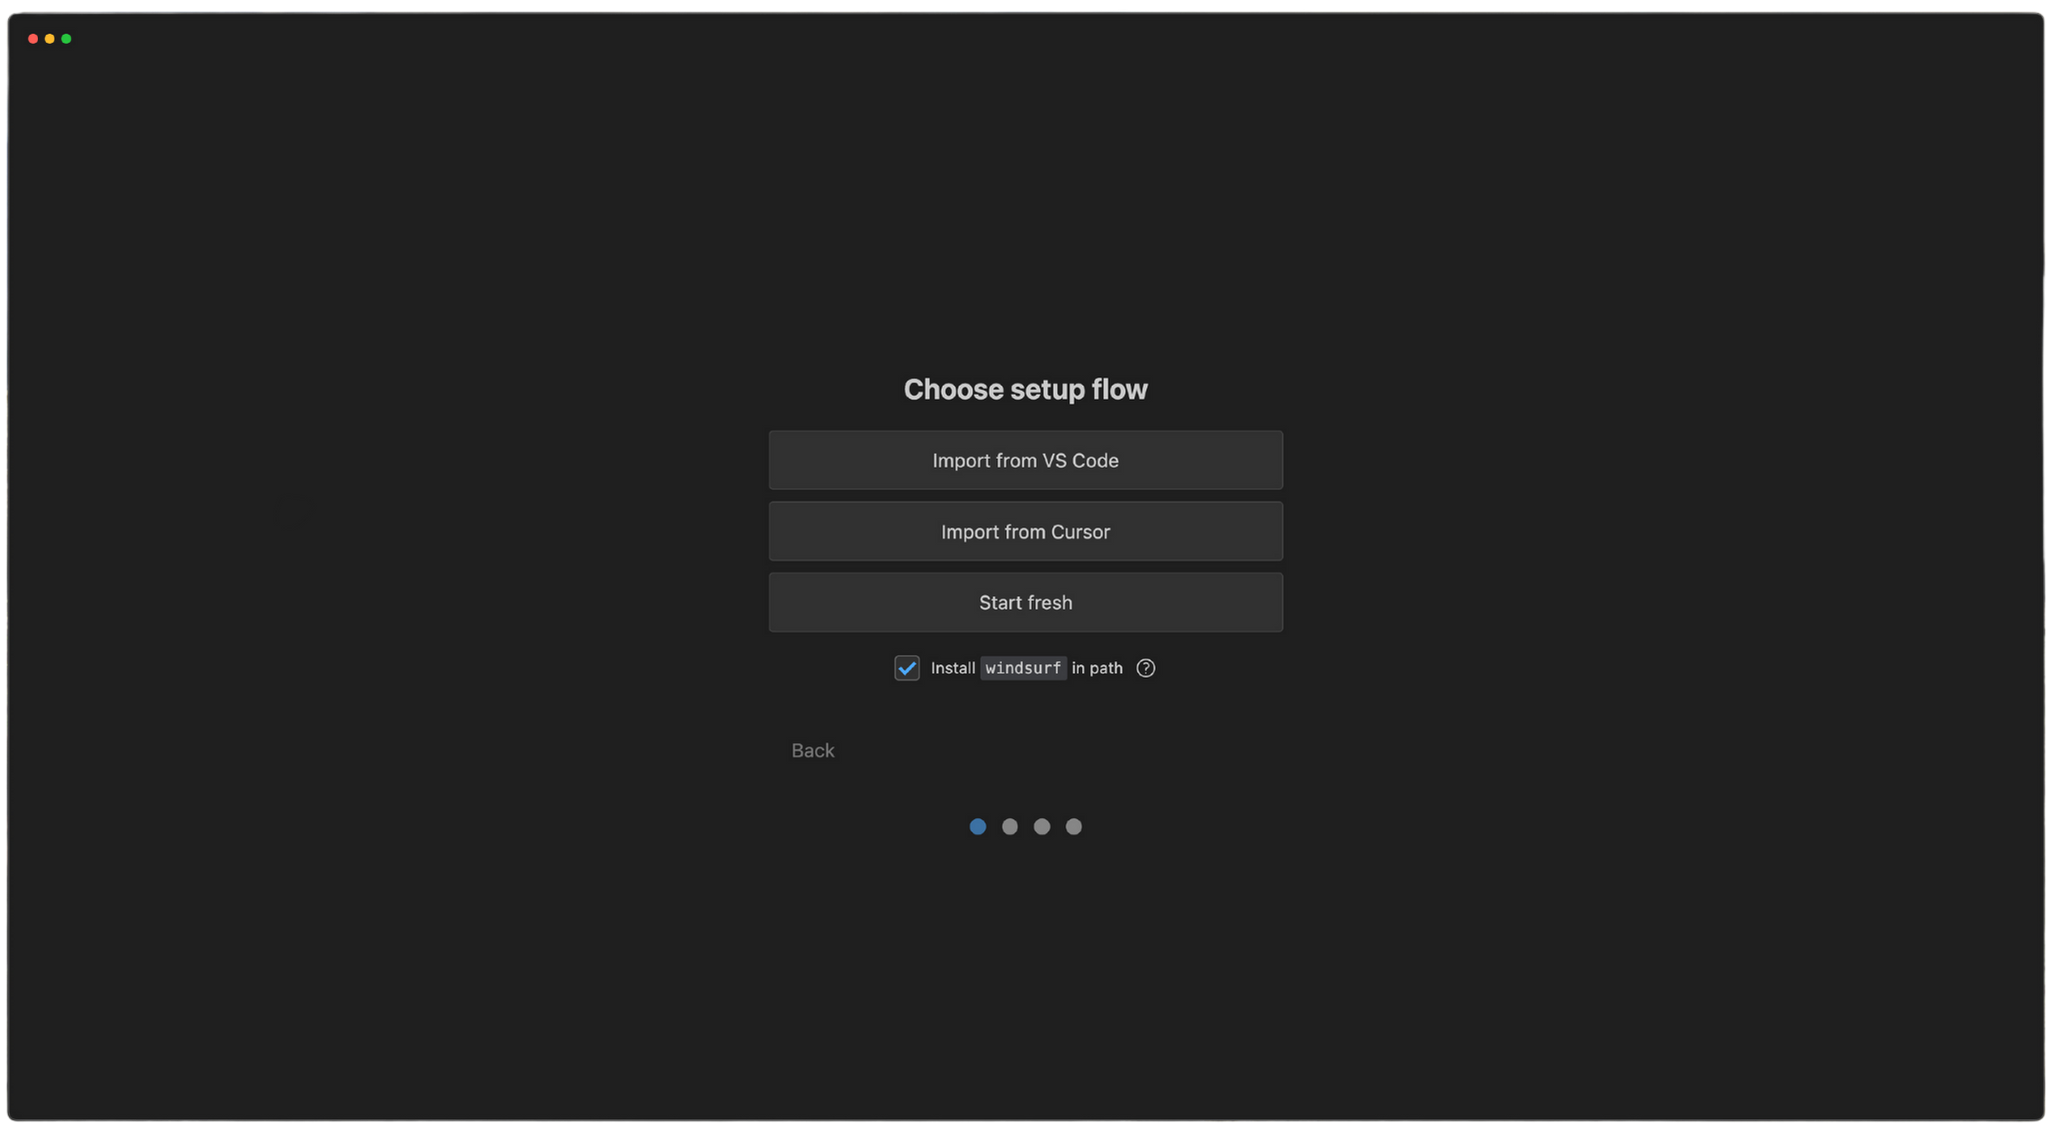
### 1. 选择设置流程
如果你从 VS Code 或 Cursor 迁移过来,可以轻松导入现有配置。否则请选择“Start fresh”。你还可以选择将 `windsurf` 安装到 PATH 中,这样就能在命令行直接运行 `windsurf`。
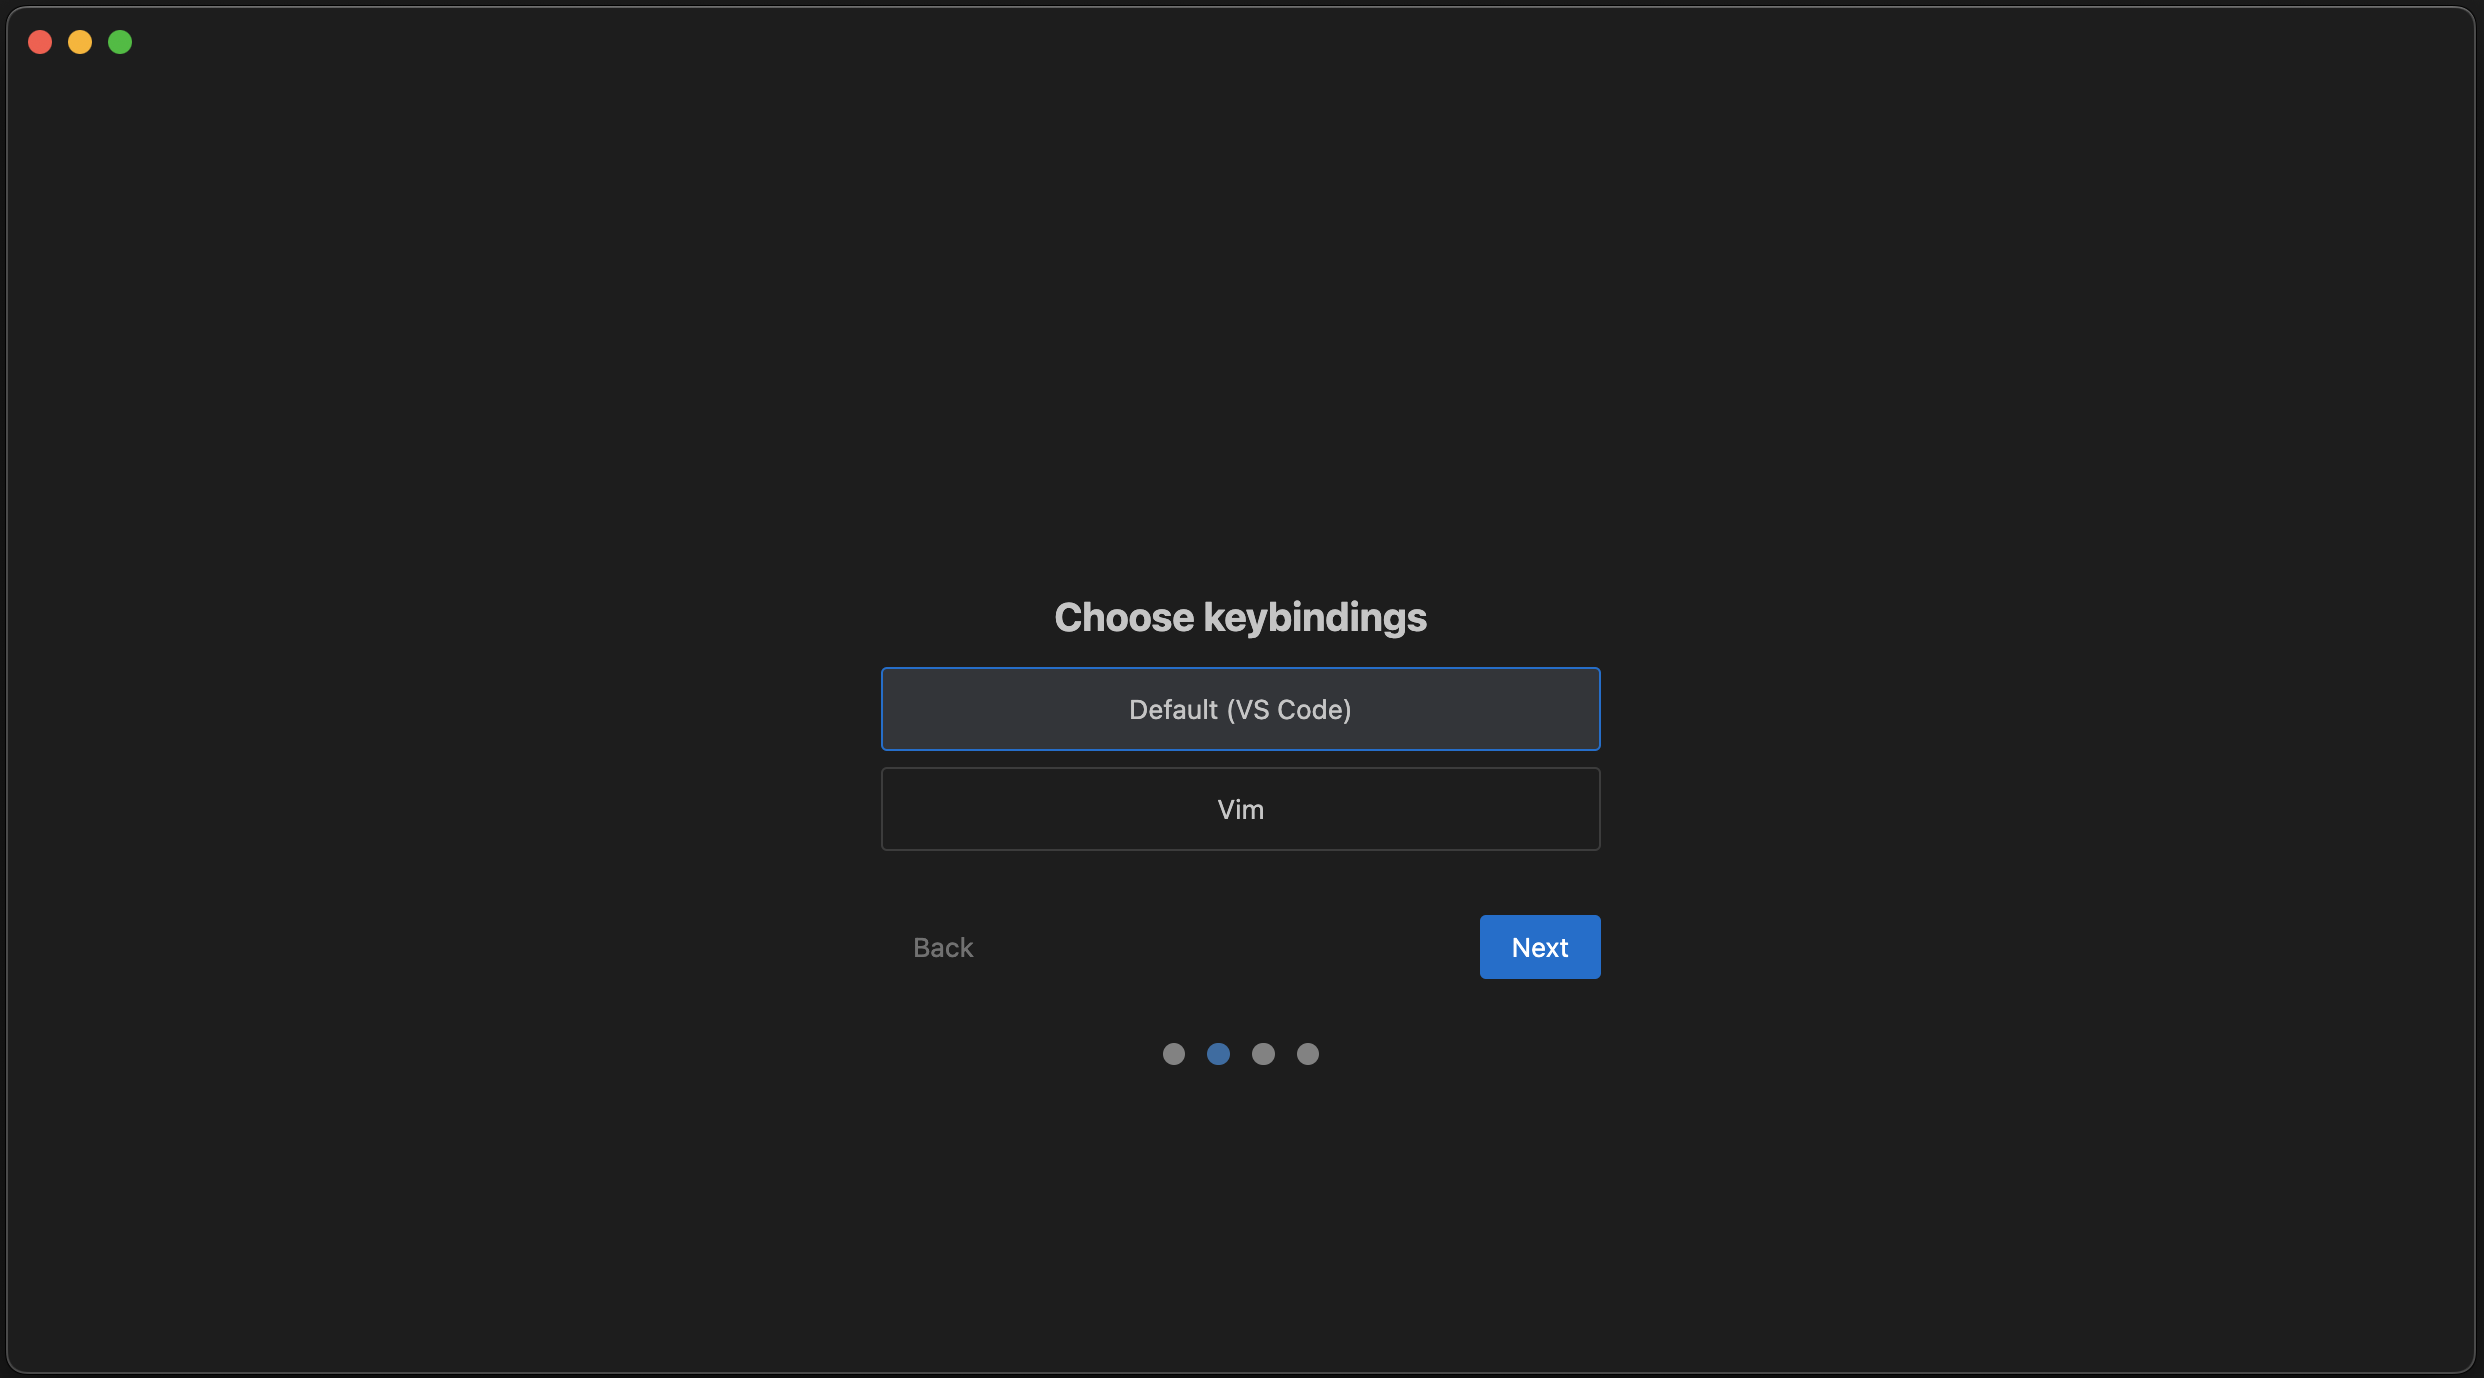
 在这里选择你的按键映射:可使用 VS Code 默认映射或 Vim 映射。
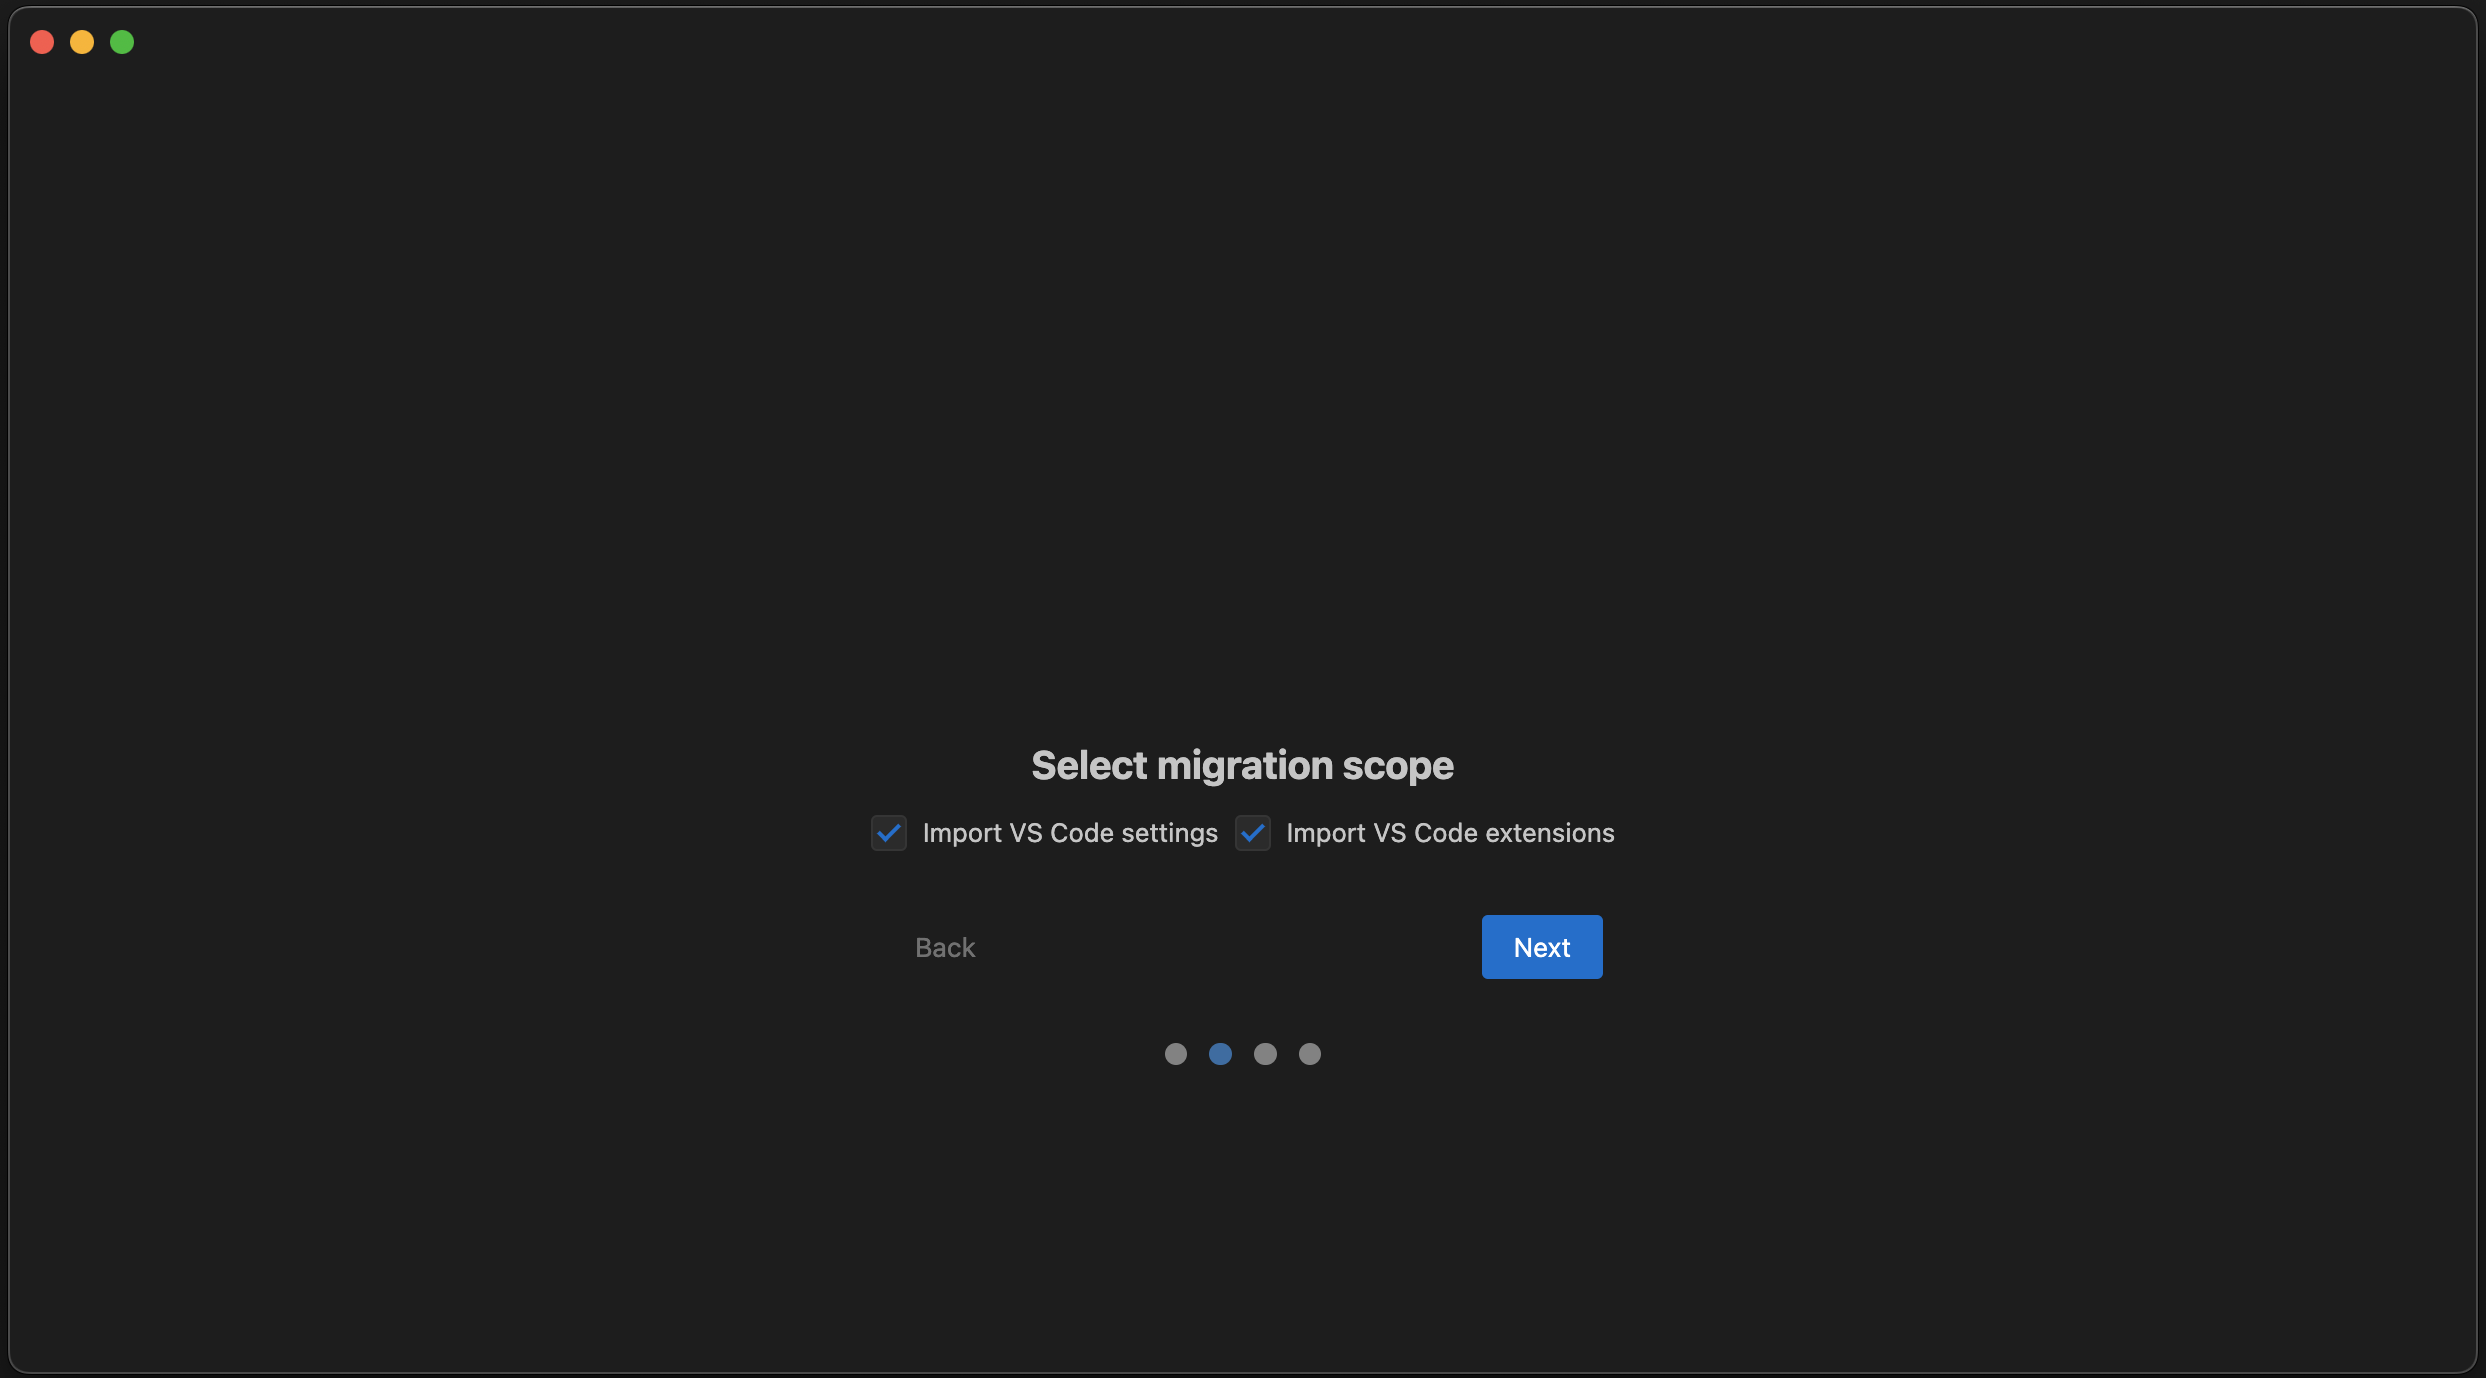
 你可以在这里迁移设置、扩展,或两者一起迁移。
 你可以在这里迁移设置、扩展,或两者一起迁移。
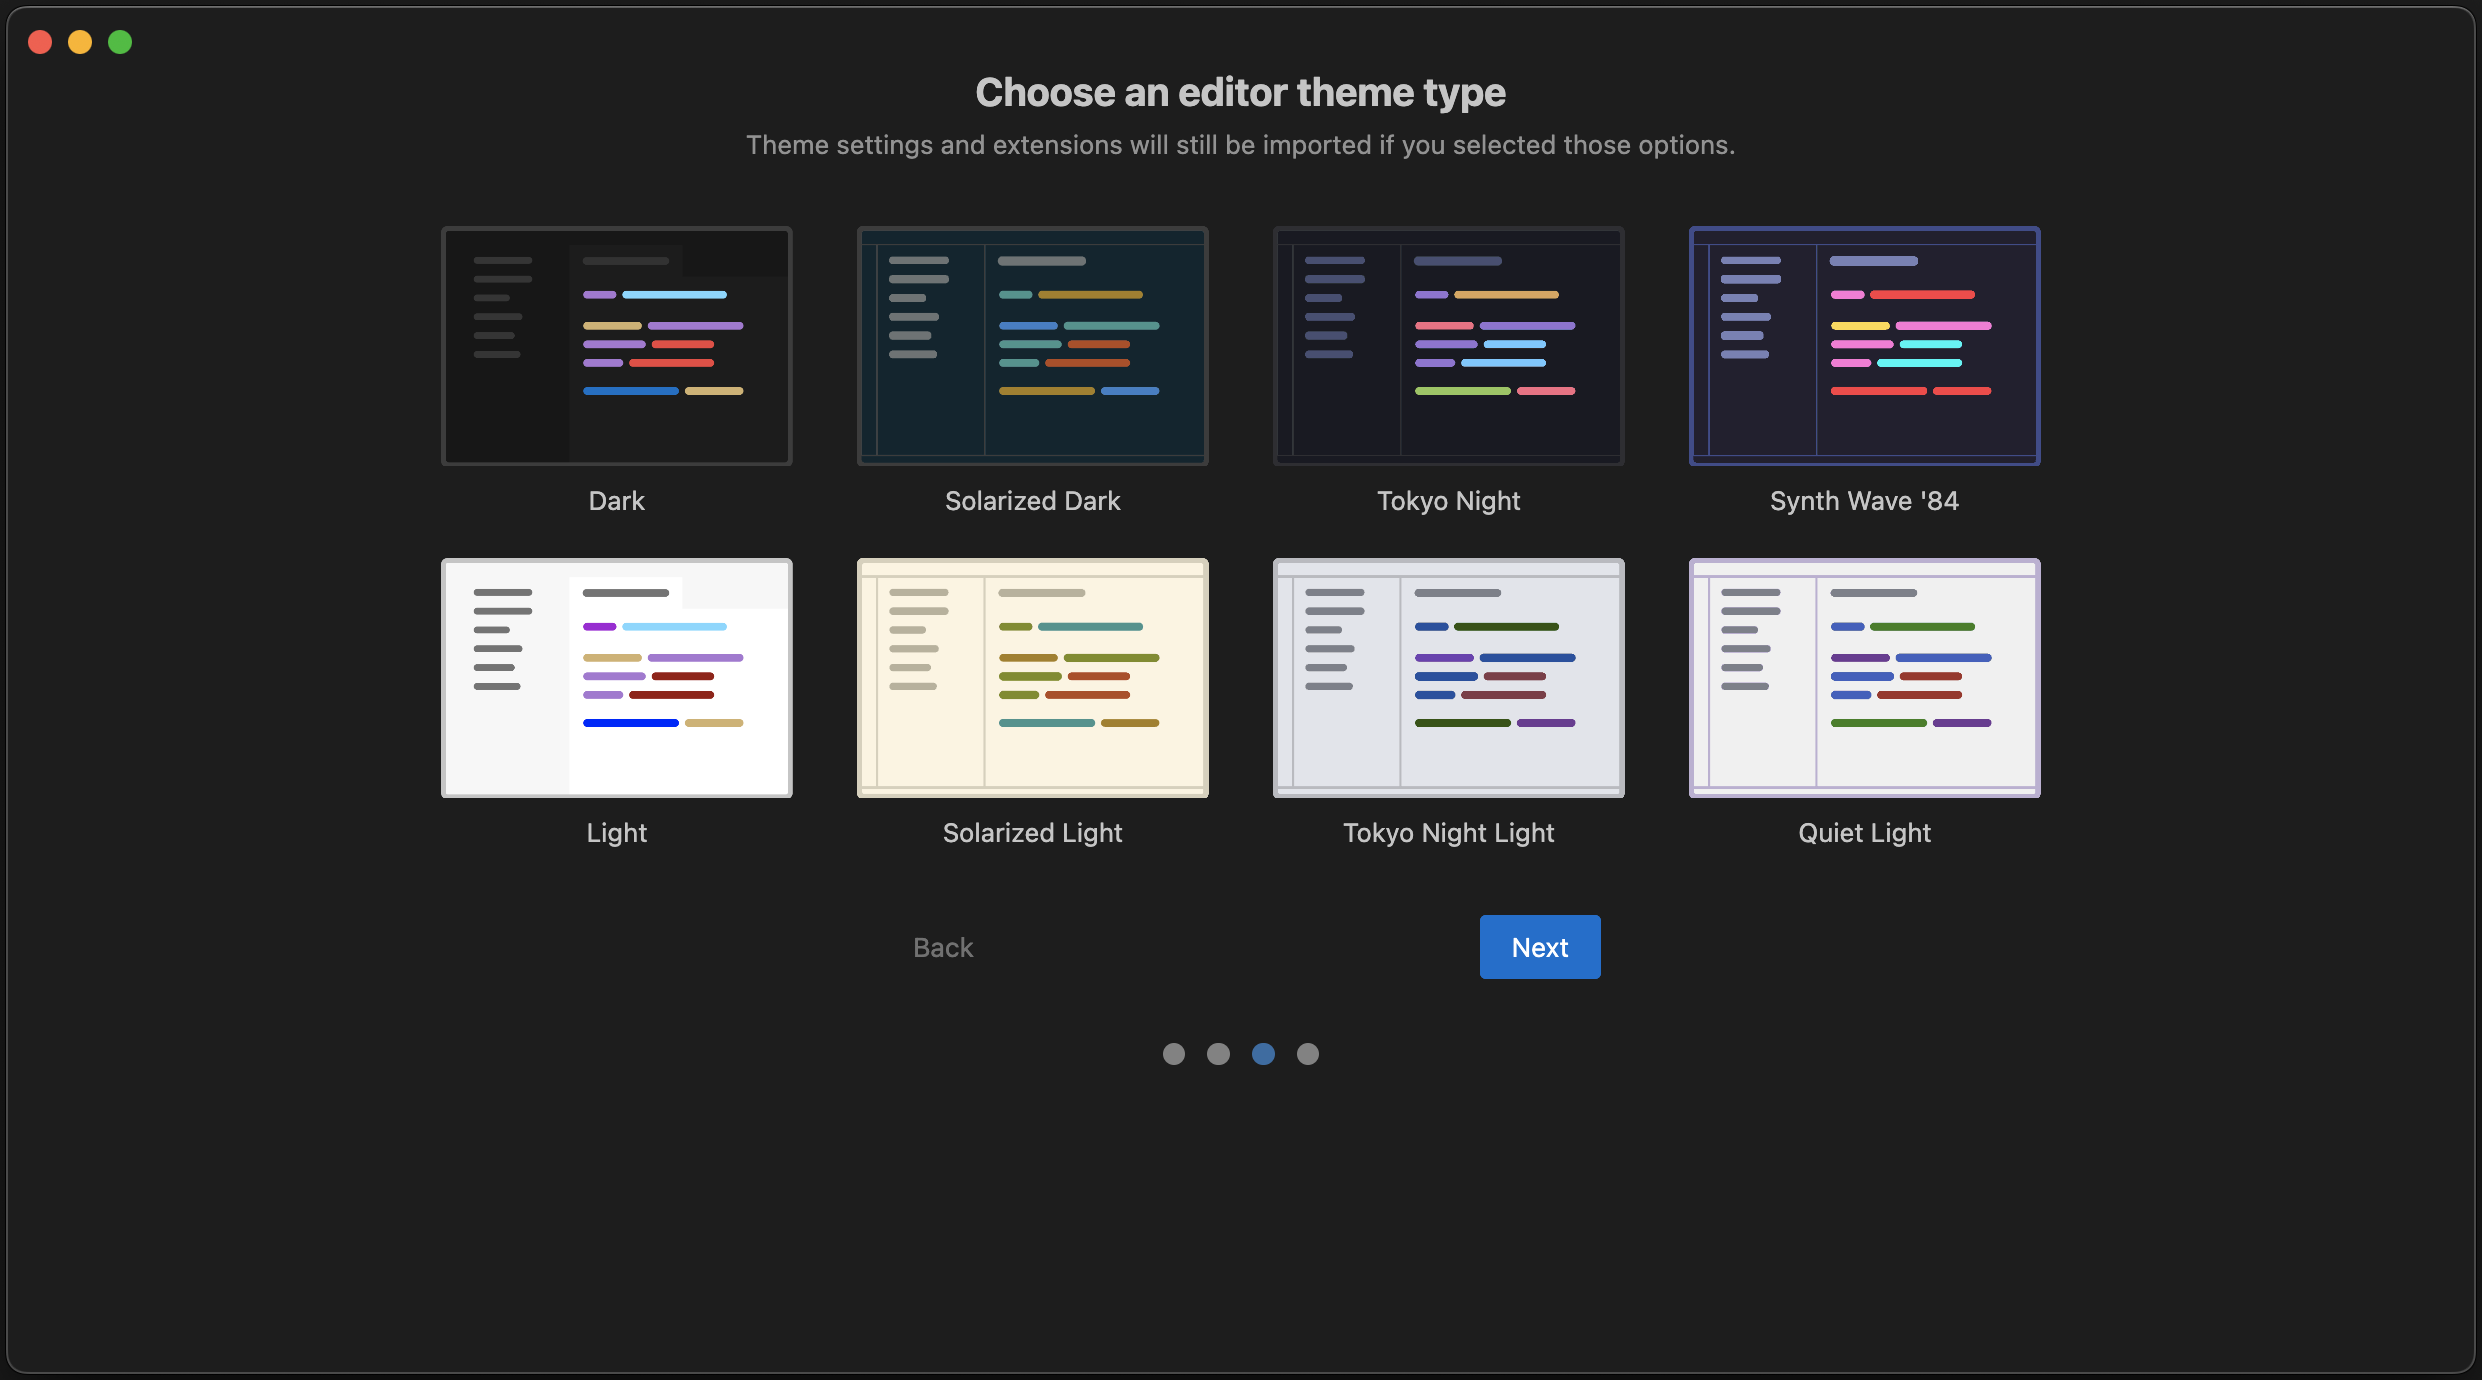
### 2. 选择编辑器主题
从以下默认选项中挑选你喜欢的配色主题吧!别担心,之后随时可以更改。注意:如果你从 VS Code 导入,导入的主题将覆盖此设置。
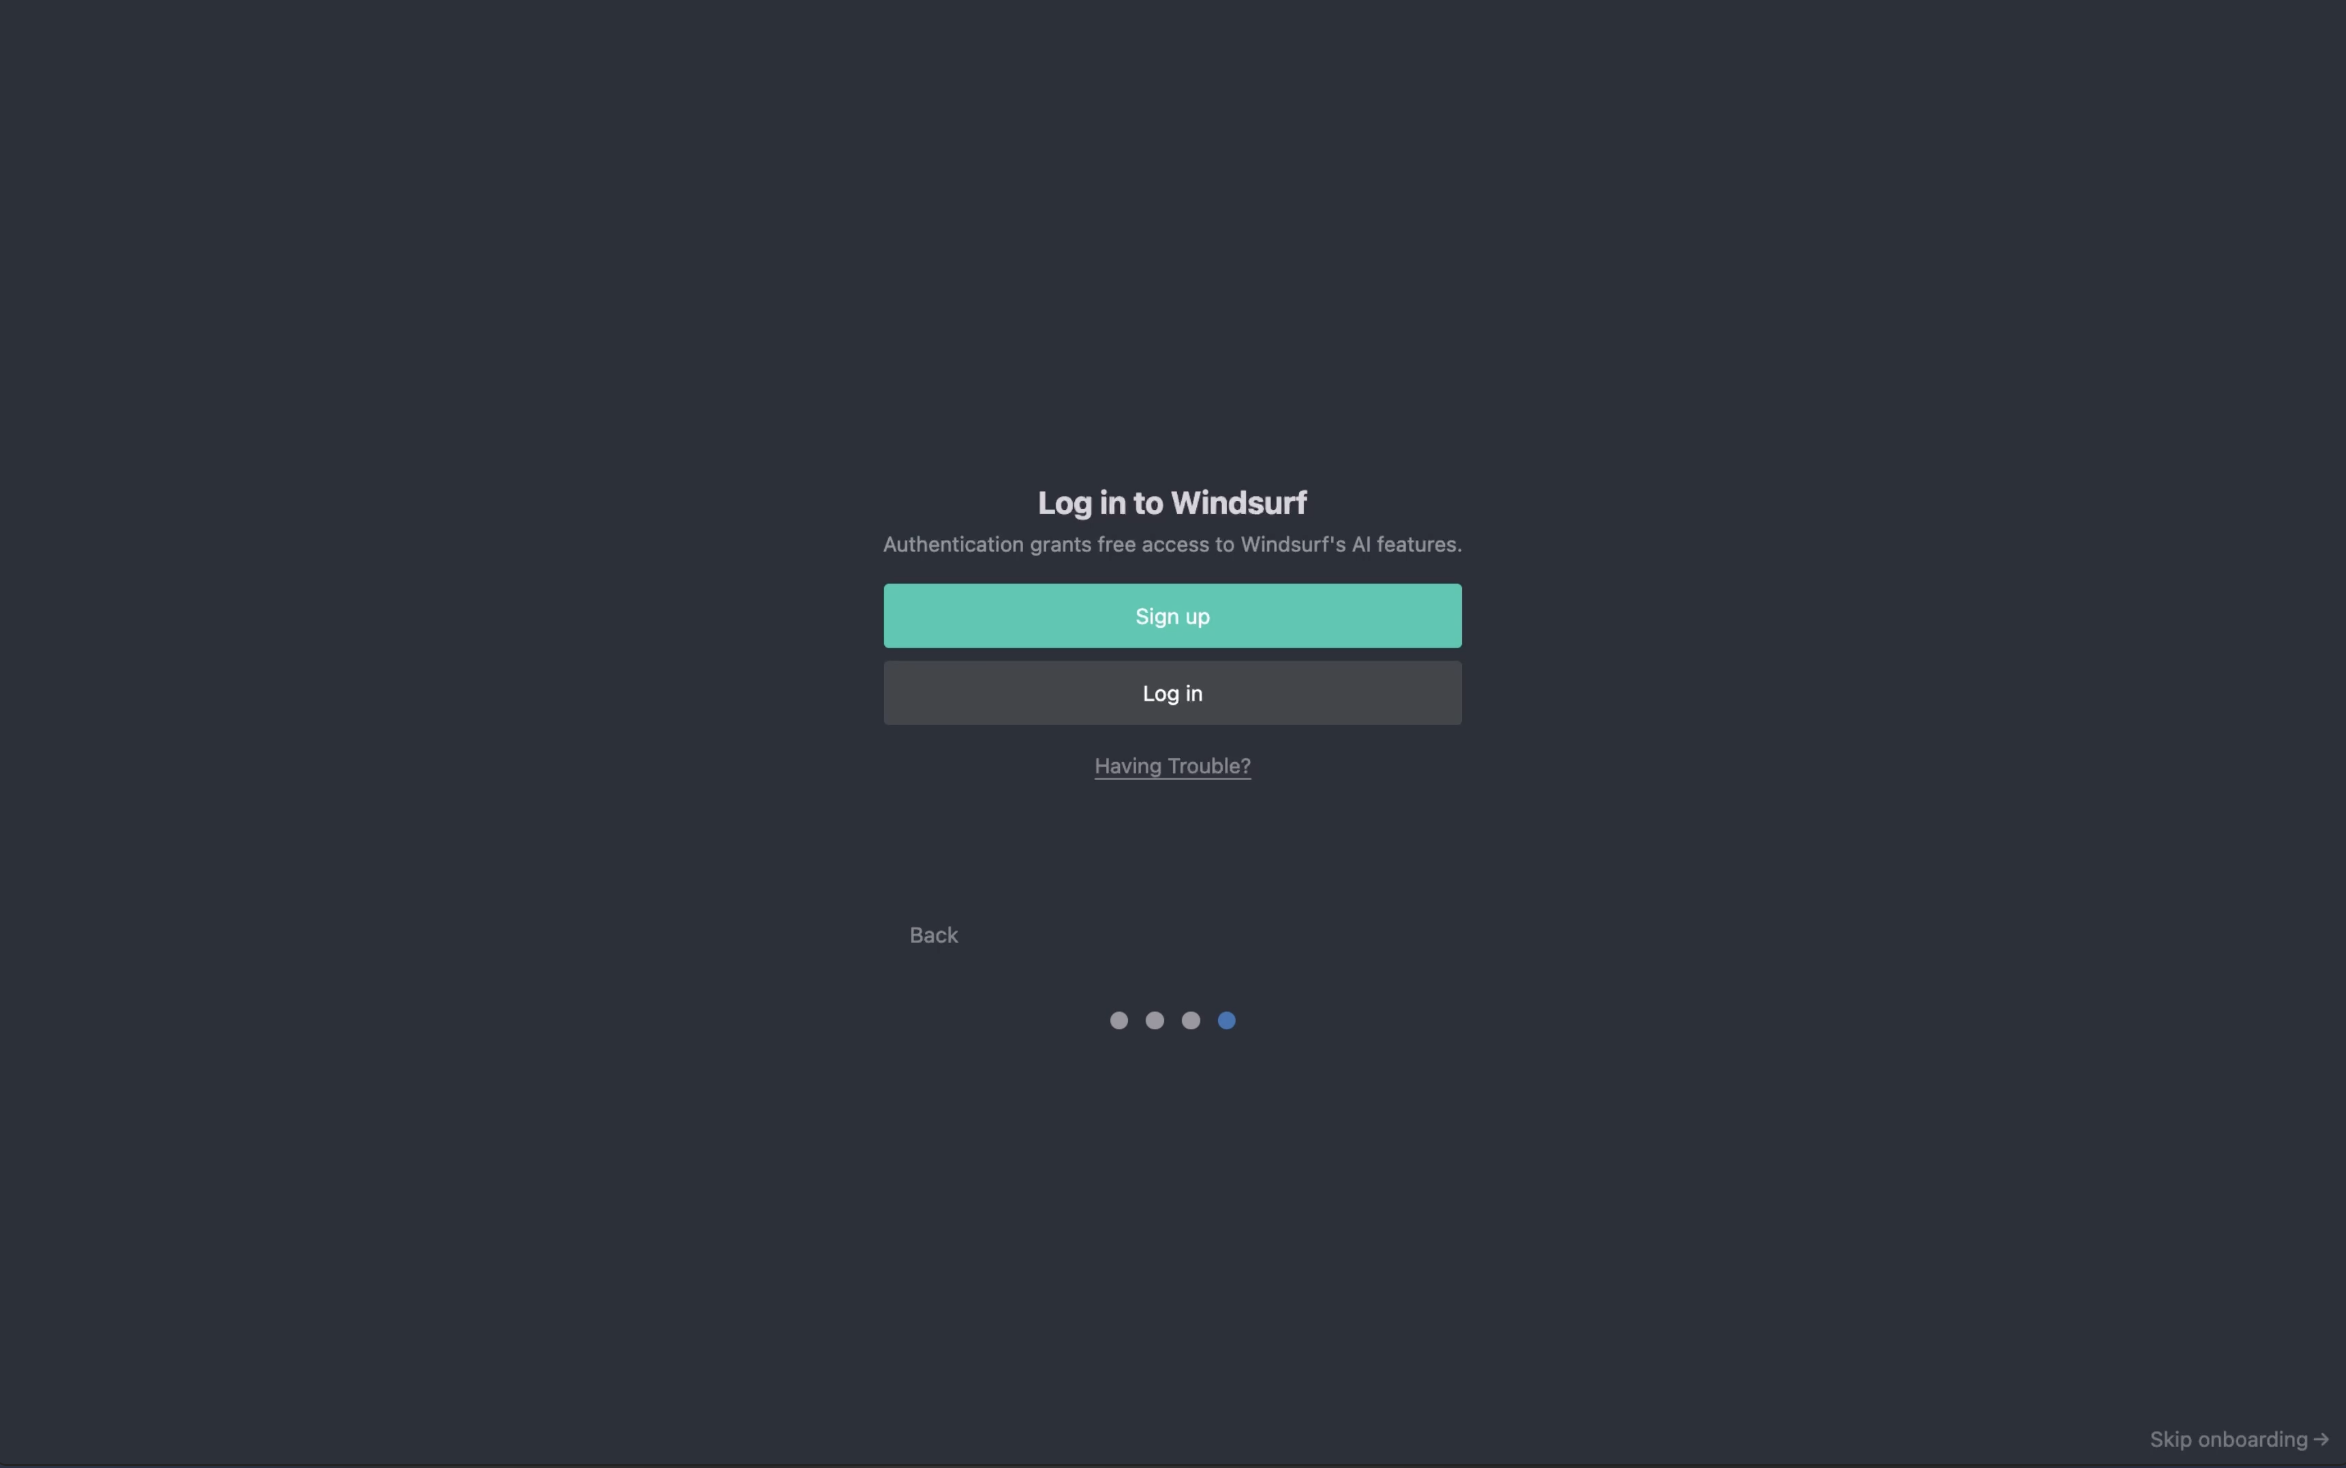
### 3. 注册 / 登录
要使用 Windsurf,你需要使用你的 Windsurf 账号;如果还没有,请先创建一个。注册完全免费!
 完成身份验证后,你会看到此页面。点击“Open Windsurf”,即可开始使用!

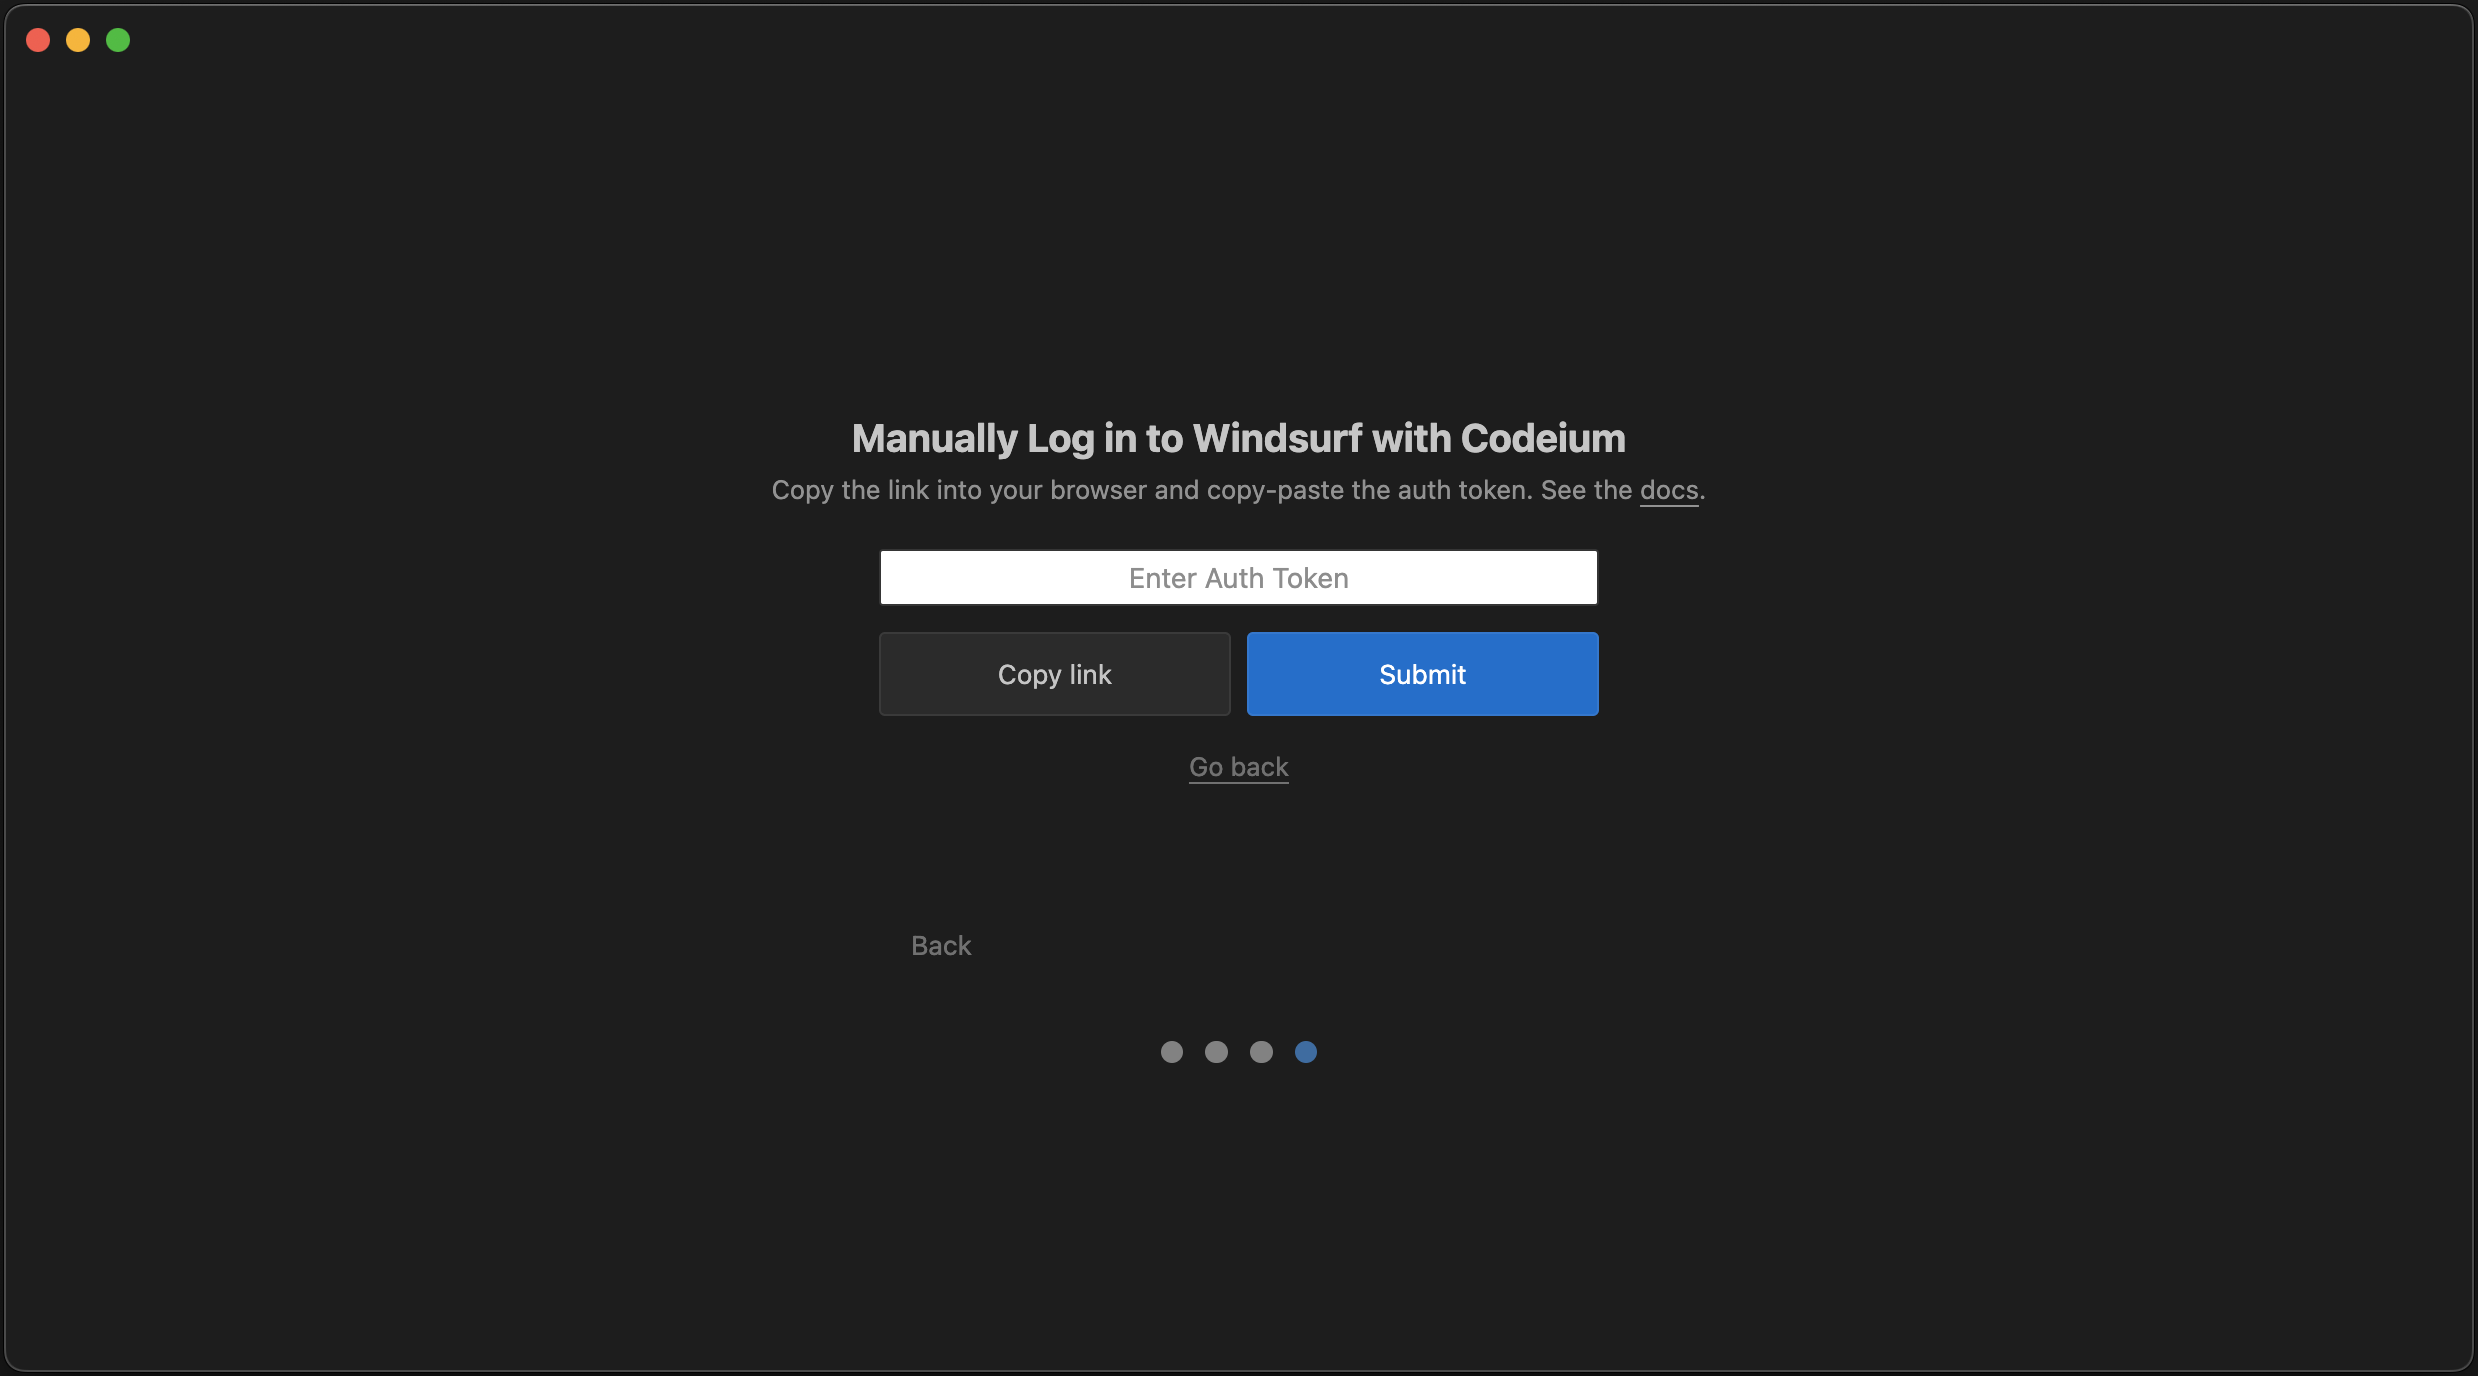
#### 遇到问题?
如果你在此身份验证流程中遇到问题,也可以先登录,然后手动向 Windsurf 提交一个身份验证代码。
点击“复制链接”按钮,将身份验证链接复制到剪贴板,并在浏览器中打开该链接。
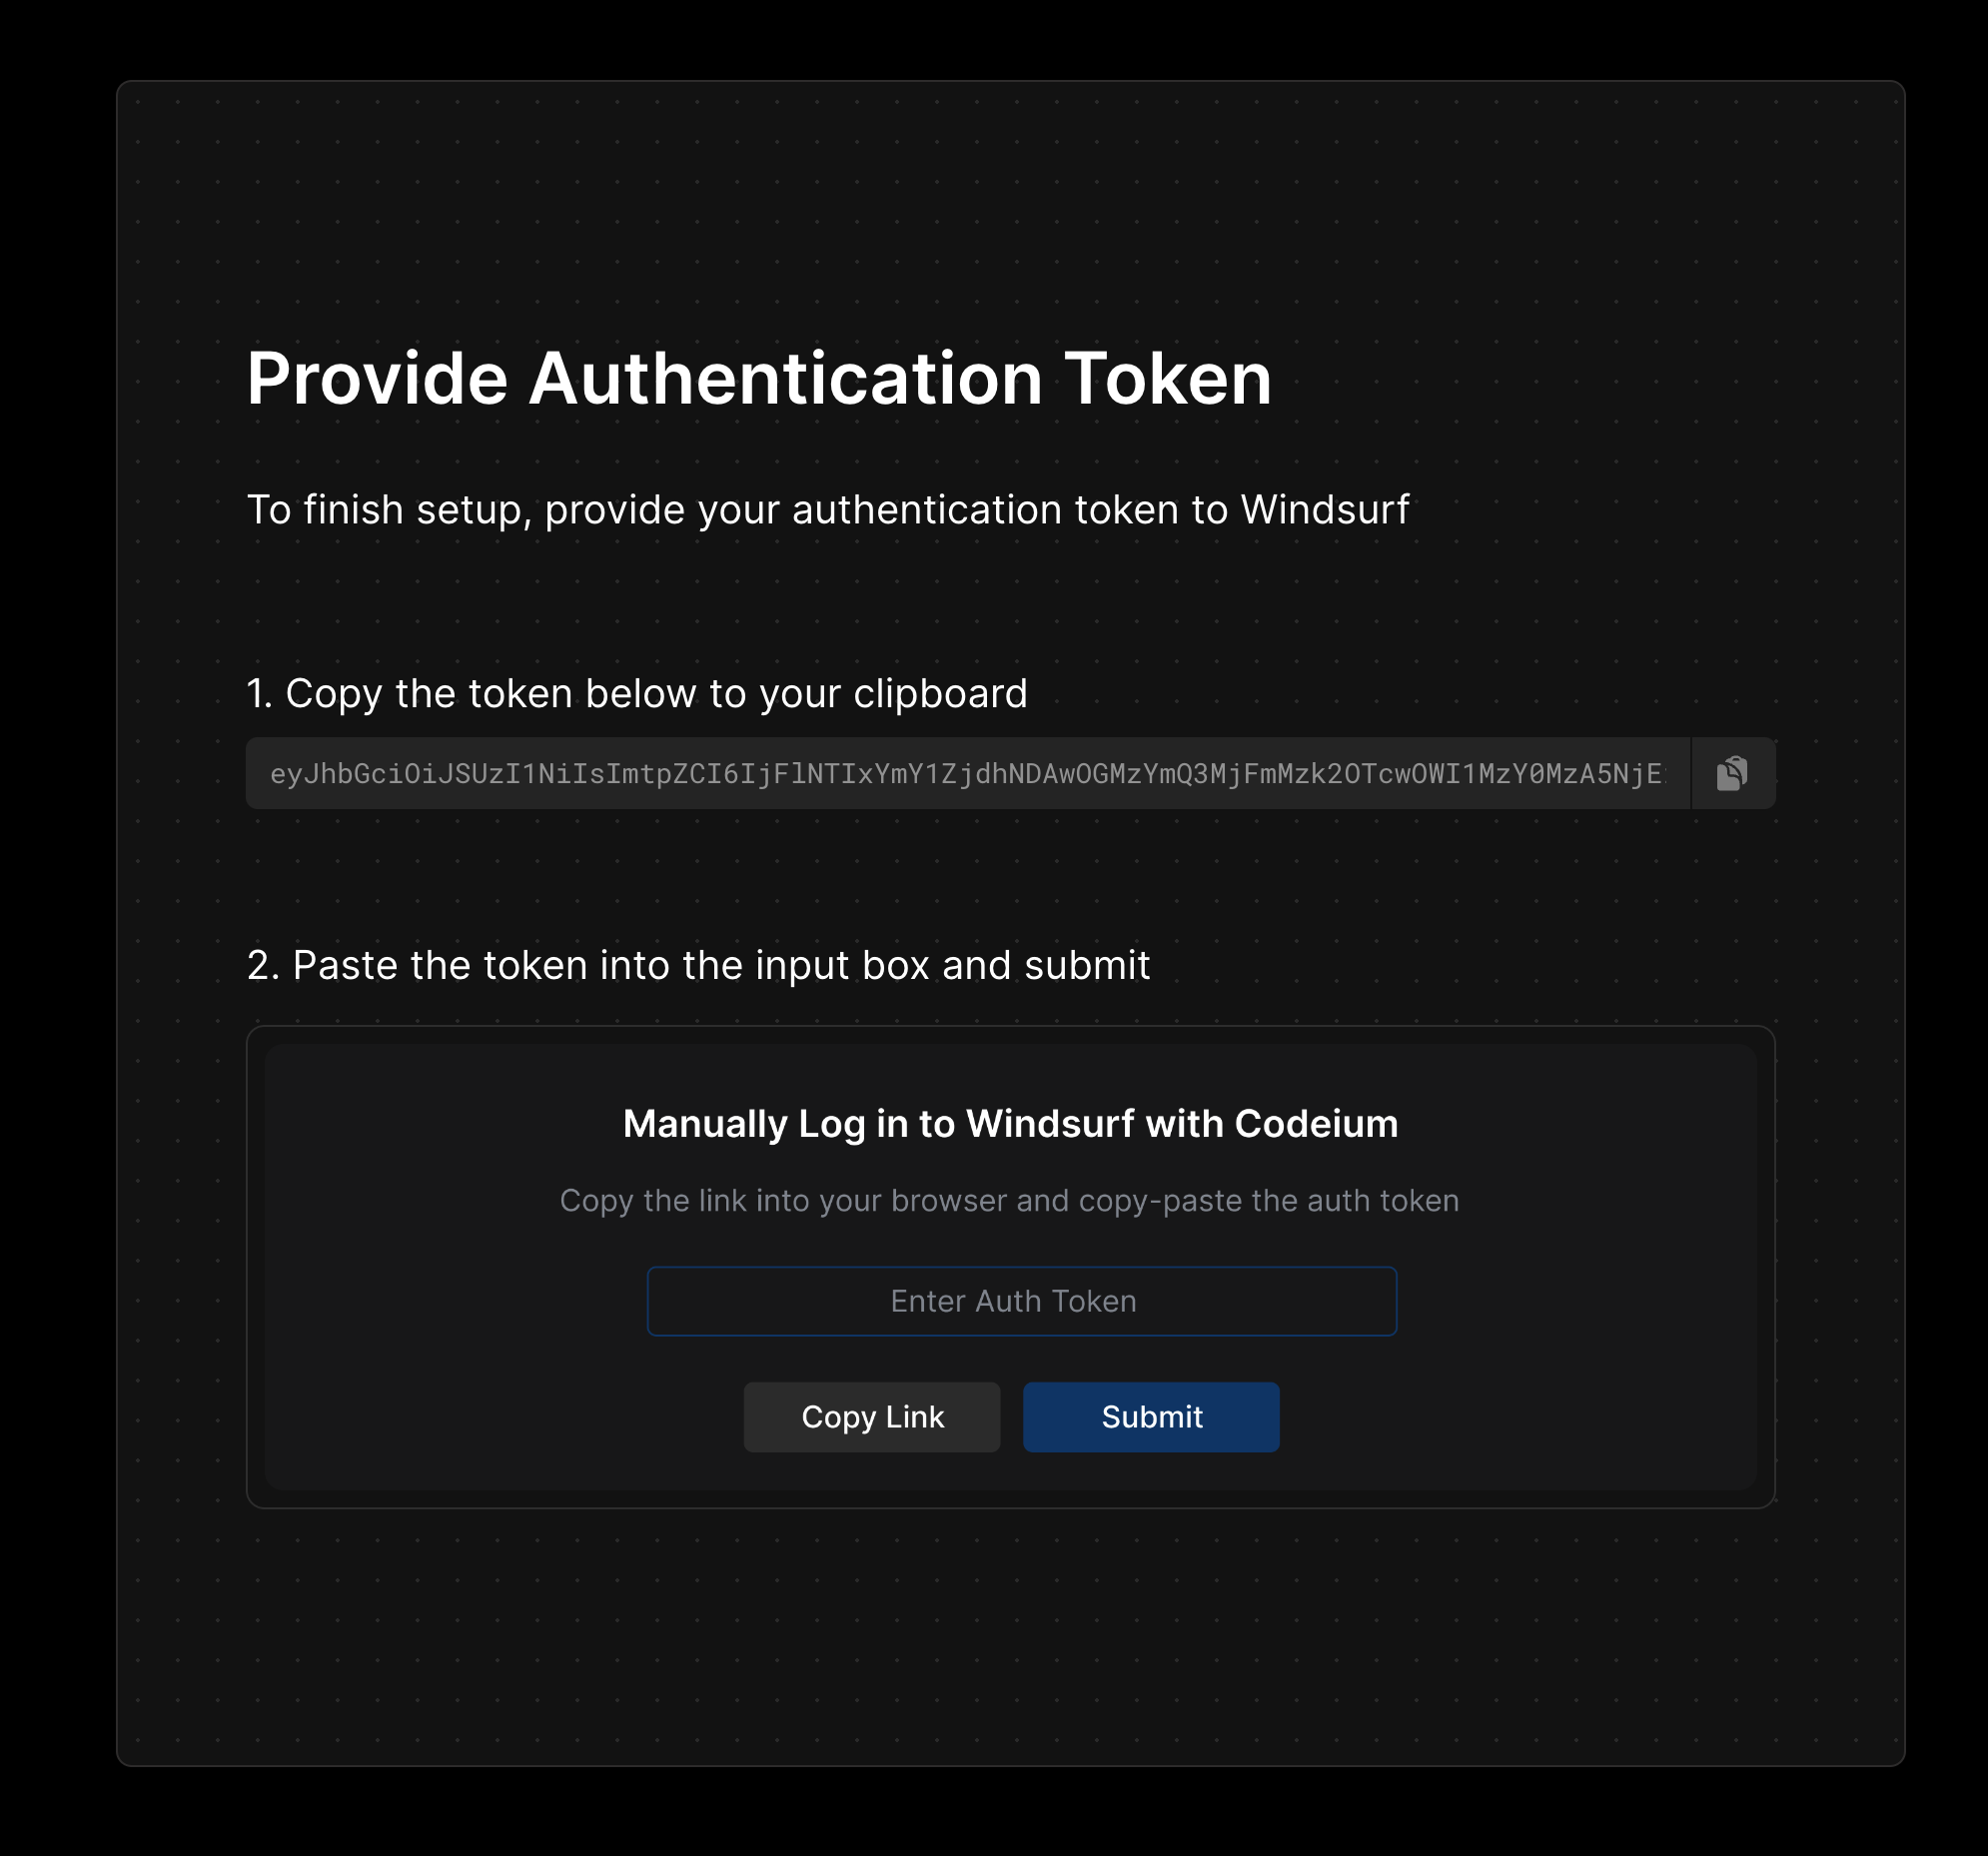
 复制该链接中显示的身份验证代码,并将其输入到 Windsurf。
### 4. 开始冲浪吧!
浏览我们推荐的插件,充分释放 Windsurf 的潜力!
## 更新 Windsurf
要更新 Windsurf,您可以点击菜单栏右上角的“Restart to Update ->”按钮。
 如果您没有看到该按钮,可以:
1. 点击个人资料图标下拉菜单 > Check for Updates
2. 在命令面板 (`Cmd/Ctrl+Shift+P`) 中 > “Check for Updates”
如果您没有看到该按钮,可以:
1. 点击个人资料图标下拉菜单 > Check for Updates
2. 在命令面板 (`Cmd/Ctrl+Shift+P`) 中 > “Check for Updates”
## 可尝试的内容
既然你已经成功打开 Windsurf,来试试一些功能吧!这些都可以在起始页面便捷访问。:)
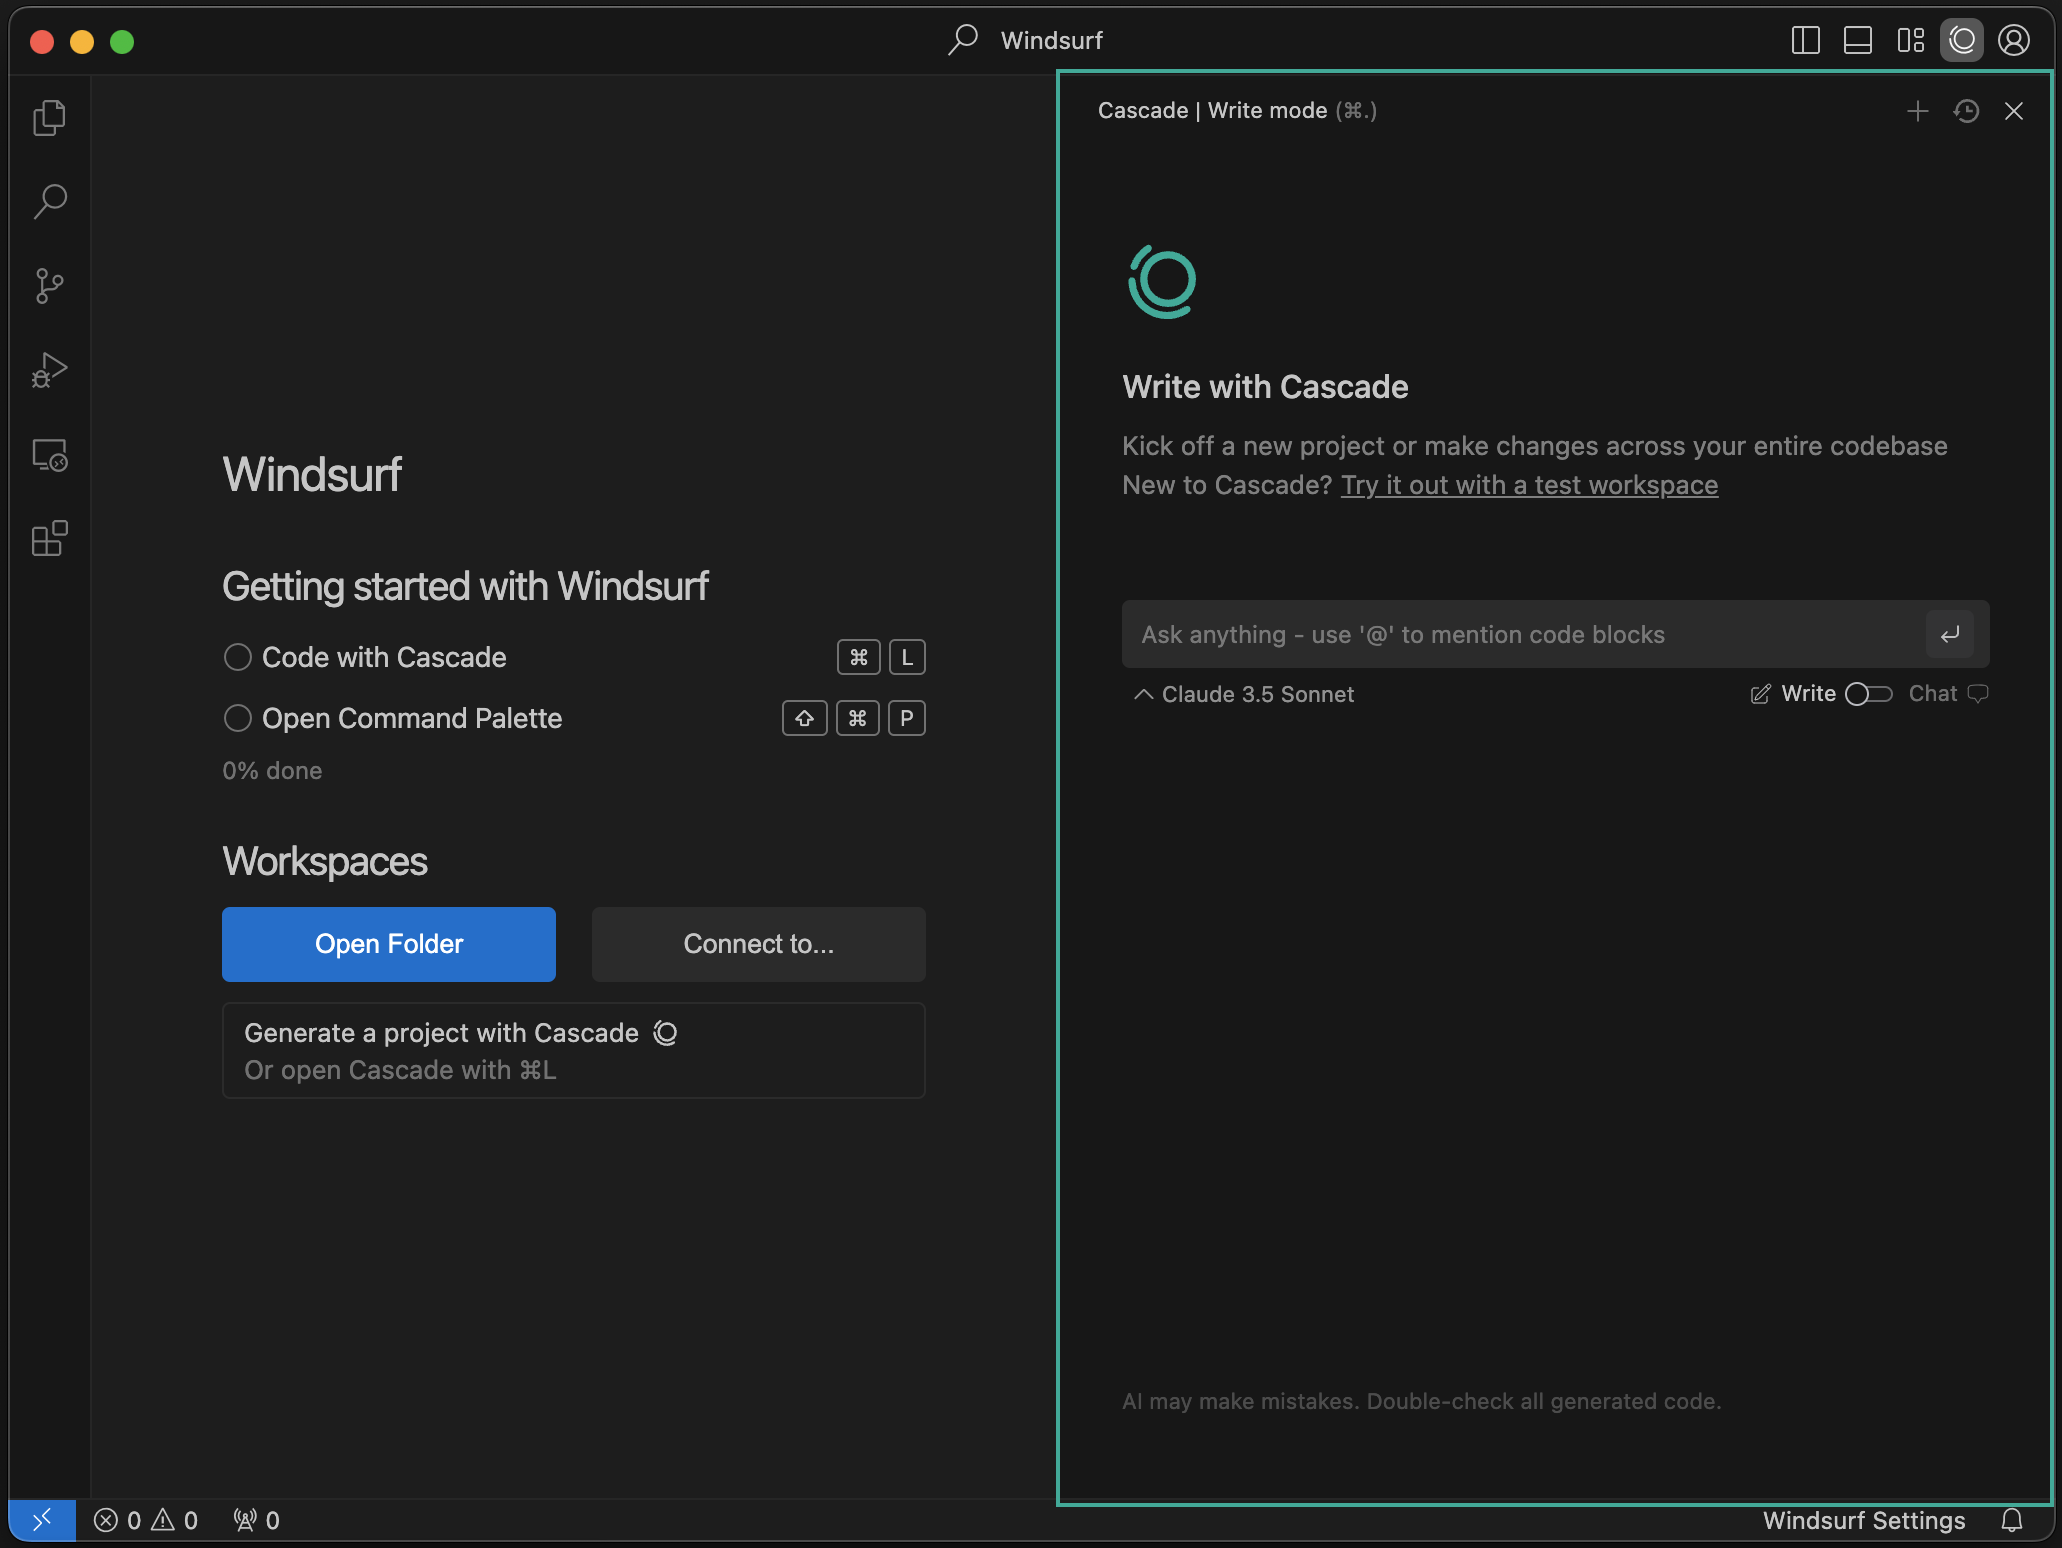 在 IDE 右侧,你会看到一个名为“Cascade”的新面板。这是你的 AI 驱动代码助手!你可以在 Cascade 中进行 Chat、编写代码和运行代码!在[此处](/zh/windsurf/cascade)了解其工作方式。
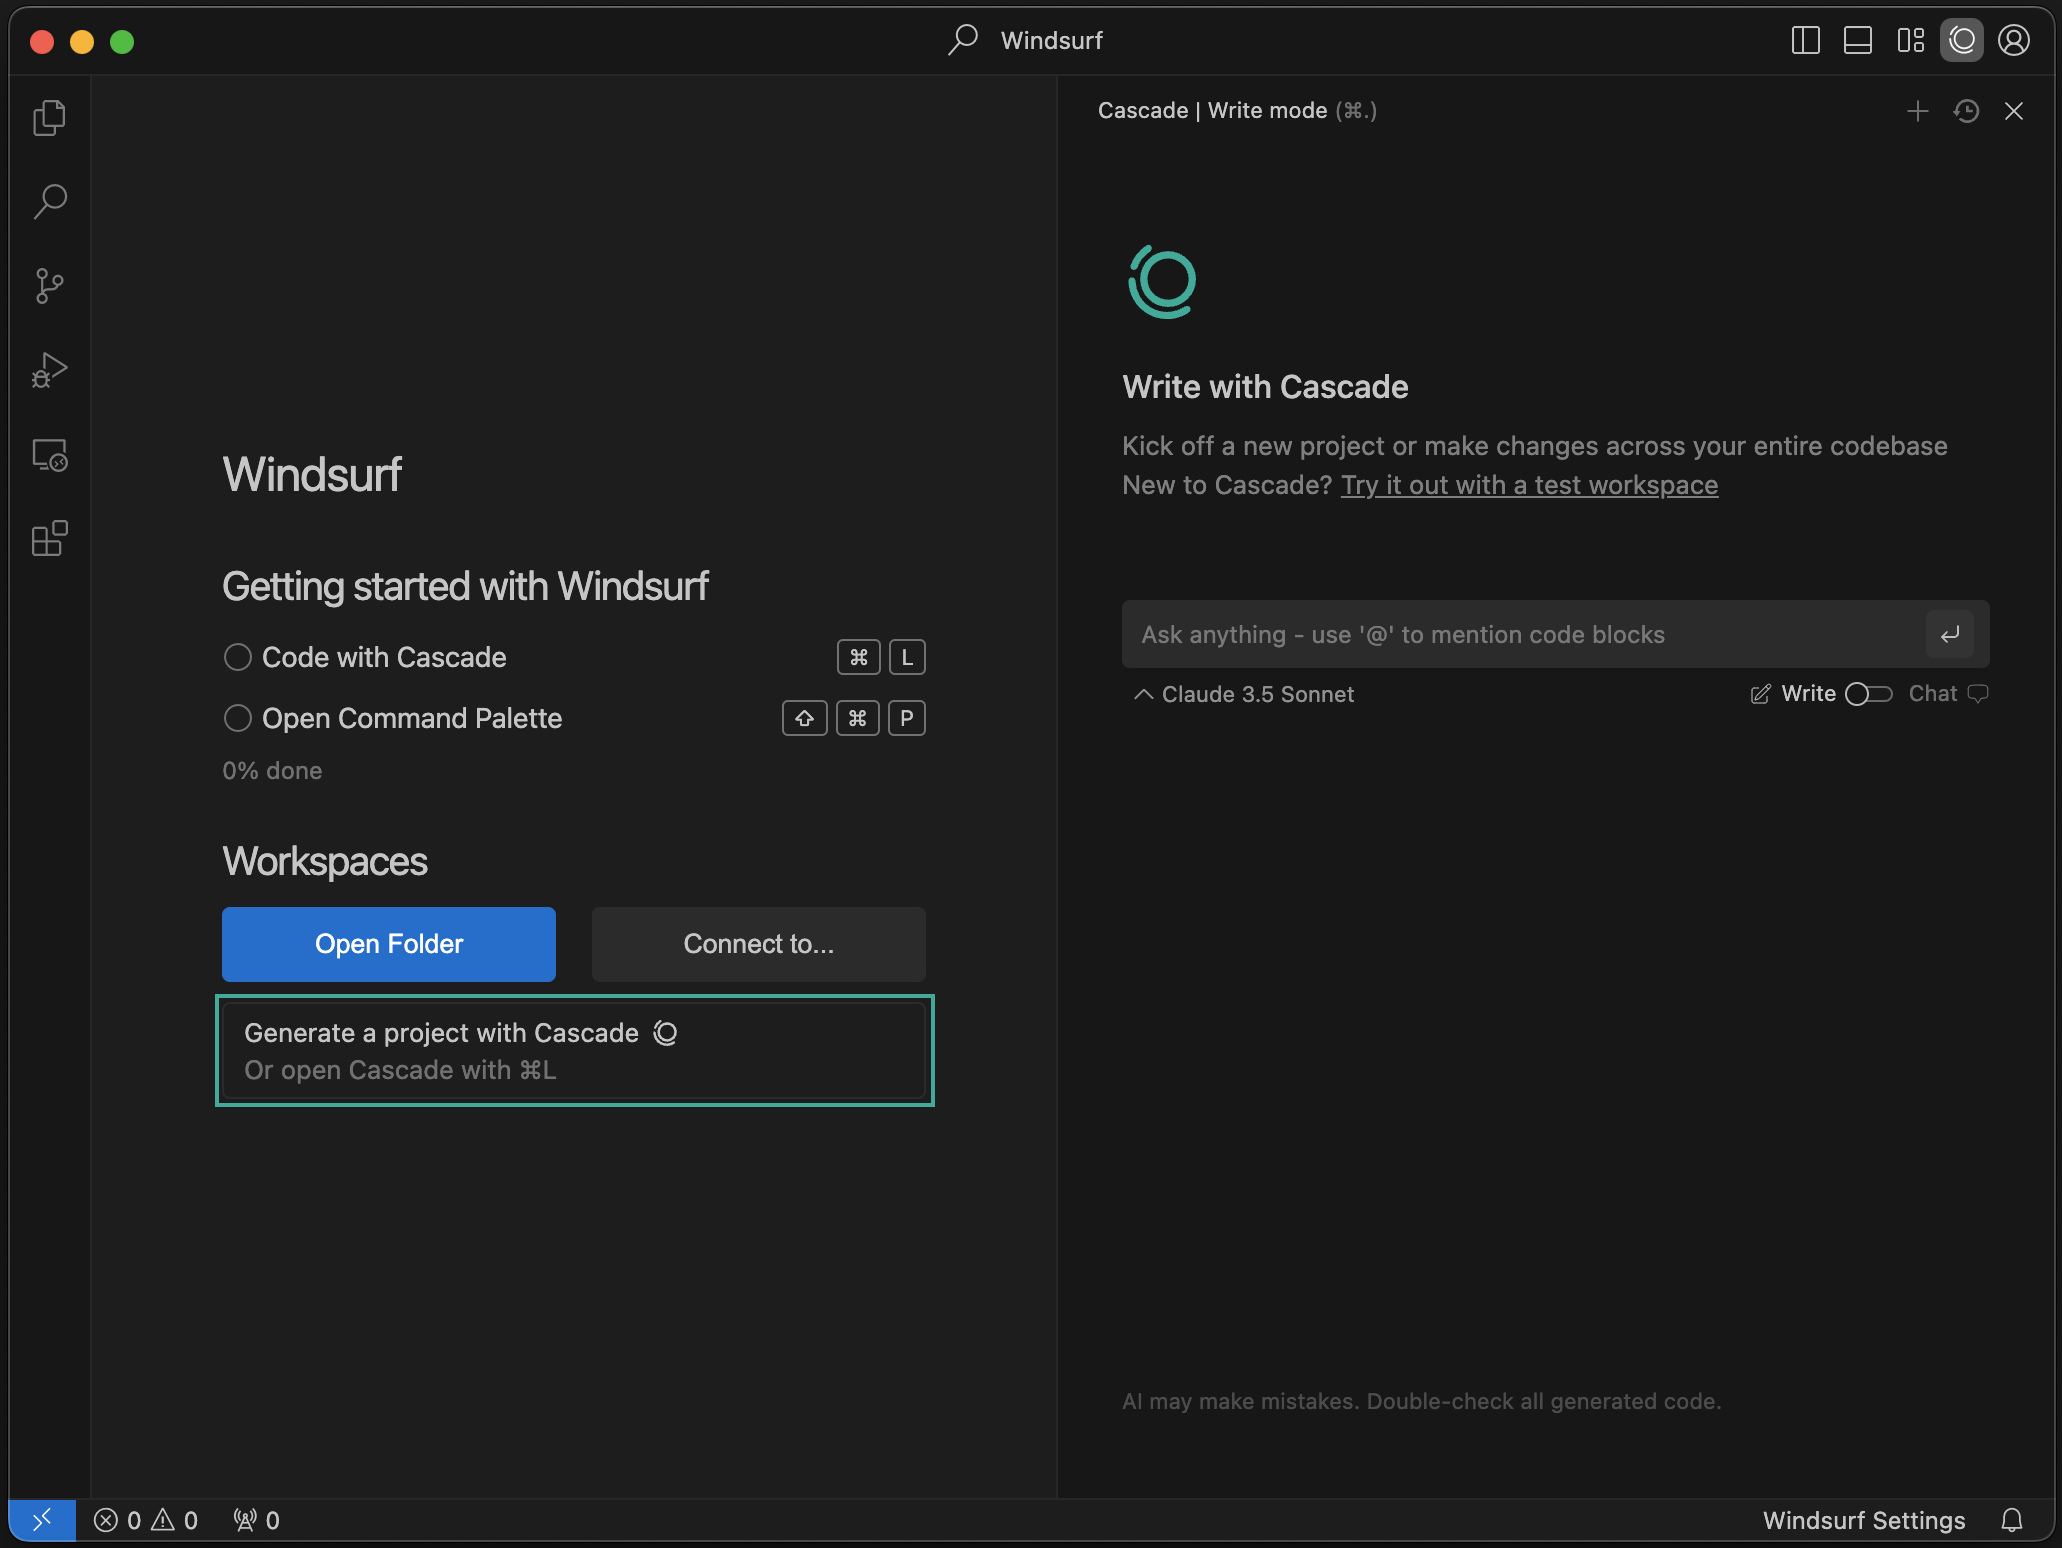 你可以使用 Cascade 创建全新项目!点击“New Project”按钮开始。
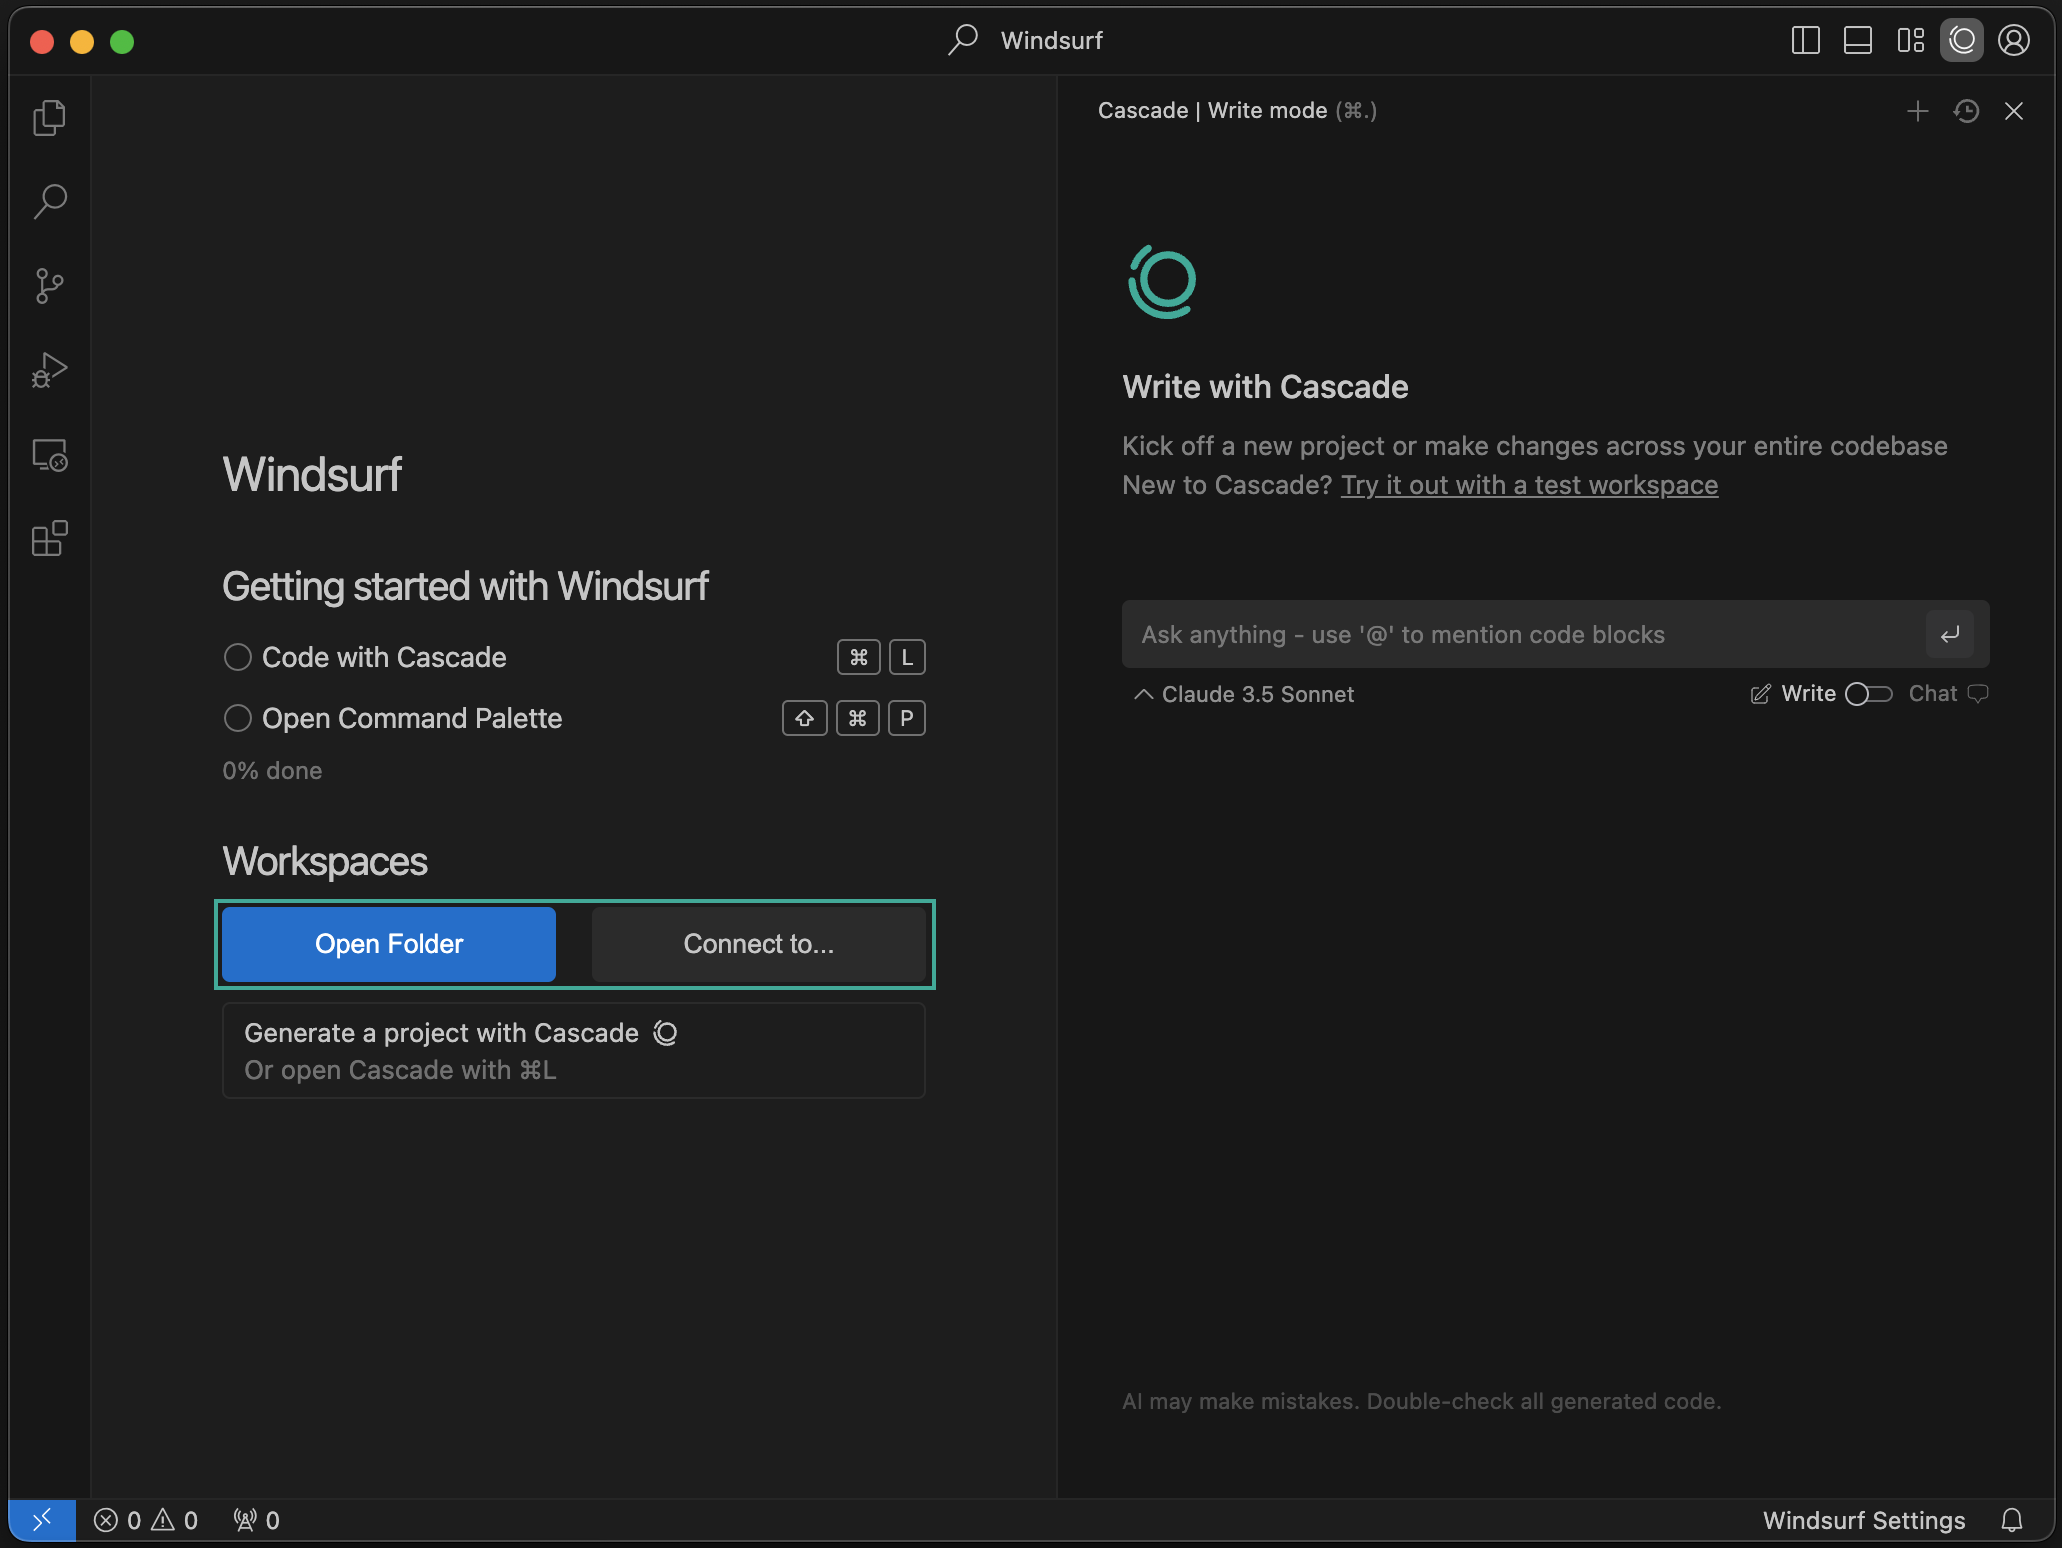 你可以通过 SSH 或本地开发容器打开文件夹,或连接到远程服务器。了解更多[信息](/zh/windsurf/advanced)。
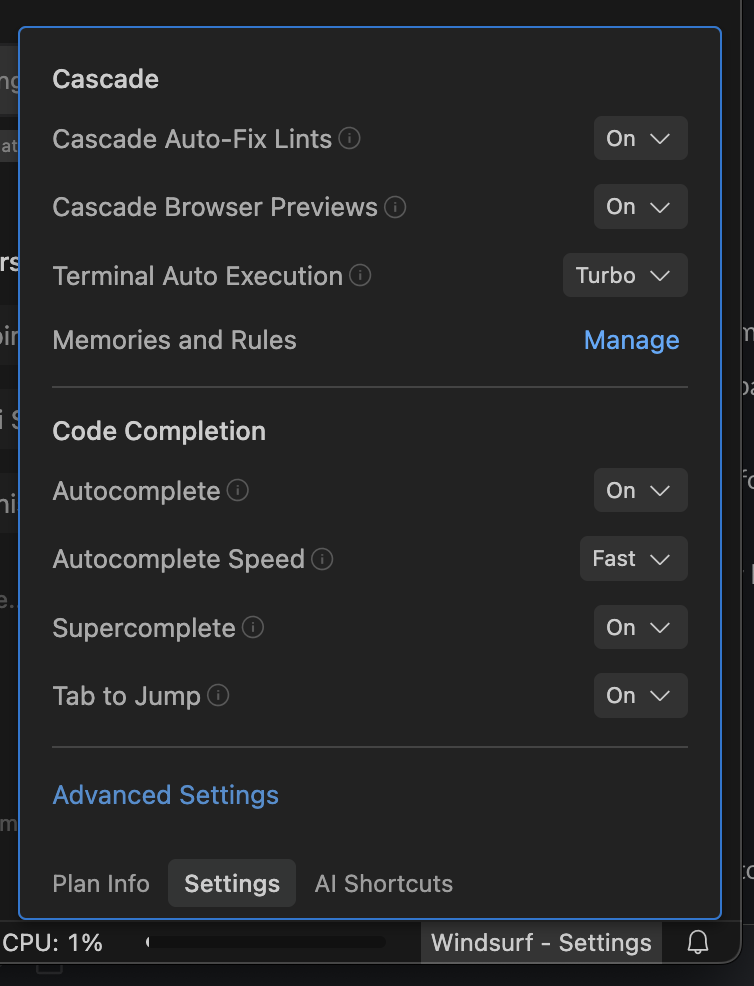 点击右下角的“Windsurf - Settings”按钮以打开设置面板。要访问高级设置,可在该面板中点击相应按钮,或在右上角个人资料下拉菜单中选择“Windsurf Settings”。
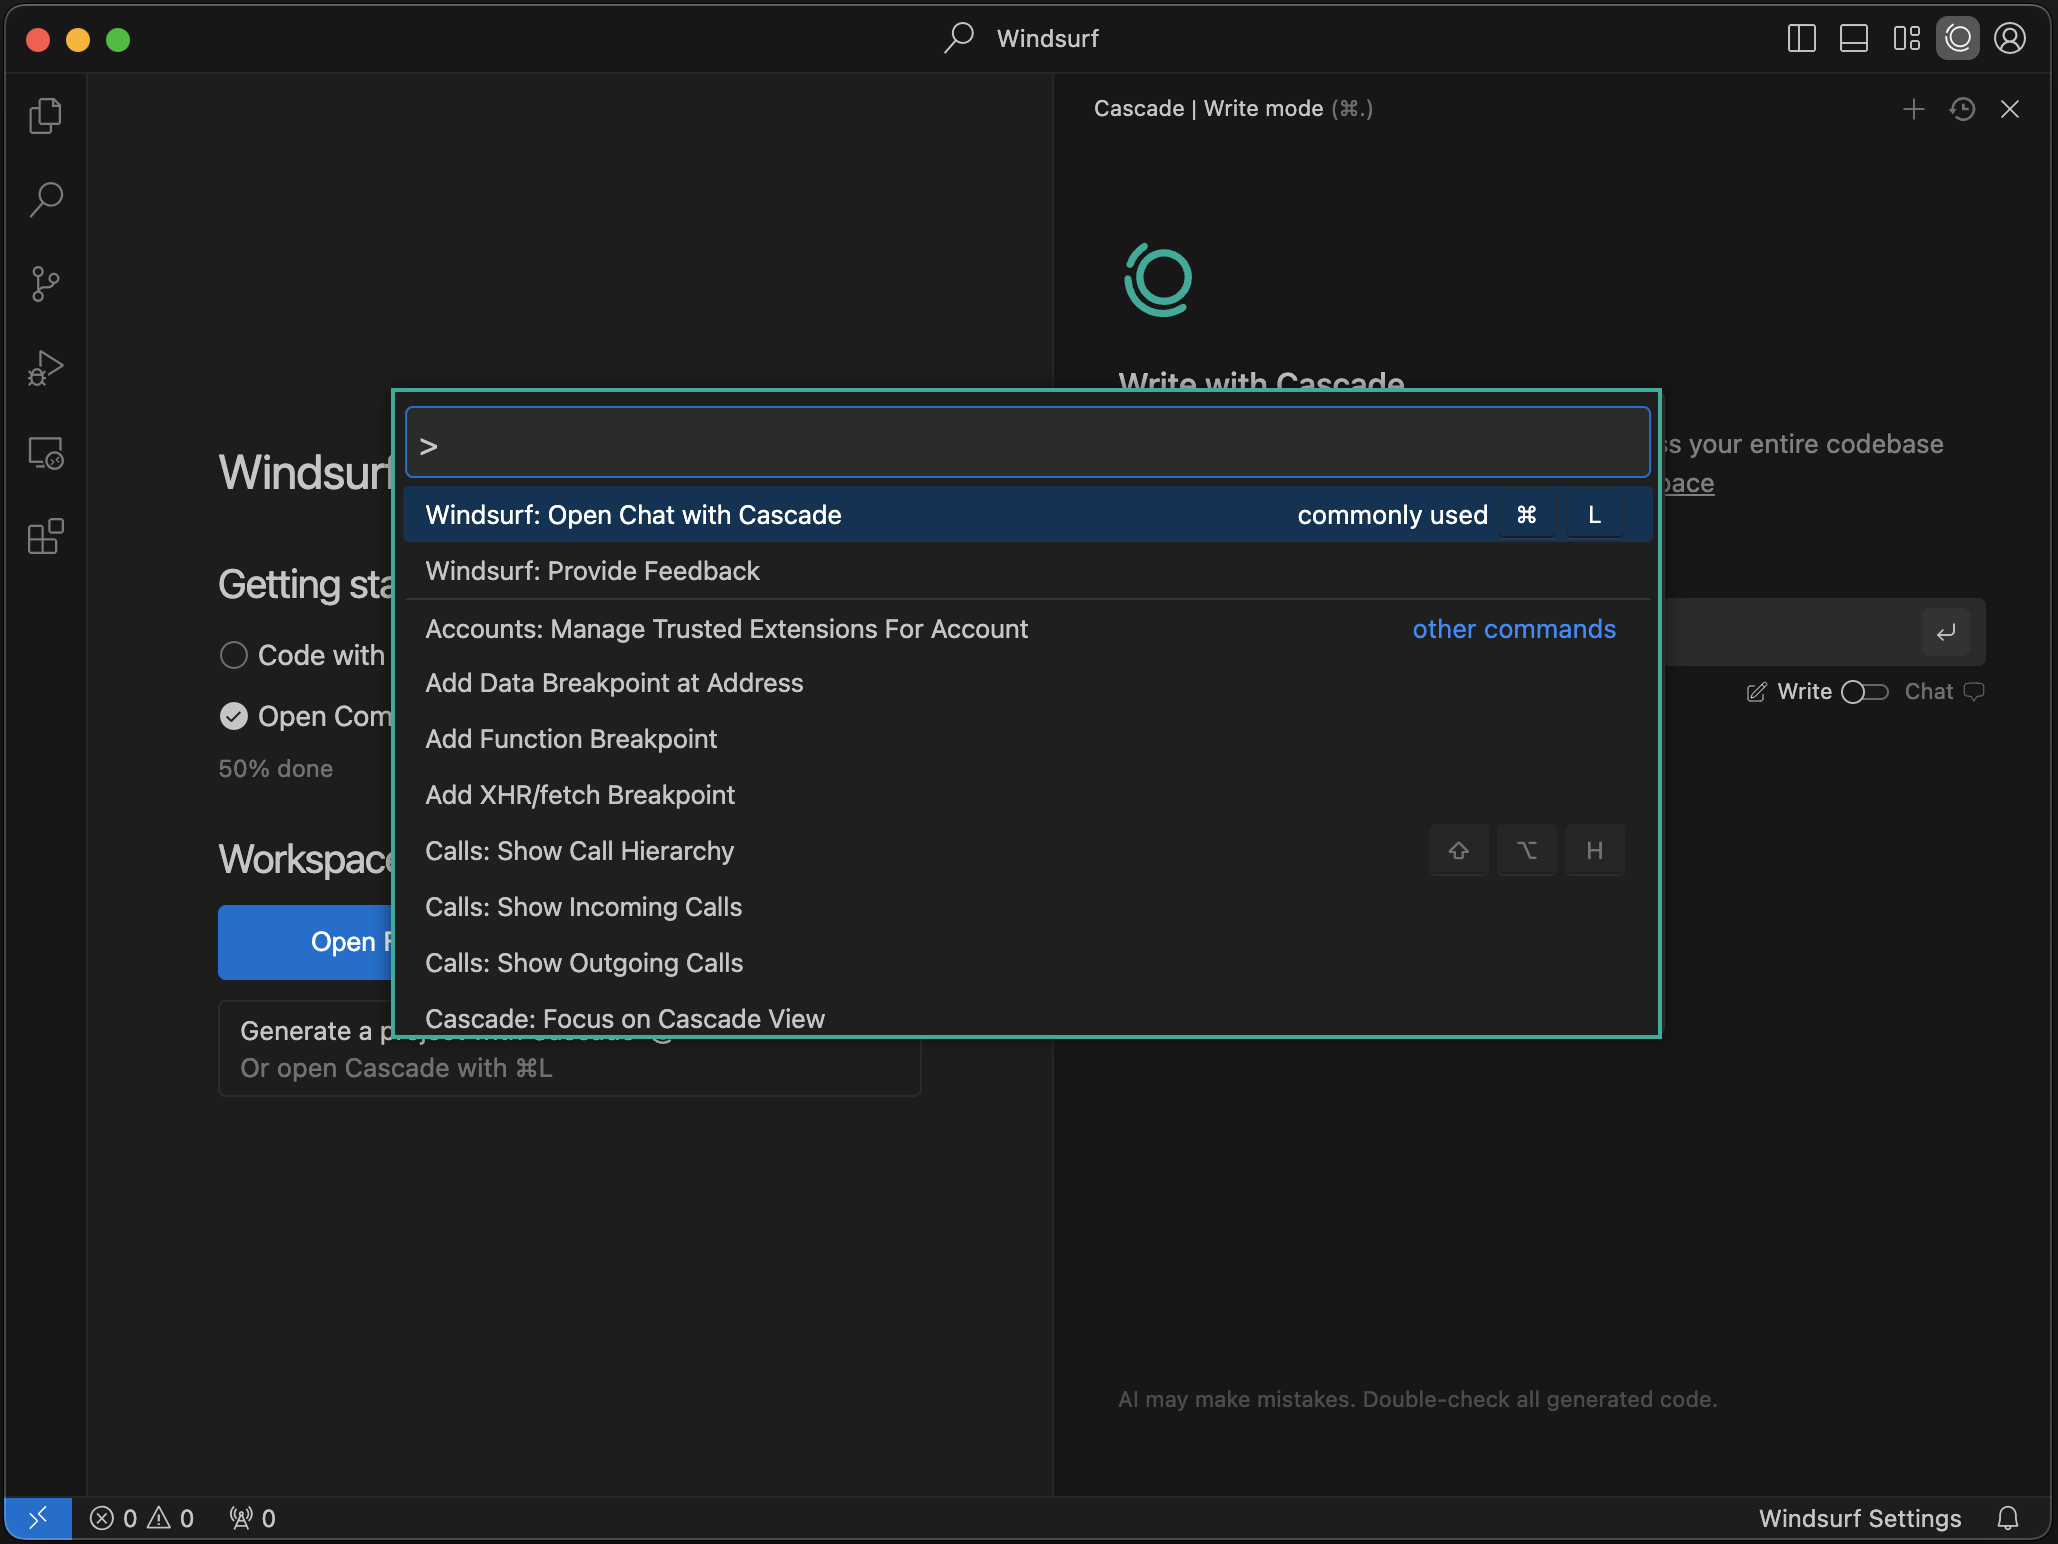 你可以使用快捷键 `⌘+⇧+P` (Mac) 或 `Ctrl+Shift+P` (Windows/Linux) 打开命令面板。来探索可用命令吧!
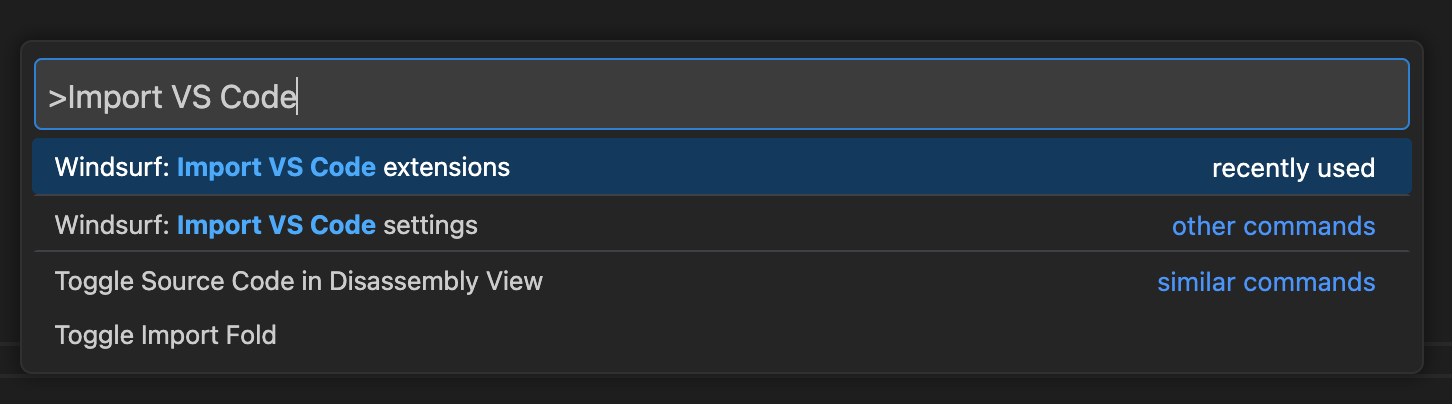
## 忘了导入 VS Code 配置?
如果你在完成上手流程后才决定导入,也可以轻松将 VS Code/Cursor 的配置导入到 Windsurf。
打开命令面板 (Mac: `⌘+⇧+P`,Windows/Linux: `Ctrl+Shift+P`) ,然后输入以下内容:

## 不兼容的扩展
有一些扩展与 Windsurf 不兼容,其中包括其他 AI 代码补全扩展以及专有扩展。你无法通过任何市场在 Windsurf 中安装扩展。
## 自定义应用图标 (测试版)
对于 Windsurf 的付费用户,您可以在停靠栏中为 Windsurf 选择不同的应用图标。目前此功能仅适用于 macOS,其他操作系统即将支持。
要更改应用图标,只需点击编辑器右上角的个人资料/设置图标,然后选择“Customize App Icon”。
## Windsurf Next
Windsurf Next 是 Windsurf 的预发布版本。用户可以自愿加入,尽早体验最新功能与特性,即使这些功能尚未完全打磨。新功能通常会先在 Windsurf Next 上推出,随后不久进入稳定版。
你可以通过[在此下载](https://windsurf.com/editor/download-next)轻松加入 Windsurf Next。
## 卸载 Windsurf
要从系统中卸载 Windsurf,请按以下步骤操作:
在继续卸载前,请确保 Windsurf 未在运行。
将“应用程序”文件夹中的 Windsurf 拖到“废纸篓”。
应用程序通常位于以下路径之一:
* `C:\Program Files\Windsurf`
* `C:\Users\[YourUsername]\AppData\Local\Programs\Windsurf`
从相应位置删除 Windsurf 文件夹。
从安装位置删除 Windsurf 文件夹。
删除 Windsurf 配置文件夹:
```bash theme={null}
rm -rf ~/.codeium/windsurf
```
删除 Windsurf 配置文件夹:
```
C:\Users\[YourUsername]\.codeium\windsurf
```
- 如果你已将 Windsurf 添加到 PATH,请从系统的 PATH 环境变量中移除它。
- 如果你通过系统的包管理器或控制面板安装了 Windsurf,也可使用相同方式卸载。
- 清空“废纸篓”或“回收站”以完成卸载。