> ## Documentation Index
> Fetch the complete documentation index at: https://docs.windsurf.com/llms.txt
> Use this file to discover all available pages before exploring further.
# App Deploys
> Deploy web applications directly from Windsurf to Netlify with public URLs, automatic builds, and project claiming for Next.js, React, Vue, and Svelte.
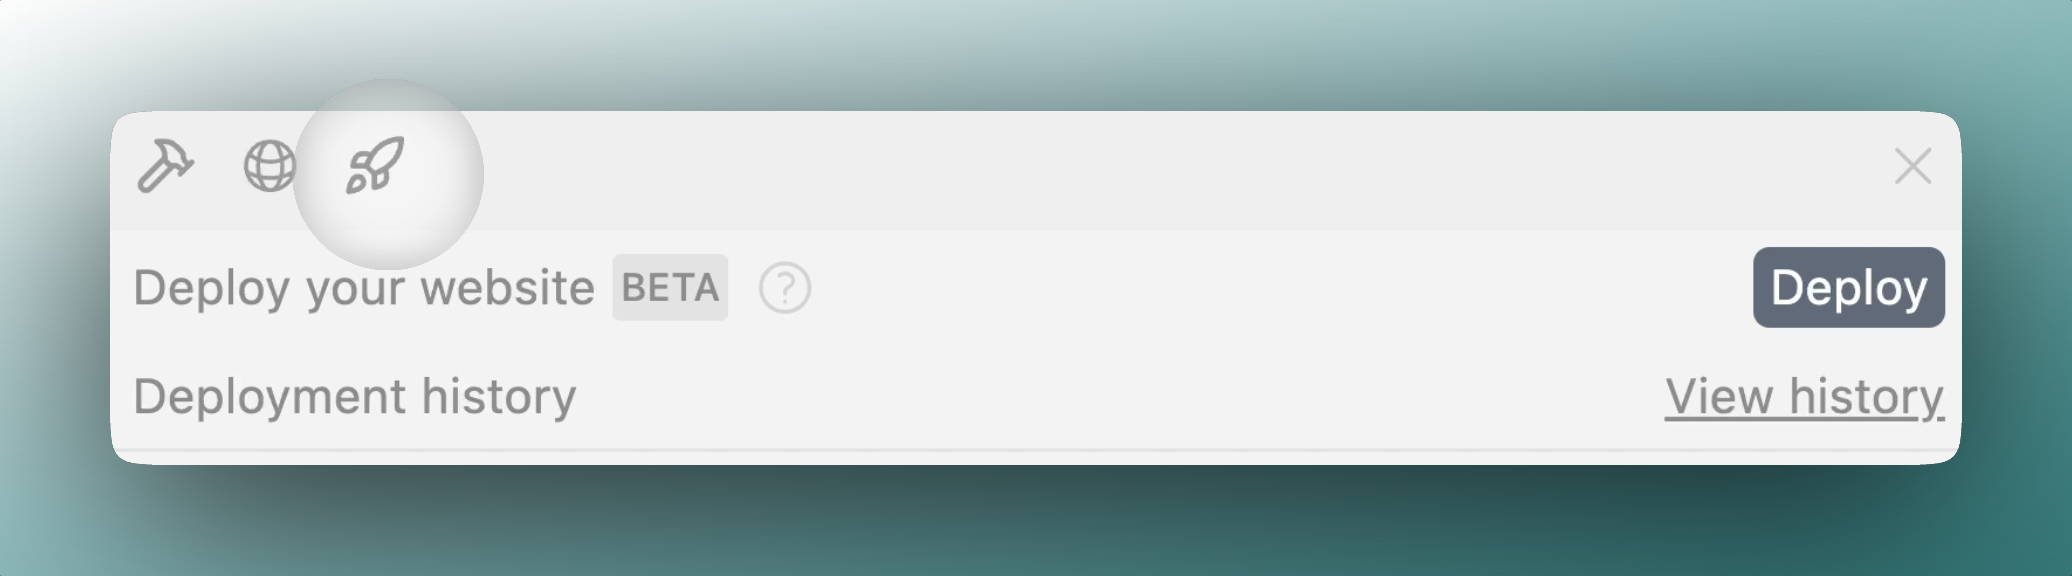
App Deploys lets you deploy web applications and sites directly within Windsurf through Cascade tool calls. This feature helps you share your work through public URLs, update your deployments, and claim projects for further customization. This feature is in beta and support for additional frameworks, more robust builds, etc. are coming soon.
 ## Overview
With App Deploys, you can:
* Deploy a website or JS web app to a public domain
* Re-deploy to the same URL after making changes
* Claim the project to your personal account
App Deploys are intended primarily for preview purposes. For production
applications with sensitive data, we recommend claiming your deployment and
following security best practices.
## Supported Providers
We currently support the following deployment provider:
* **Netlify** - For static sites and web applications
Support for additional providers are planned for future releases.
## How It Works
When you use App Deploys, your code is uploaded to our server and deployed to the provider under our umbrella account. The deployed site will be available at a public URL formatted as:
```
.windsurf.build
```
### Deployment Process
1. Cascade analyzes your project to determine the appropriate framework
2. Your project files are securely uploaded to our server
3. The deployment is created on the provider's platform
4. You receive a public URL and a claim link
### Project Configuration
To facilitate redeployment, we create a `windsurf_deployment.yaml` file at the root of your project. This file contains information for future deployments, such as a project ID and framework.
## Using App Deploys
To deploy your application, simply ask Cascade something like:
```
"Deploy this project to Netlify"
"Update my deployment"
```
Cascade will guide you through the process and help troubleshoot common issues.
## Team Deploys
You will need Team admin priveleges to toggle this feature.
Users on Teams and Enterprise plans can connect their Netlify accounts with their Windsurf accounts and deploy to their Netlify Team.
This can be toggled in Team Settings, which you can access via the Profile page or by clicking [here](https://windsurf.com/team/settings).
## Security Considerations
Your code will be uploaded to our servers for deployment. Only deploy code
that you're comfortable sharing publicly.
We take several precautions to ensure security:
* File size limits and validation
* Rate limiting based on your account tier
* Secure handling of project files
For added privacy, visit [clear-cookies.windsurf.build](https://clear-cookies.windsurf.build) to check for and clear any cookies set by sites under `windsurf.build`. If any cookies show up, they shouldn't be there, and clearing them helps prevent cross-site cookie issues and keeps your experience clean.
Windsurf sites are built by humans and AI, and while we encourage the AI to make best practice decisions, it's smart to stay cautious. Windsurf isn't responsible for issues caused by sites deployed by our users.
## Claiming Your Deployment
After deploying, you'll receive a claim URL. By following this link, you can claim the project on your personal provider account, giving you:
* Full control over the deployment
* Access to provider-specific features
* Ability to modify the domain name
* Direct access to logs and build information
Unclaimed deployments may be deleted after a certain period. We recommend
claiming important projects promptly.
## Rate Limits
To prevent abuse, we apply these tier-based rate limits:
| Plan | Deployments per day | Max unclaimed sites |
| ---- | ------------------- | ------------------- |
| Free | 1 | 1 |
| Pro | 10 | 5 |
## Supported Frameworks
App Deploys works with most popular JavaScript frameworks, including:
* Next.js
* React
* Vue
* Svelte
* Static HTML/CSS/JS sites
## Troubleshooting
### Failed Deployment Build
If your deployment fails:
1. Check the build logs provided by Cascade
2. Ensure your project can build locally (run `npm run build` to test)
3. Verify that your project follows the framework's recommended structure
4. View the documentation for how to deploy [your framework to Netlify via `netlify.toml`](https://docs.netlify.com/configure-builds/file-based-configuration/)
5. Consider claiming the project to access detailed logs on the provider's dashboard
We cannot provide direct support for framework-specific build errors. If your
deployment fails due to code issues, debug locally or claim the project to
work with the provider's support team.
### Netlify Site Not Found
## Overview
With App Deploys, you can:
* Deploy a website or JS web app to a public domain
* Re-deploy to the same URL after making changes
* Claim the project to your personal account
App Deploys are intended primarily for preview purposes. For production
applications with sensitive data, we recommend claiming your deployment and
following security best practices.
## Supported Providers
We currently support the following deployment provider:
* **Netlify** - For static sites and web applications
Support for additional providers are planned for future releases.
## How It Works
When you use App Deploys, your code is uploaded to our server and deployed to the provider under our umbrella account. The deployed site will be available at a public URL formatted as:
```
.windsurf.build
```
### Deployment Process
1. Cascade analyzes your project to determine the appropriate framework
2. Your project files are securely uploaded to our server
3. The deployment is created on the provider's platform
4. You receive a public URL and a claim link
### Project Configuration
To facilitate redeployment, we create a `windsurf_deployment.yaml` file at the root of your project. This file contains information for future deployments, such as a project ID and framework.
## Using App Deploys
To deploy your application, simply ask Cascade something like:
```
"Deploy this project to Netlify"
"Update my deployment"
```
Cascade will guide you through the process and help troubleshoot common issues.
## Team Deploys
You will need Team admin priveleges to toggle this feature.
Users on Teams and Enterprise plans can connect their Netlify accounts with their Windsurf accounts and deploy to their Netlify Team.
This can be toggled in Team Settings, which you can access via the Profile page or by clicking [here](https://windsurf.com/team/settings).
## Security Considerations
Your code will be uploaded to our servers for deployment. Only deploy code
that you're comfortable sharing publicly.
We take several precautions to ensure security:
* File size limits and validation
* Rate limiting based on your account tier
* Secure handling of project files
For added privacy, visit [clear-cookies.windsurf.build](https://clear-cookies.windsurf.build) to check for and clear any cookies set by sites under `windsurf.build`. If any cookies show up, they shouldn't be there, and clearing them helps prevent cross-site cookie issues and keeps your experience clean.
Windsurf sites are built by humans and AI, and while we encourage the AI to make best practice decisions, it's smart to stay cautious. Windsurf isn't responsible for issues caused by sites deployed by our users.
## Claiming Your Deployment
After deploying, you'll receive a claim URL. By following this link, you can claim the project on your personal provider account, giving you:
* Full control over the deployment
* Access to provider-specific features
* Ability to modify the domain name
* Direct access to logs and build information
Unclaimed deployments may be deleted after a certain period. We recommend
claiming important projects promptly.
## Rate Limits
To prevent abuse, we apply these tier-based rate limits:
| Plan | Deployments per day | Max unclaimed sites |
| ---- | ------------------- | ------------------- |
| Free | 1 | 1 |
| Pro | 10 | 5 |
## Supported Frameworks
App Deploys works with most popular JavaScript frameworks, including:
* Next.js
* React
* Vue
* Svelte
* Static HTML/CSS/JS sites
## Troubleshooting
### Failed Deployment Build
If your deployment fails:
1. Check the build logs provided by Cascade
2. Ensure your project can build locally (run `npm run build` to test)
3. Verify that your project follows the framework's recommended structure
4. View the documentation for how to deploy [your framework to Netlify via `netlify.toml`](https://docs.netlify.com/configure-builds/file-based-configuration/)
5. Consider claiming the project to access detailed logs on the provider's dashboard
We cannot provide direct support for framework-specific build errors. If your
deployment fails due to code issues, debug locally or claim the project to
work with the provider's support team.
### Netlify Site Not Found
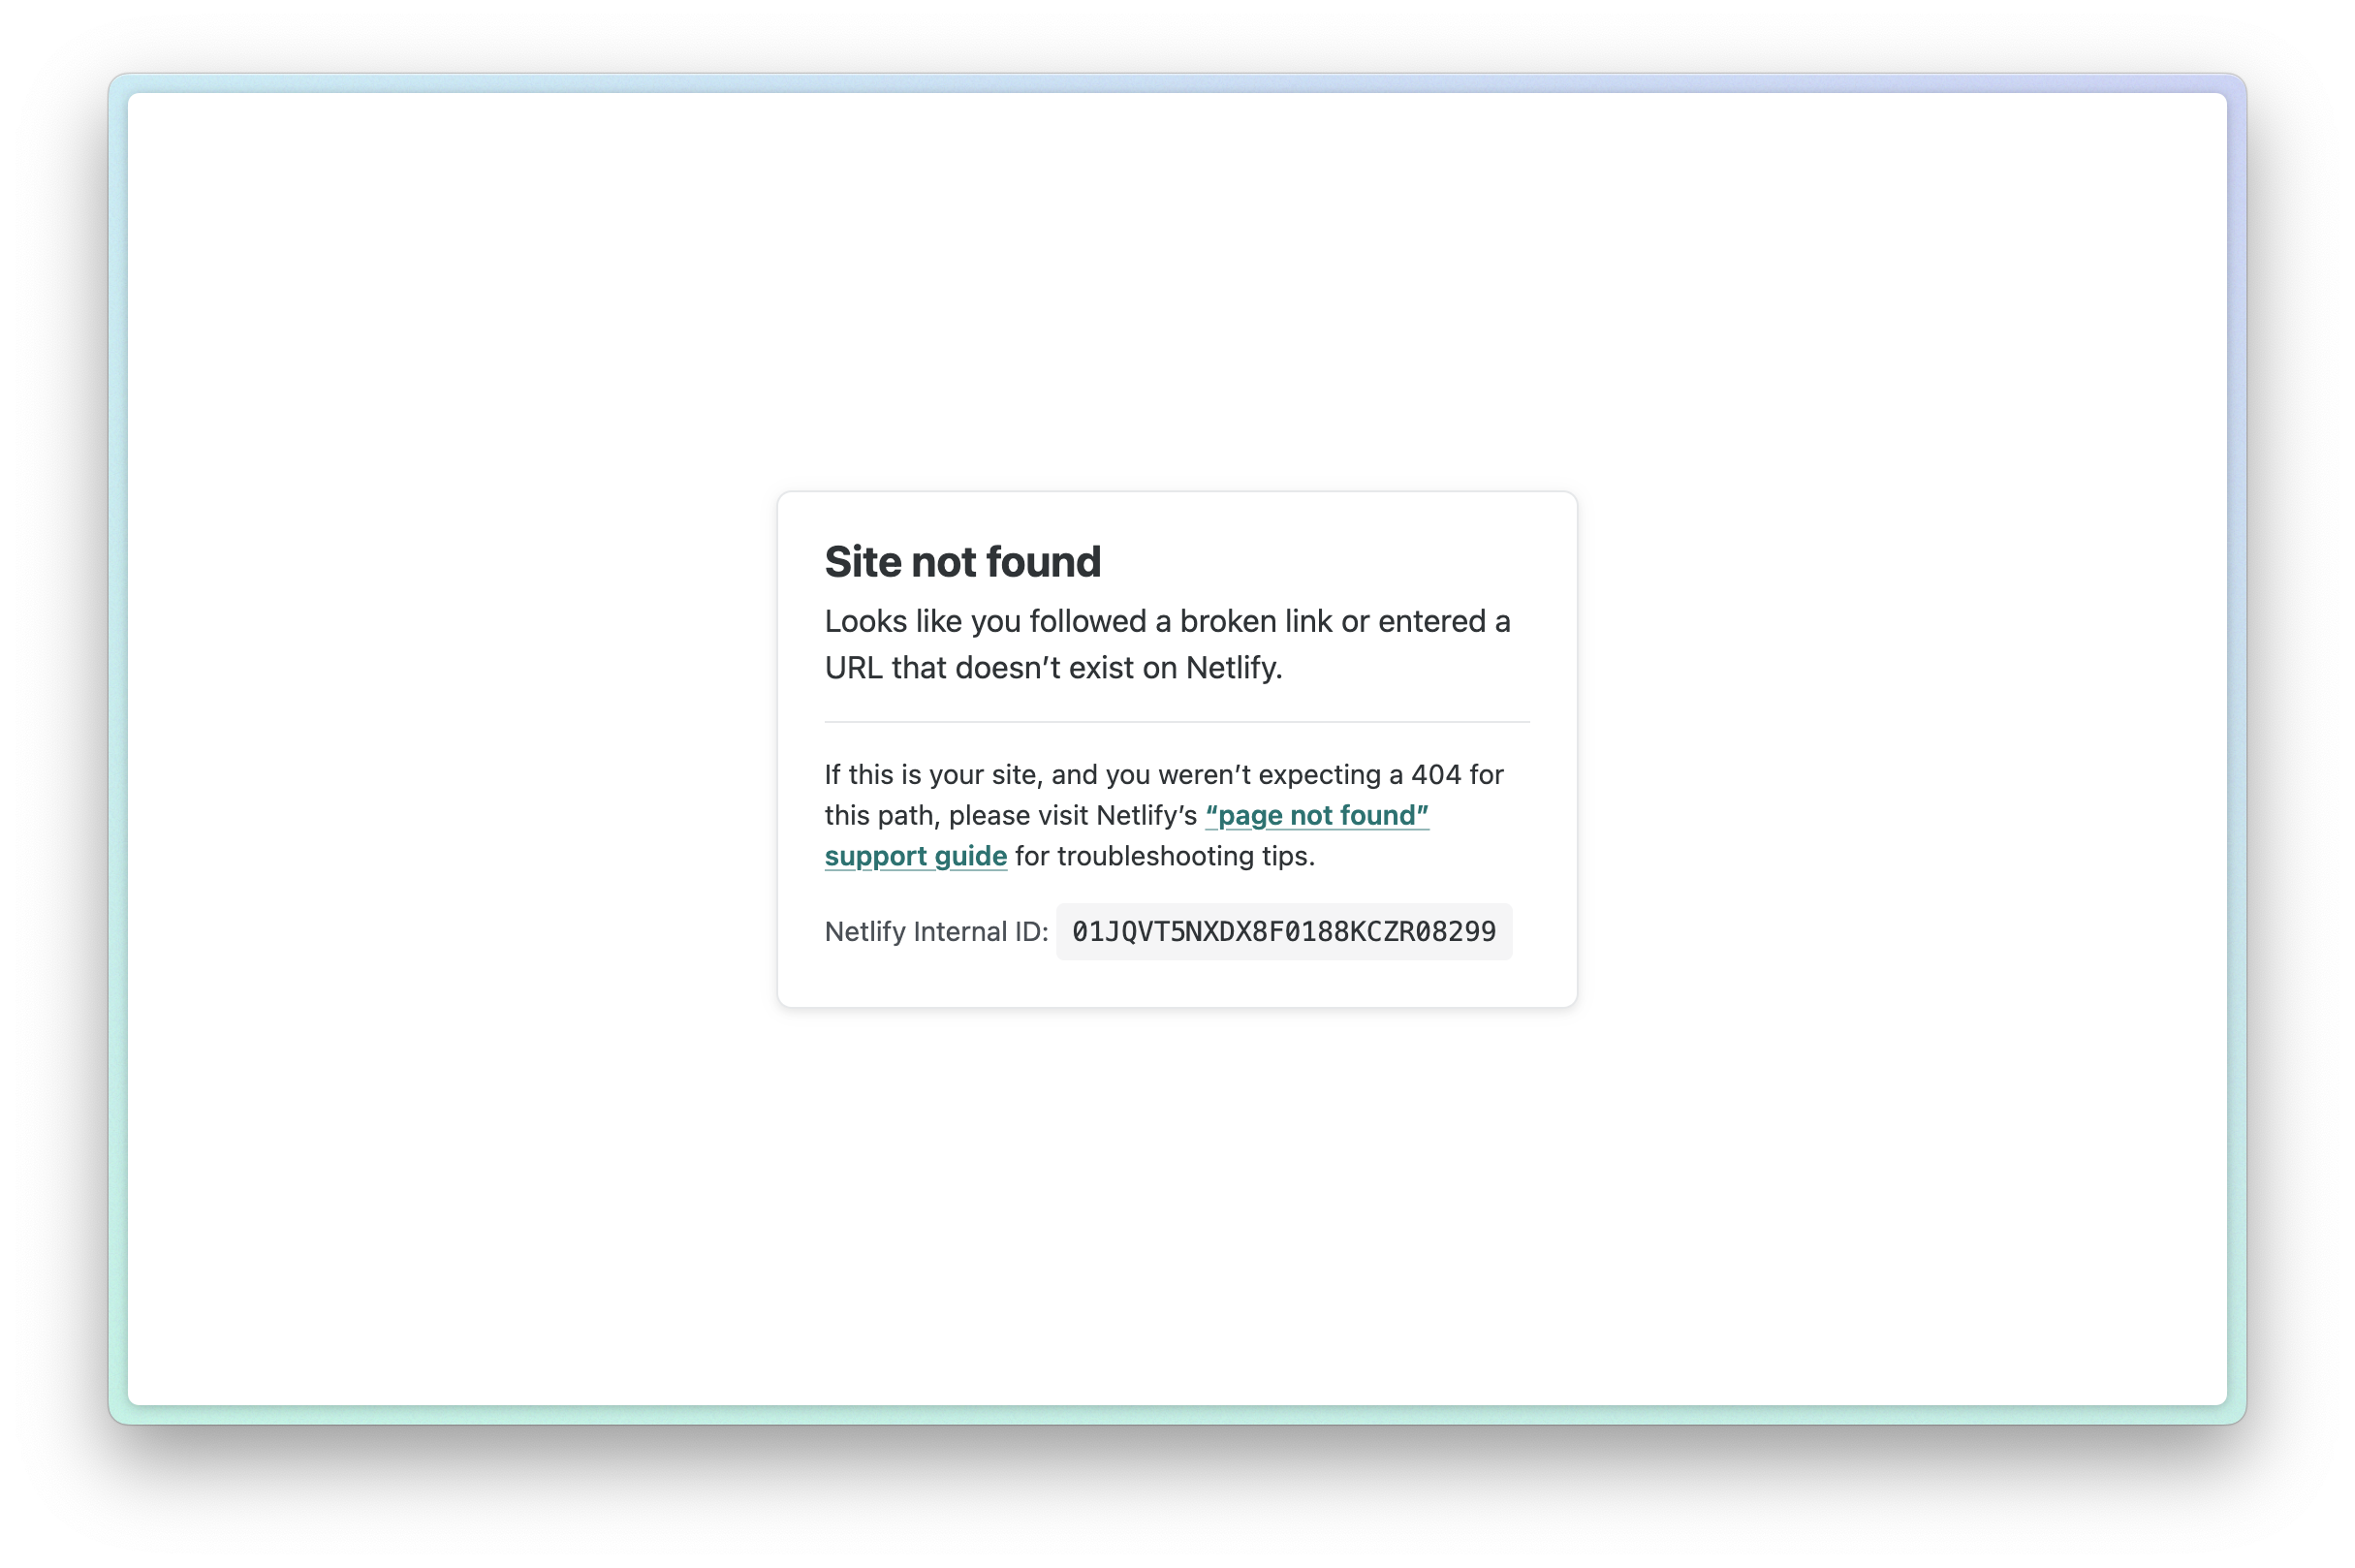 This likely means that your build failed. Please claim your site (you can find it on your [deploy history](https://windsurf.com/deploy)) and check the build logs for more details. Often times you can paste your build logs into Cascade and ask for help.
### Changing Your Subdomain / URL
#### Updating `netlify.app` domain
You can change your subdomain by claiming your deployment and updating the Netlify site settings. This will update your `.netlify.app` domain.
#### Updating custom `.windsurf.build` subdomain
You cannot change your custom `.windsurf.build` subdomain after you've
deployed. Instead, you'll need to deploy a new site with a new subdomain.
To update your custom `.windsurf.build` subdomain, you'll need to deploy a new site with a new subdomain:
1. Delete the `windsurf_config.yaml` file from your project
2. Ask Cascade to deploy a new site with a new subdomain and tell it which one you want
3. It can help to start a new conversation or clear your auto-generated memories so that Cascade doesn't try to re-deploy to the old subdomain
4. When you create a new deployment, you'll be able to press the "Edit" button on the subdomain UI to update it prior to pressing "Deploy"
### Error: `Unable to get project name for project ID`
This error occurs when your project ID is not found in our system of records or if Cascade is using the subdomain as the project ID incorrectly. To fix this:
1. Check that the project still exists in your Netlify account (assuming it is claimed).
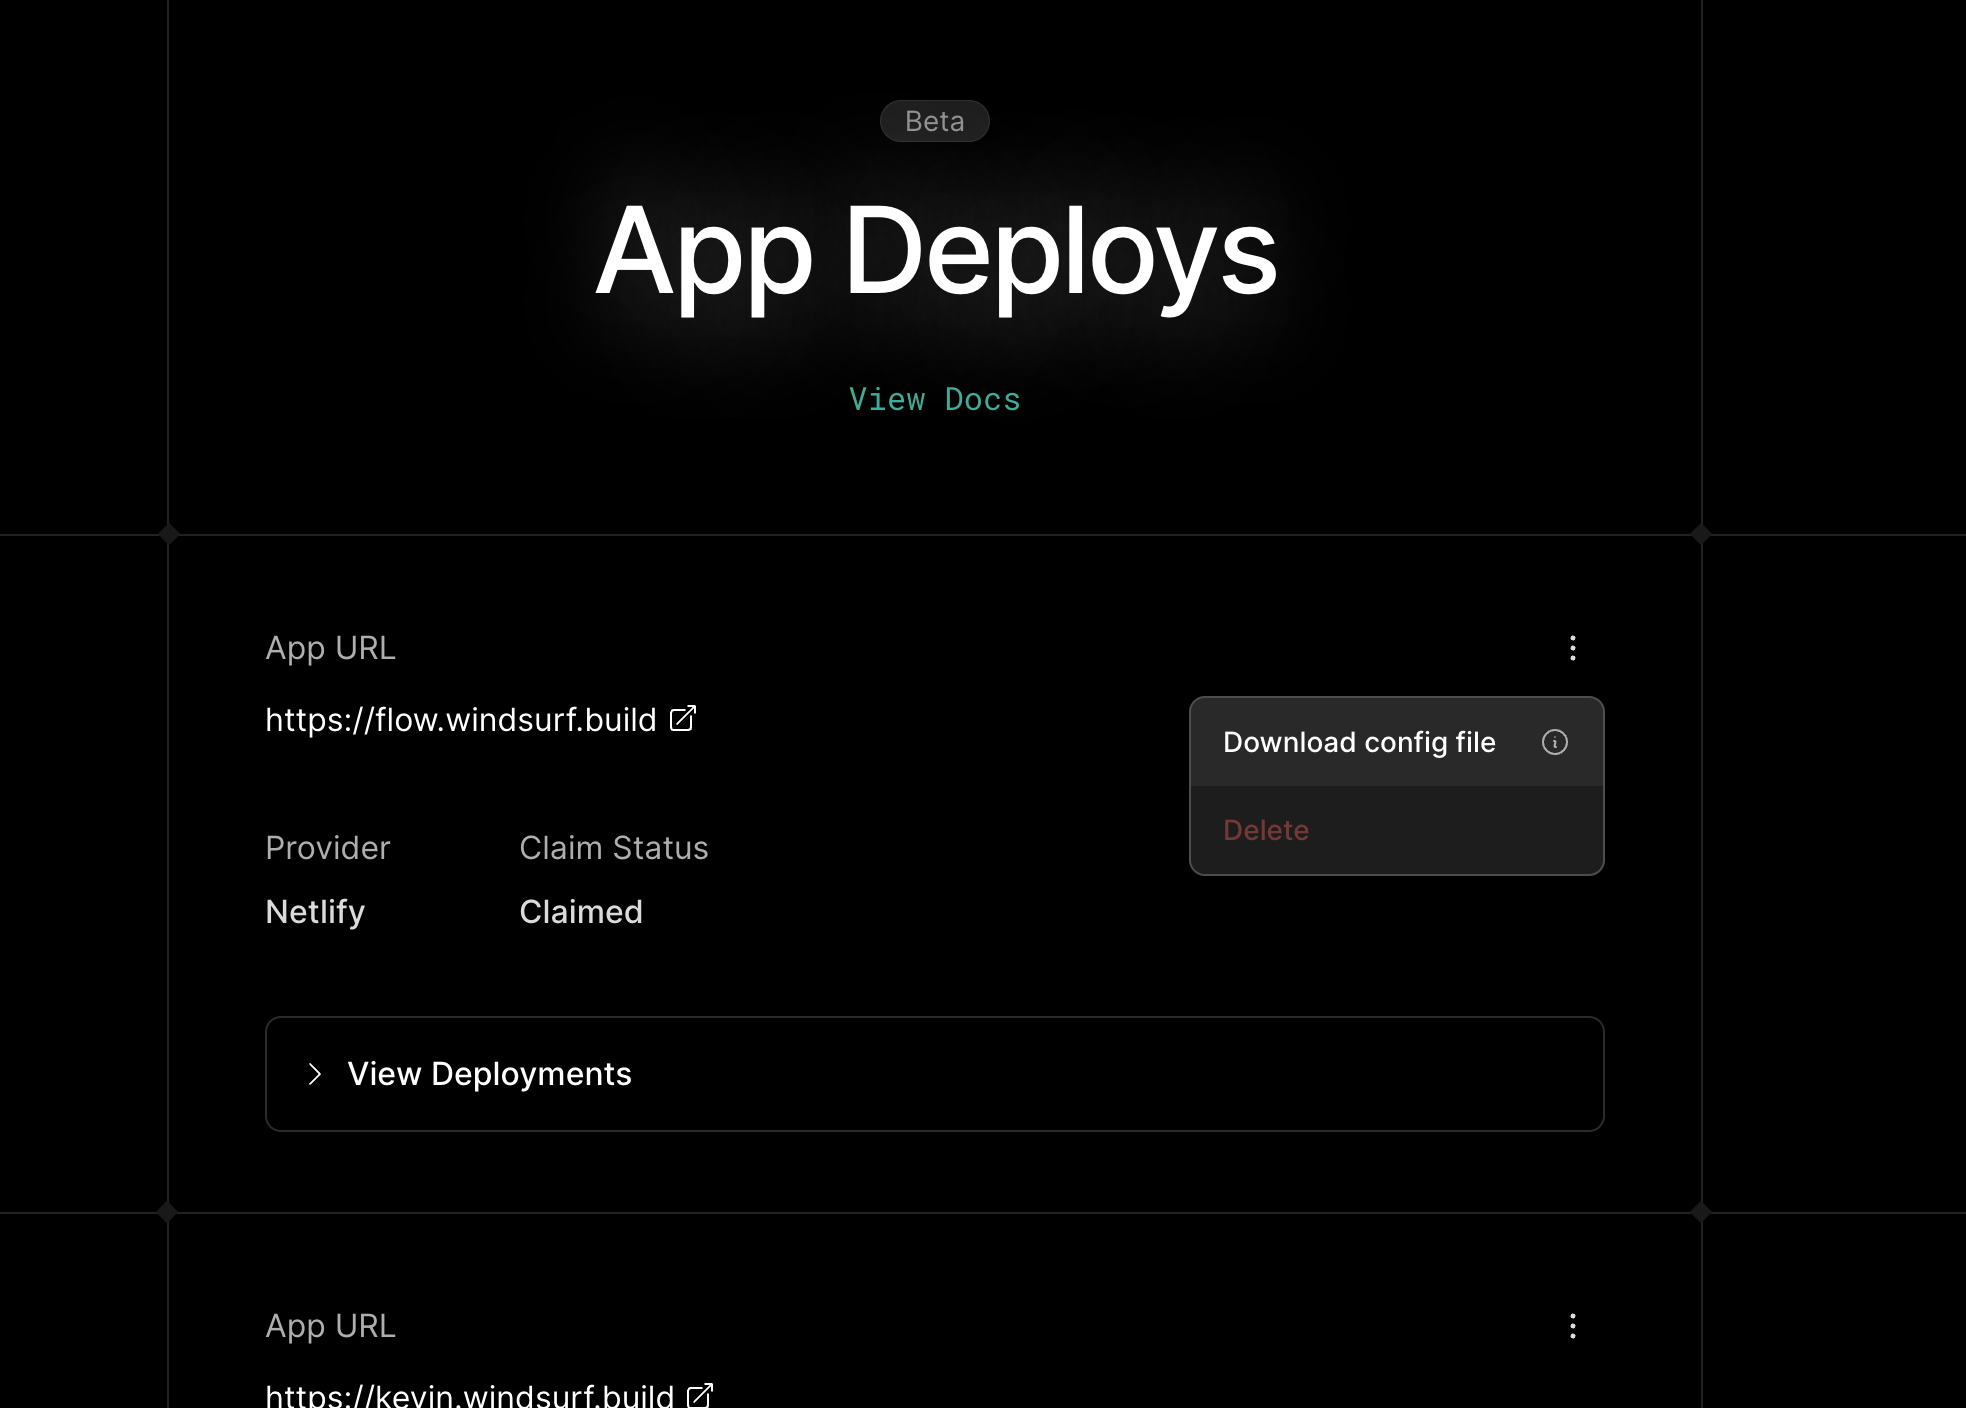
2. Check that the project ID is in the `windsurf_deployment.yaml` file. If it is not in the file, you can download your config file from your [deploy history](https://windsurf.com/deploy) dropdown.
3. Try redeploying and telling Cascade to use the `project_id` from the `windsurf_deployment.yaml` file more explicitly
This likely means that your build failed. Please claim your site (you can find it on your [deploy history](https://windsurf.com/deploy)) and check the build logs for more details. Often times you can paste your build logs into Cascade and ask for help.
### Changing Your Subdomain / URL
#### Updating `netlify.app` domain
You can change your subdomain by claiming your deployment and updating the Netlify site settings. This will update your `.netlify.app` domain.
#### Updating custom `.windsurf.build` subdomain
You cannot change your custom `.windsurf.build` subdomain after you've
deployed. Instead, you'll need to deploy a new site with a new subdomain.
To update your custom `.windsurf.build` subdomain, you'll need to deploy a new site with a new subdomain:
1. Delete the `windsurf_config.yaml` file from your project
2. Ask Cascade to deploy a new site with a new subdomain and tell it which one you want
3. It can help to start a new conversation or clear your auto-generated memories so that Cascade doesn't try to re-deploy to the old subdomain
4. When you create a new deployment, you'll be able to press the "Edit" button on the subdomain UI to update it prior to pressing "Deploy"
### Error: `Unable to get project name for project ID`
This error occurs when your project ID is not found in our system of records or if Cascade is using the subdomain as the project ID incorrectly. To fix this:
1. Check that the project still exists in your Netlify account (assuming it is claimed).
2. Check that the project ID is in the `windsurf_deployment.yaml` file. If it is not in the file, you can download your config file from your [deploy history](https://windsurf.com/deploy) dropdown.
3. Try redeploying and telling Cascade to use the `project_id` from the `windsurf_deployment.yaml` file more explicitly