> ## Documentation Index
> Fetch the complete documentation index at: https://docs.windsurf.com/llms.txt
> Use this file to discover all available pages before exploring further.
# Welcome to Windsurf Plugins
> Install and set up Windsurf Plugins for JetBrains, VS Code, Visual Studio, Vim, NeoVim, Jupyter, Chrome, and other IDEs with AI-powered coding assistance.
**Windsurf Plugins** bring AI-powered coding assistance to your preferred IDE or editor.
Get started with your team!
}
href="/plugins/cascade/cascade-overview"
>
Windsurf's coding agent.
Credits and usage.
Models available for use.
## JetBrains (Local)
These steps do not apply for enterprises on a self-hosted plan.
If you are an enterprise user, please refer to the instructions in your enterprise portal.
For remote development environments, use the "Windsurf (Remote Development)" plugin instead. See the [Remote Development section](#remote-development) below.
Open the `Plugins` menu in your JetBrains IDE. The shortcut for this is `⌘+,` on Mac and `Ctrl+,` on Linux/Windows. It is also accessible from the settings menu.
Search for the Windsurf plugin, and install it. The plugin loader will prompt you to restart the IDE.
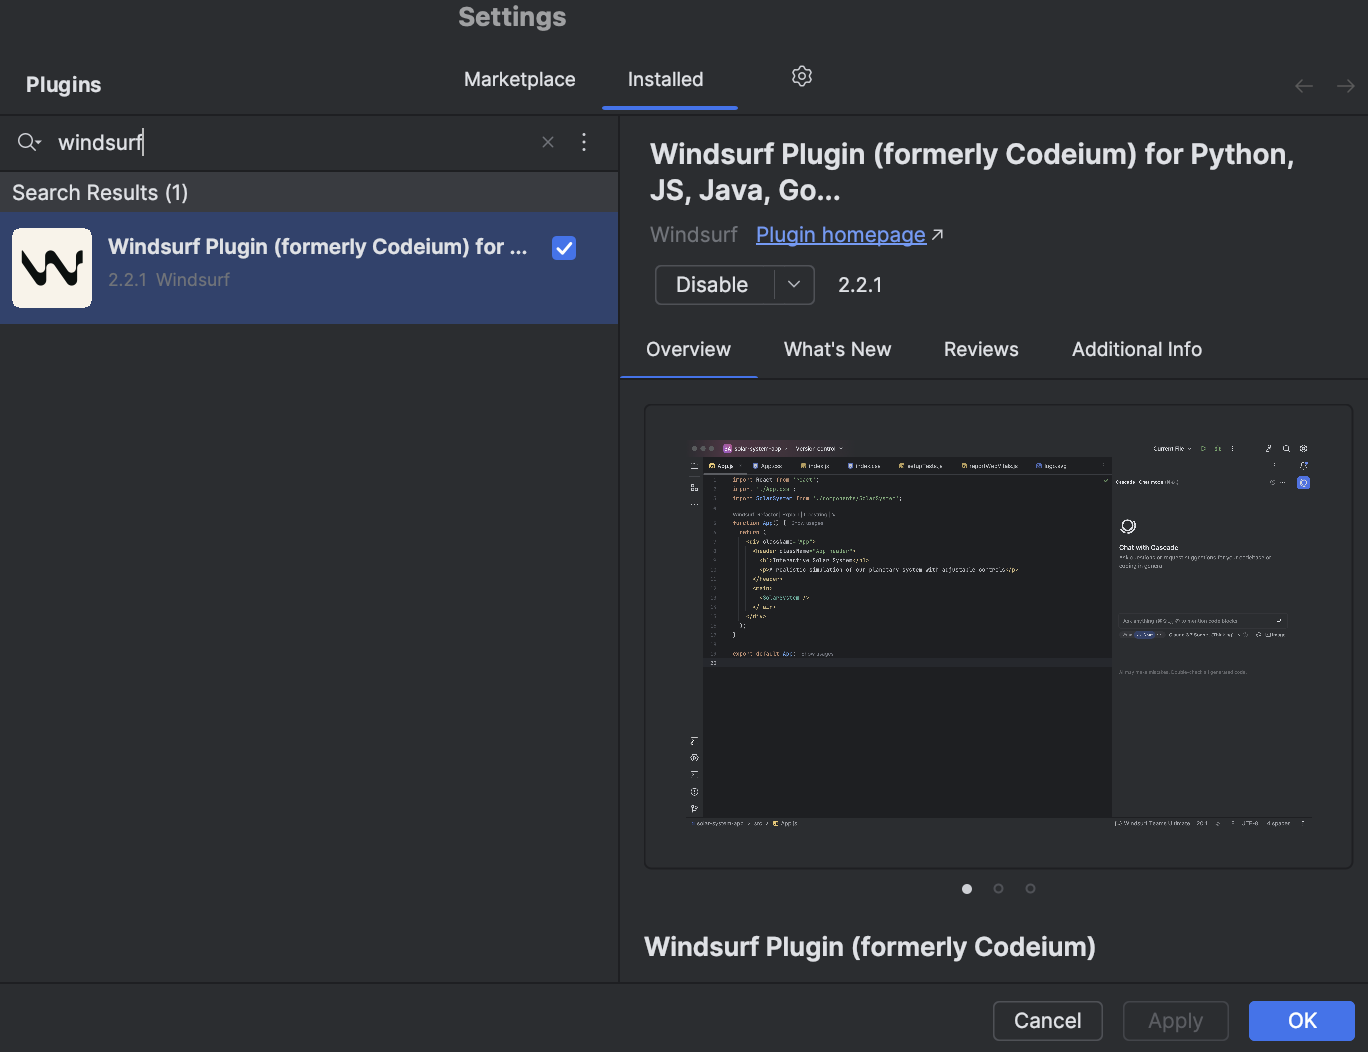 Upon successful installation, Windsurf will begin downloading a language server.
This is the program that communicates with our APIs to let you use Windsurf's AI features.
The download usually takes ten to twenty seconds, but the download speed may depend on your internet connection.
In the meantime, you are free to use your IDE as usual.
You should see a notification on the bottom right to indicate the progress of the download.
Upon successful installation, Windsurf will begin downloading a language server.
This is the program that communicates with our APIs to let you use Windsurf's AI features.
The download usually takes ten to twenty seconds, but the download speed may depend on your internet connection.
In the meantime, you are free to use your IDE as usual.
You should see a notification on the bottom right to indicate the progress of the download.
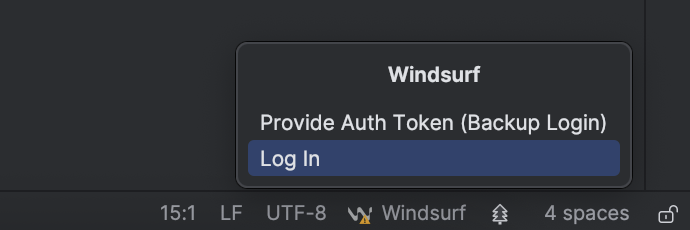
 Open a project. Windsurf will prompt you to sign in with a notification popup at the bottom right linking you to a login page.
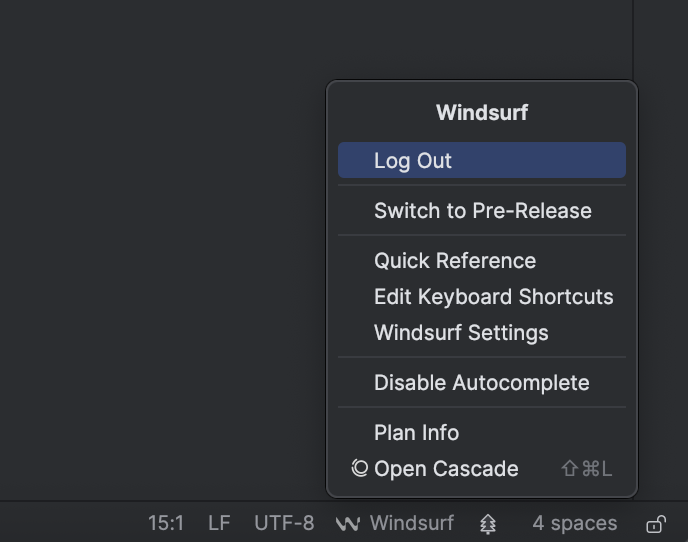
Equivalently, click the widget at the right of the bottom status bar and select the login option there.
Open a project. Windsurf will prompt you to sign in with a notification popup at the bottom right linking you to a login page.
Equivalently, click the widget at the right of the bottom status bar and select the login option there.
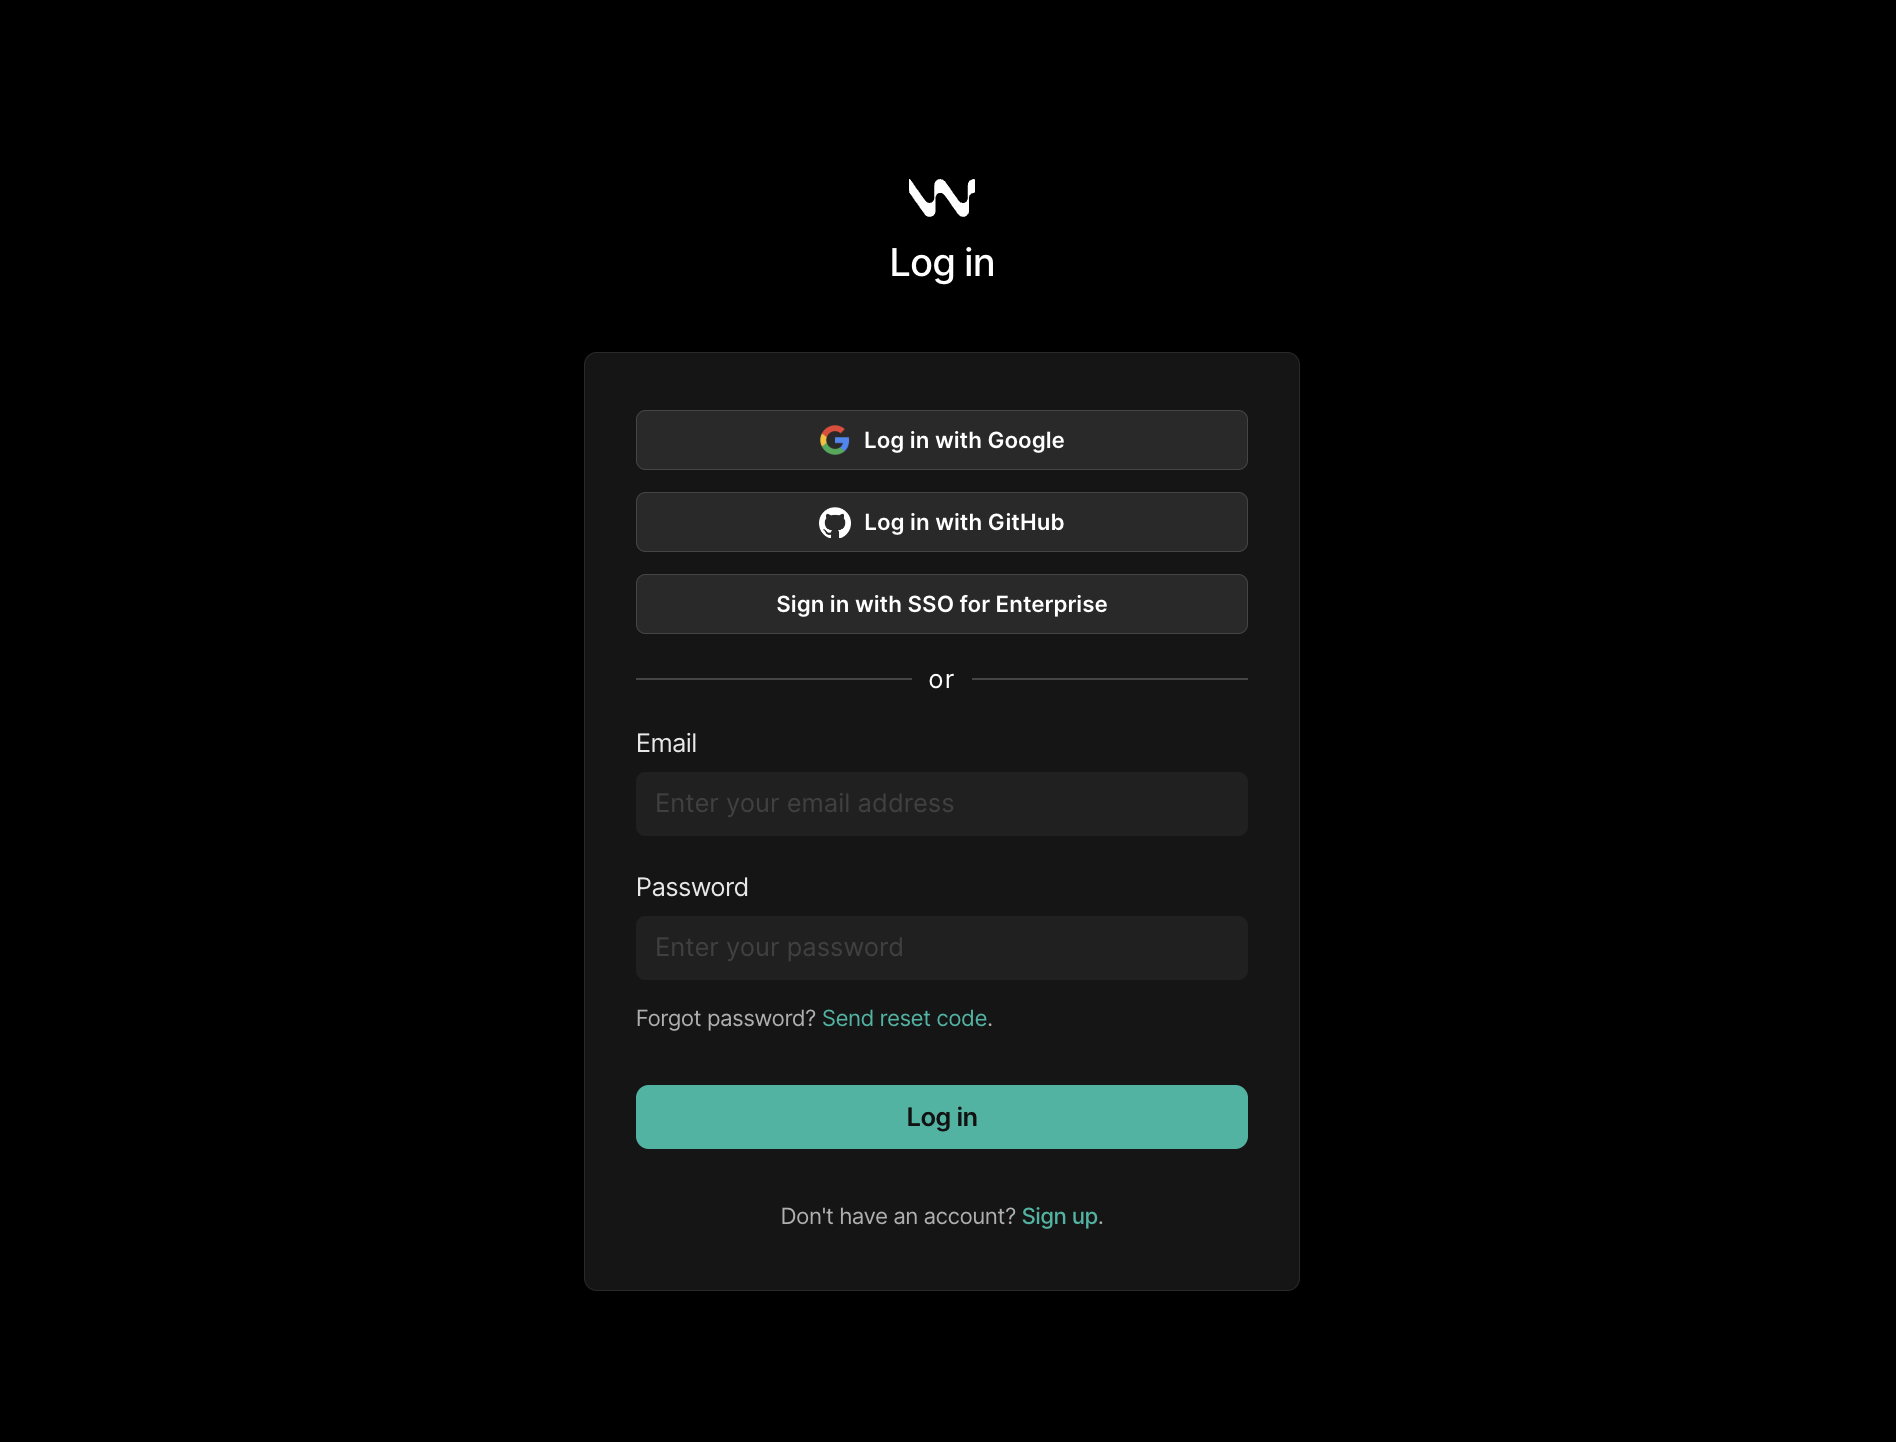
 If you're not already signed in, you'll be prompted to sign in or create an account.
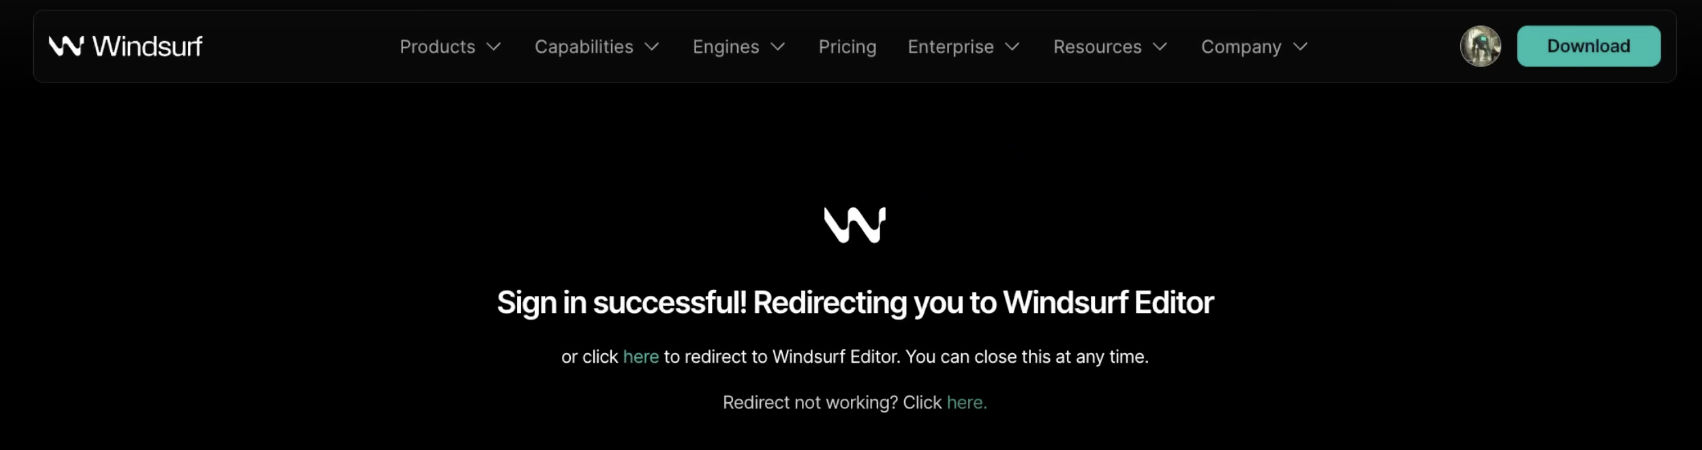
 Once you've signed in, the webpage will indicate that you can return to your IDE.
 You're all set. Windsurf's AI features — Autocomplete, Chat, Command, and more — are now available.
At any point, you can check your status by clicking the status bar widget at the bottom right.
If signed in, you will have access to your Windsurf settings and other controls.
If you'd like early access to new features, click on "Switch to Pre-Release"
to try out the [latest pre-release version](https://plugins.jetbrains.com/plugin/20540-windsurf-plugin-for-python-js-java-go--/versions/pre-release)
of the plugin.
You're all set. Windsurf's AI features — Autocomplete, Chat, Command, and more — are now available.
At any point, you can check your status by clicking the status bar widget at the bottom right.
If signed in, you will have access to your Windsurf settings and other controls.
If you'd like early access to new features, click on "Switch to Pre-Release"
to try out the [latest pre-release version](https://plugins.jetbrains.com/plugin/20540-windsurf-plugin-for-python-js-java-go--/versions/pre-release)
of the plugin.
 ### Remote Development
For JetBrains IDEs used in remote development environments, you need to use the separate "Windsurf (Remote Development)" plugin.
For advanced agentic AI capabilities and cutting-edge features, we strongly recommend using the native Windsurf Editor or the JetBrains local plugin. This plugin continues to receive the latest models, compatibility updates, and bug fixes, but does not include newer features exclusive to the Windsurf Editor.
#### Requirements
* JetBrains IDE version 2025.1.3 or greater
#### Installation Steps
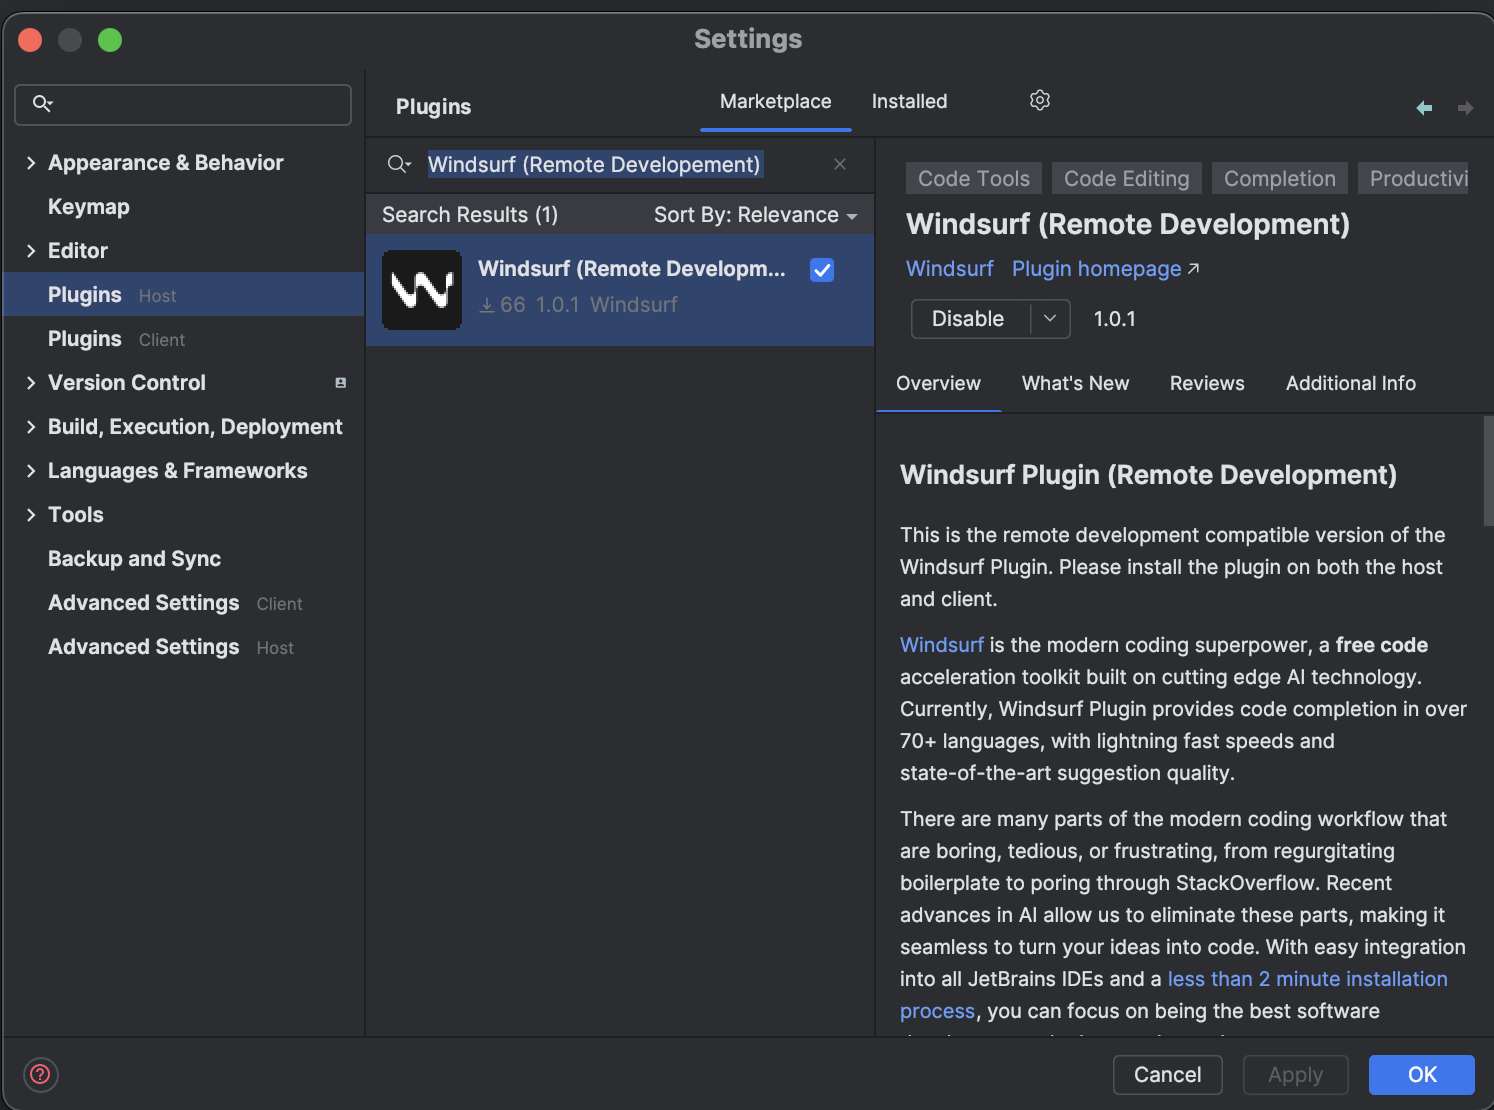
Open the `Plugins (Host)` menu in your JetBrains IDE. The shortcut for this is `⌘+,` on Mac and `Ctrl+,` on Linux/Windows. It is also accessible from the settings menu.
Search for **"Windsurf (Remote Development)"** and install it.
Restart your IDE when prompted.
### Remote Development
For JetBrains IDEs used in remote development environments, you need to use the separate "Windsurf (Remote Development)" plugin.
For advanced agentic AI capabilities and cutting-edge features, we strongly recommend using the native Windsurf Editor or the JetBrains local plugin. This plugin continues to receive the latest models, compatibility updates, and bug fixes, but does not include newer features exclusive to the Windsurf Editor.
#### Requirements
* JetBrains IDE version 2025.1.3 or greater
#### Installation Steps
Open the `Plugins (Host)` menu in your JetBrains IDE. The shortcut for this is `⌘+,` on Mac and `Ctrl+,` on Linux/Windows. It is also accessible from the settings menu.
Search for **"Windsurf (Remote Development)"** and install it.
Restart your IDE when prompted.
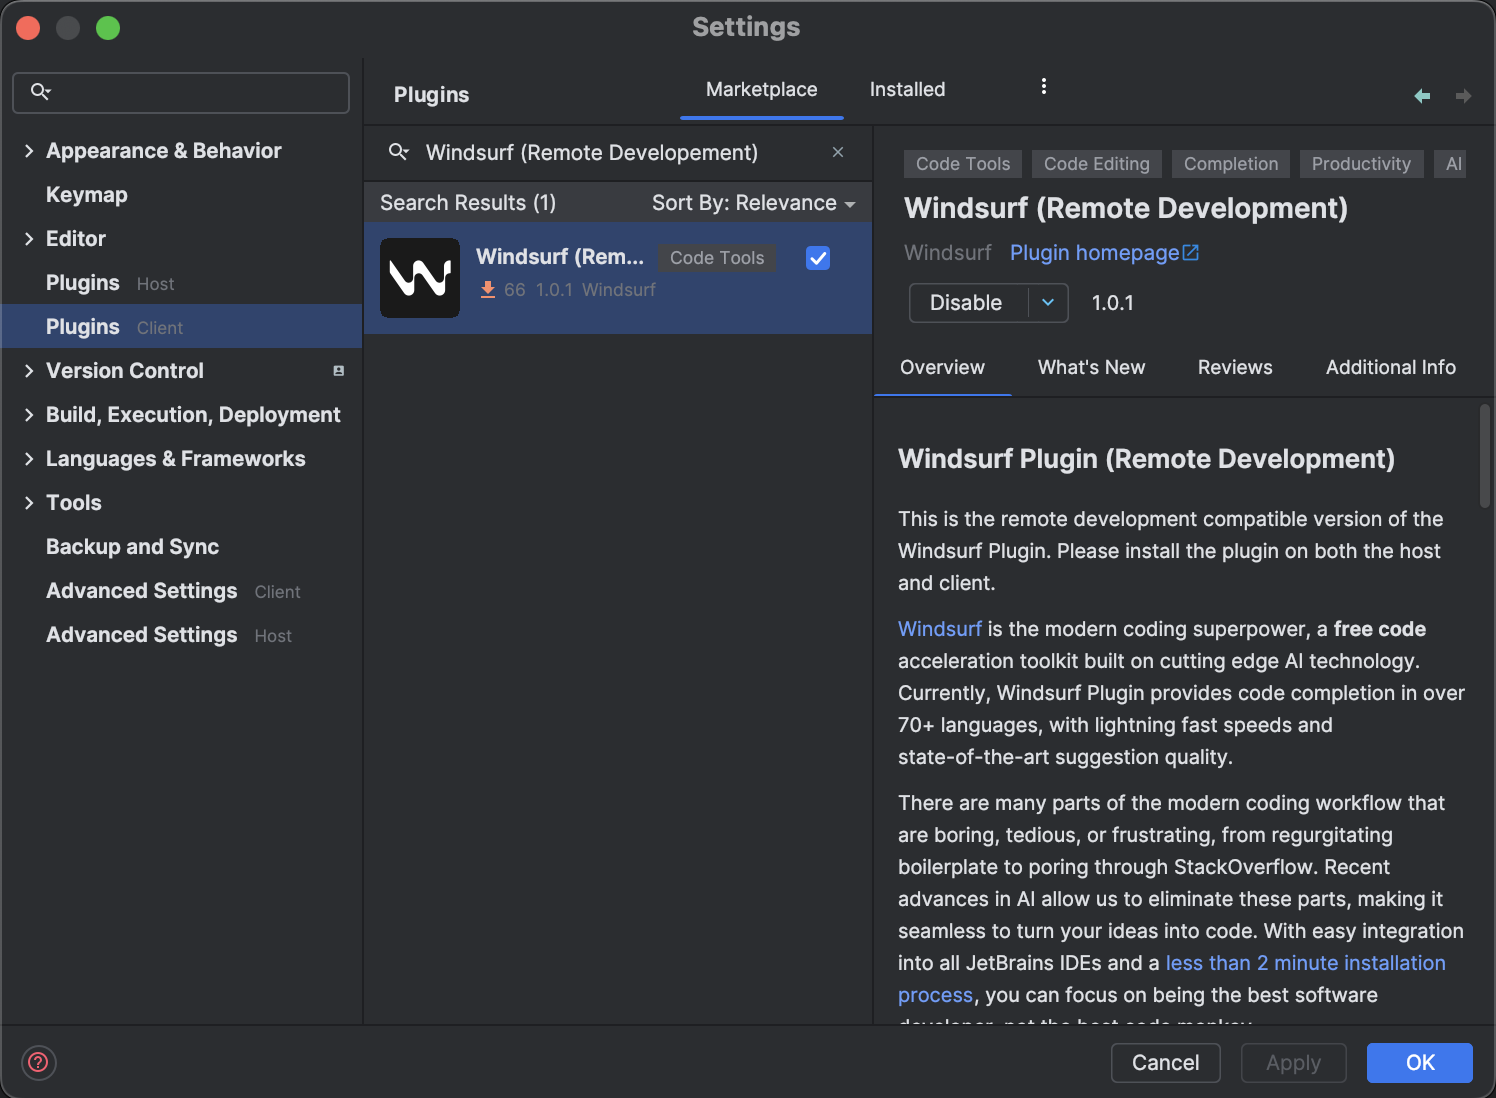
 Open the `Plugins (Client)` menu and search for **"Windsurf (Remote Development)"**.
Install the plugin and restart the IDE again.
Open the `Plugins (Client)` menu and search for **"Windsurf (Remote Development)"**.
Install the plugin and restart the IDE again.
 After installing the plugin on the host, Windsurf will begin downloading a language server.
This is the program that communicates with our APIs to let you use Windsurf's AI features.
The download usually takes ten to twenty seconds, but the download speed may depend on your internet connection.
In the meantime, you are free to use your IDE as usual.
You should see a notification on the bottom right to indicate the progress of the download.
After the language server download is completed, Windsurf will prompt you to sign in with a notification popup at the bottom right linking you to a login page.
Equivalently, click the widget at the right of the bottom status bar and select the login option there.
If you're not already signed in, you'll be prompted to sign in or create an account.
Once you've signed in, the webpage will indicate that you can return to your IDE.
You're all set. Windsurf's AI features are now available in your remote environment.
## Older Plugins
We strongly recommend using the native Windsurf Editor or the JetBrains local plugin for their advanced agentic AI capabilities and cutting-edge features.
The plugins below are in maintenance mode.
Find the Windsurf Plugin (formerly Codeium) in the VS Code Marketplace and install it.
After installing the plugin on the host, Windsurf will begin downloading a language server.
This is the program that communicates with our APIs to let you use Windsurf's AI features.
The download usually takes ten to twenty seconds, but the download speed may depend on your internet connection.
In the meantime, you are free to use your IDE as usual.
You should see a notification on the bottom right to indicate the progress of the download.
After the language server download is completed, Windsurf will prompt you to sign in with a notification popup at the bottom right linking you to a login page.
Equivalently, click the widget at the right of the bottom status bar and select the login option there.
If you're not already signed in, you'll be prompted to sign in or create an account.
Once you've signed in, the webpage will indicate that you can return to your IDE.
You're all set. Windsurf's AI features are now available in your remote environment.
## Older Plugins
We strongly recommend using the native Windsurf Editor or the JetBrains local plugin for their advanced agentic AI capabilities and cutting-edge features.
The plugins below are in maintenance mode.
Find the Windsurf Plugin (formerly Codeium) in the VS Code Marketplace and install it.
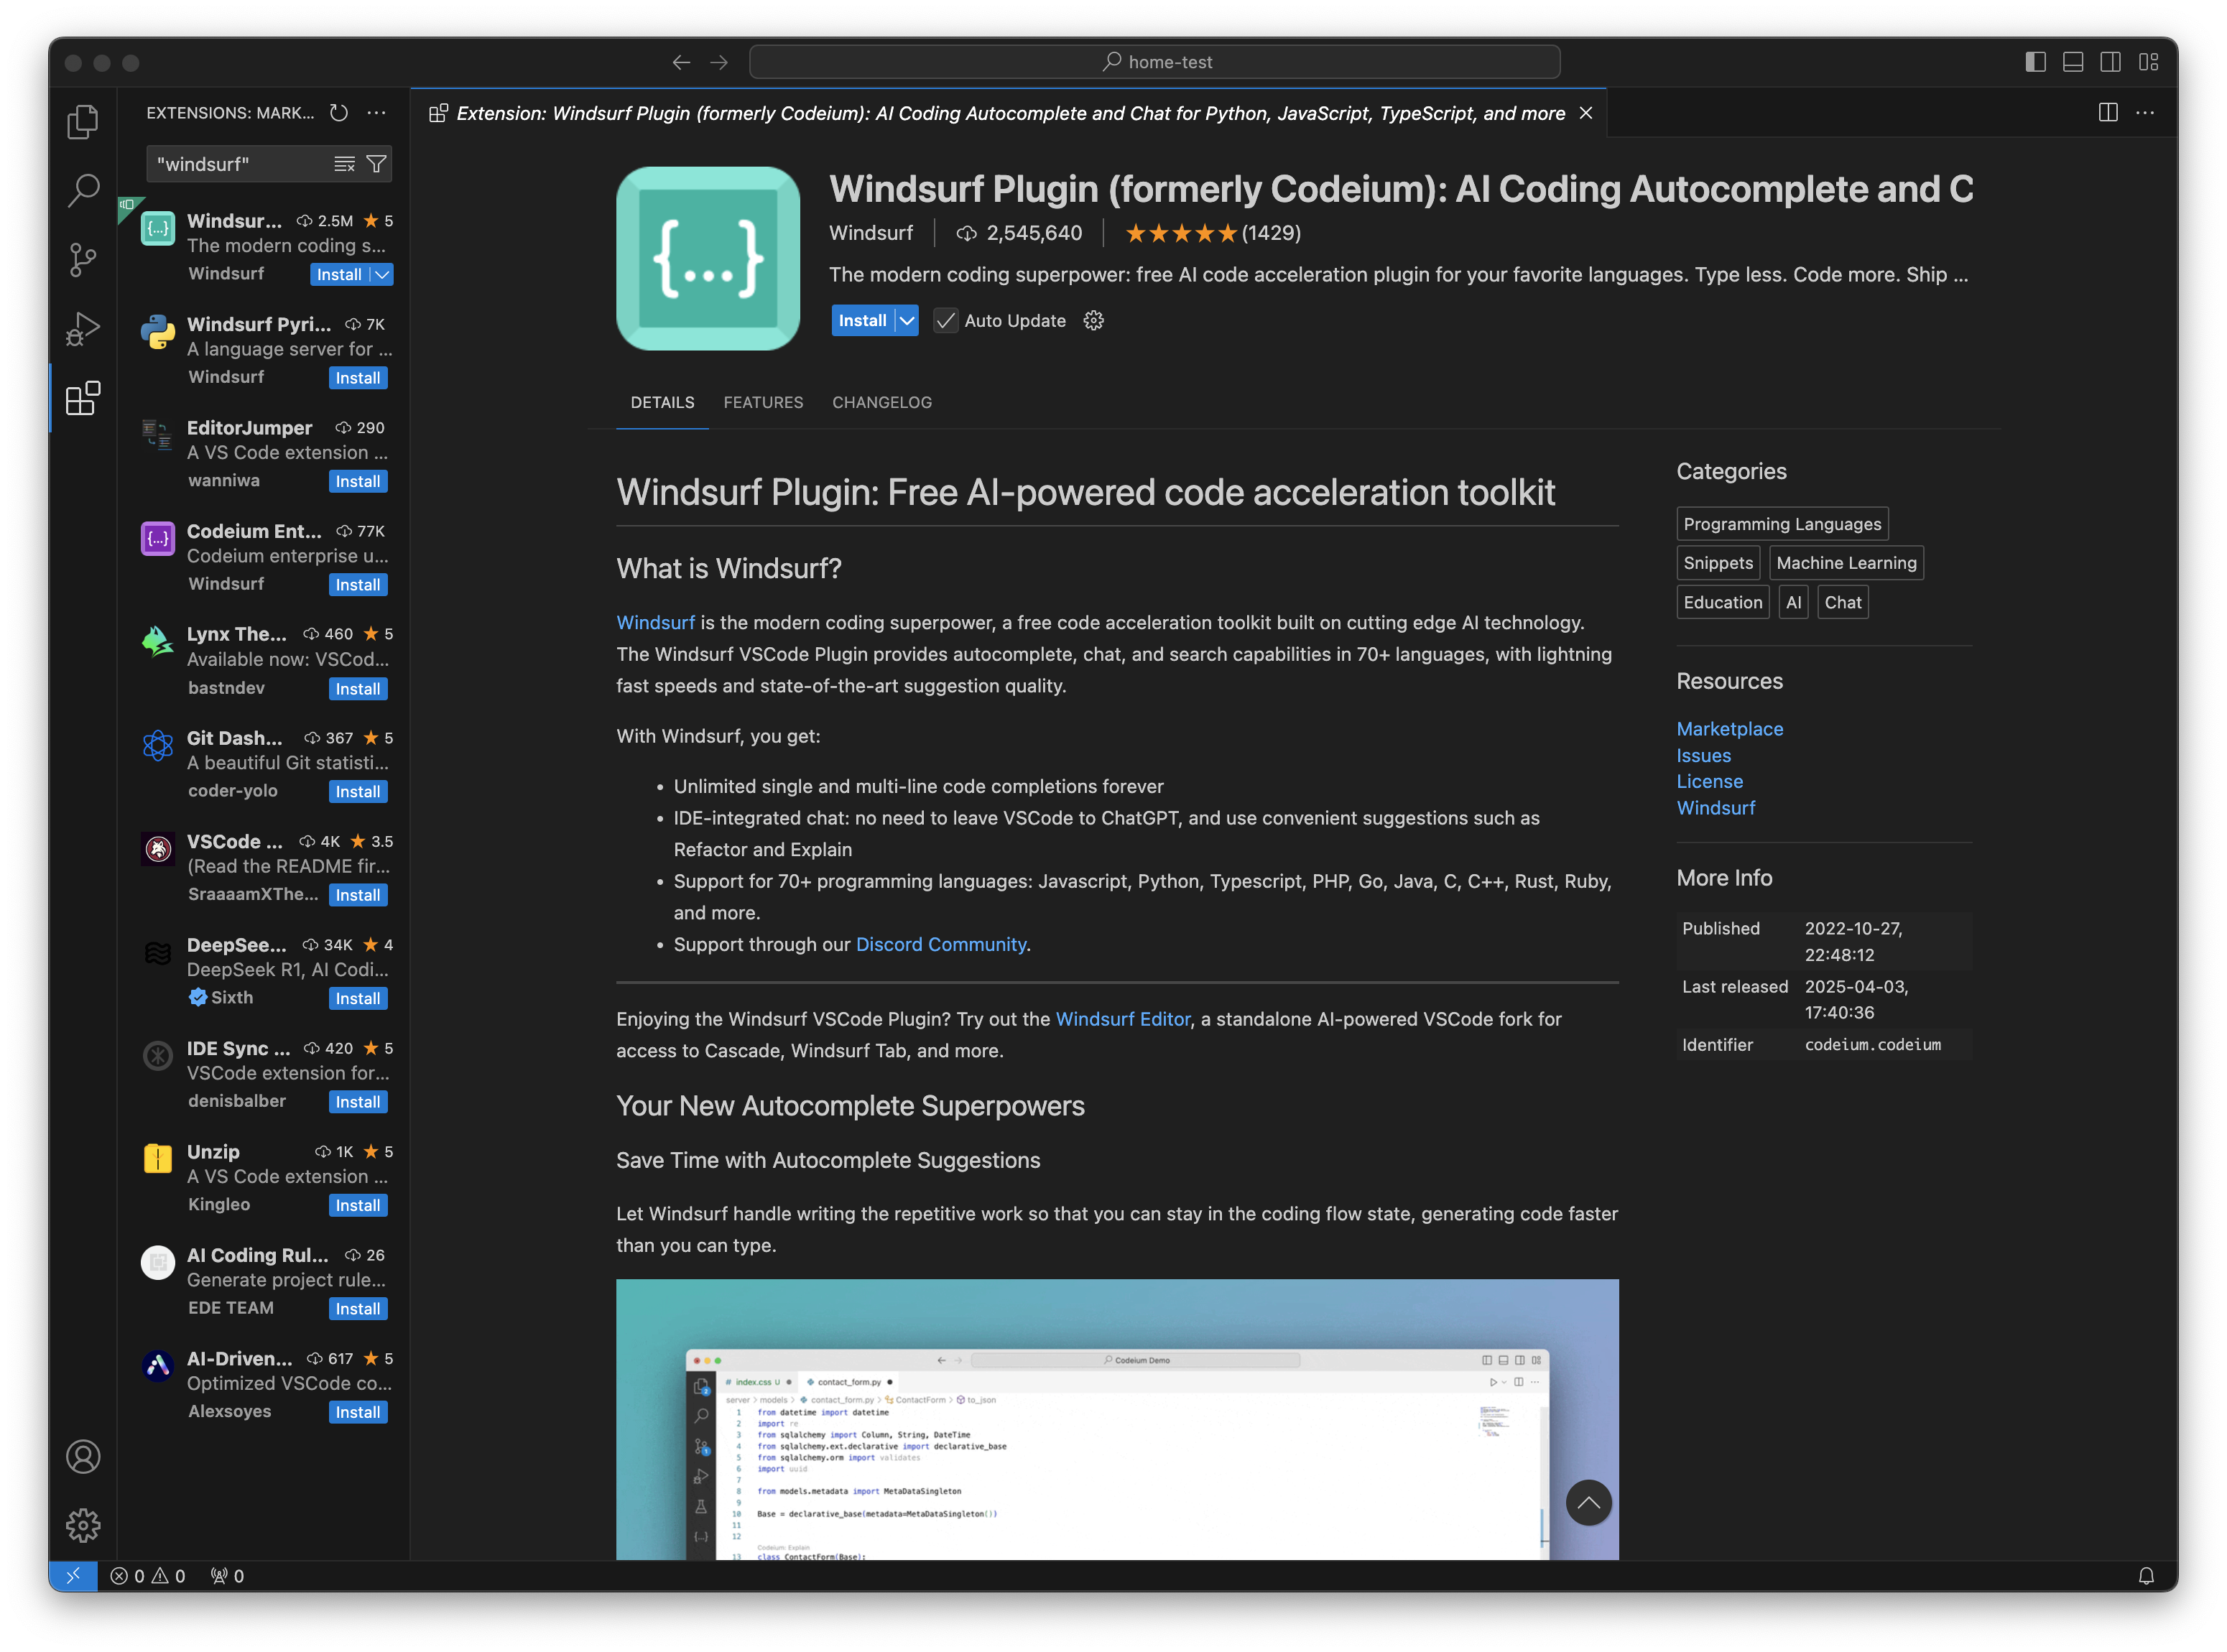 After installation, VS Code will prompt you with a notification in the bottom right corner to sign in to Windsurf.
Equivalently, you can sign in to Windsurf via the profile icon at the bottom of the left sidebar.
After installation, VS Code will prompt you with a notification in the bottom right corner to sign in to Windsurf.
Equivalently, you can sign in to Windsurf via the profile icon at the bottom of the left sidebar.
 If you get an error message indicating that the browser cannot open a link from Visual Studio Code, you may need to update your browser and restart the authorization flow.
If you're not already signed in, you'll be prompted to sign in or create an account.
Once you sign in, you'll be redirected back to Visual Studio Code.
If you are using a browser-based VS Code IDE like GitPod or Codespaces, you will be routed to instructions on how to complete authentication by providing an access token.
Once you're signed in, Windsurf will start downloading a language server.
This is the program that communicates with our APIs to let you use Windsurf's AI features.
The download usually takes ten to twenty seconds, but the download speed may depend on your internet connection.
In the meantime, you are free to use VS Code as usual.
You're all set. Windsurf's AI features — Autocomplete, Chat, and Command — are now available.
### Extension Installation
Follow the **Get Started** instructions in the public [`codeium.vim` repo](https://github.com/Exafunction/codeium.vim). That’s it!
### Using Windsurf Plugin
While Windsurf supports many languages, we’ll demonstrate with Python. Create a new file `test.py`.
Windsurf can suggest multiple lines of code from a partial function header:
If you get an error message indicating that the browser cannot open a link from Visual Studio Code, you may need to update your browser and restart the authorization flow.
If you're not already signed in, you'll be prompted to sign in or create an account.
Once you sign in, you'll be redirected back to Visual Studio Code.
If you are using a browser-based VS Code IDE like GitPod or Codespaces, you will be routed to instructions on how to complete authentication by providing an access token.
Once you're signed in, Windsurf will start downloading a language server.
This is the program that communicates with our APIs to let you use Windsurf's AI features.
The download usually takes ten to twenty seconds, but the download speed may depend on your internet connection.
In the meantime, you are free to use VS Code as usual.
You're all set. Windsurf's AI features — Autocomplete, Chat, and Command — are now available.
### Extension Installation
Follow the **Get Started** instructions in the public [`codeium.vim` repo](https://github.com/Exafunction/codeium.vim). That’s it!
### Using Windsurf Plugin
While Windsurf supports many languages, we’ll demonstrate with Python. Create a new file `test.py`.
Windsurf can suggest multiple lines of code from a partial function header:
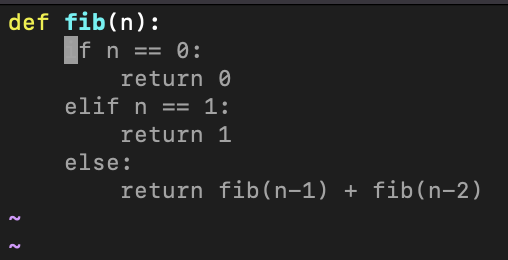 Press **Tab** to accept.
Windsurf also understands comments:
Press **Tab** to accept.
Windsurf also understands comments:
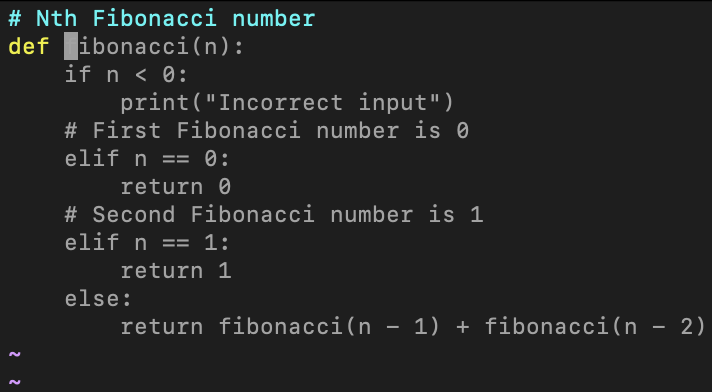 ### Extension Installation
In the Visual Studio menu bar, click **Extensions → Manage Extensions**.
### Extension Installation
In the Visual Studio menu bar, click **Extensions → Manage Extensions**.
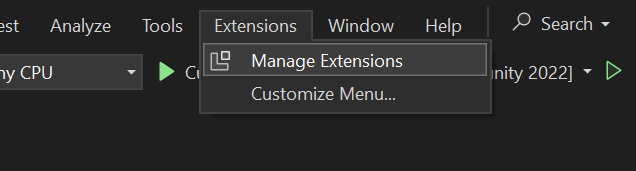 In **Manage Extensions**, click **Visual Studio Marketplace**, search for **Windsurf**, then click **Download**.
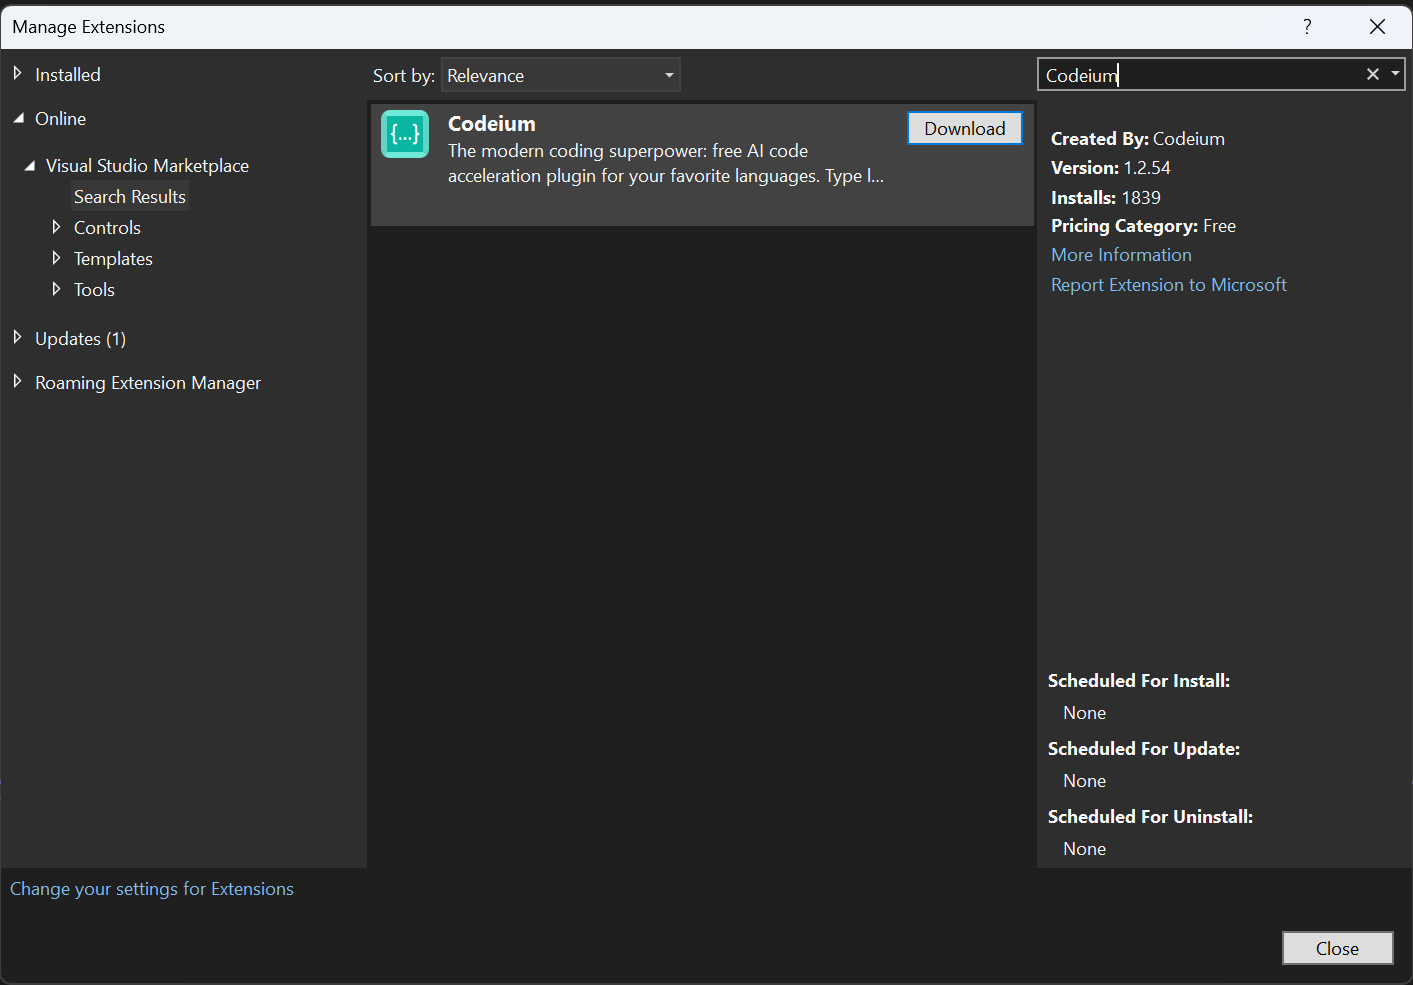 Close the window and relaunch Visual Studio.
Open or create a project. A browser window will open and prompt you to sign in.
If you don’t have an account yet, you’ll be redirected to create one.
You're all set. Windsurf's AI features are now available in Visual Studio.
### Using Windsurf Plugin
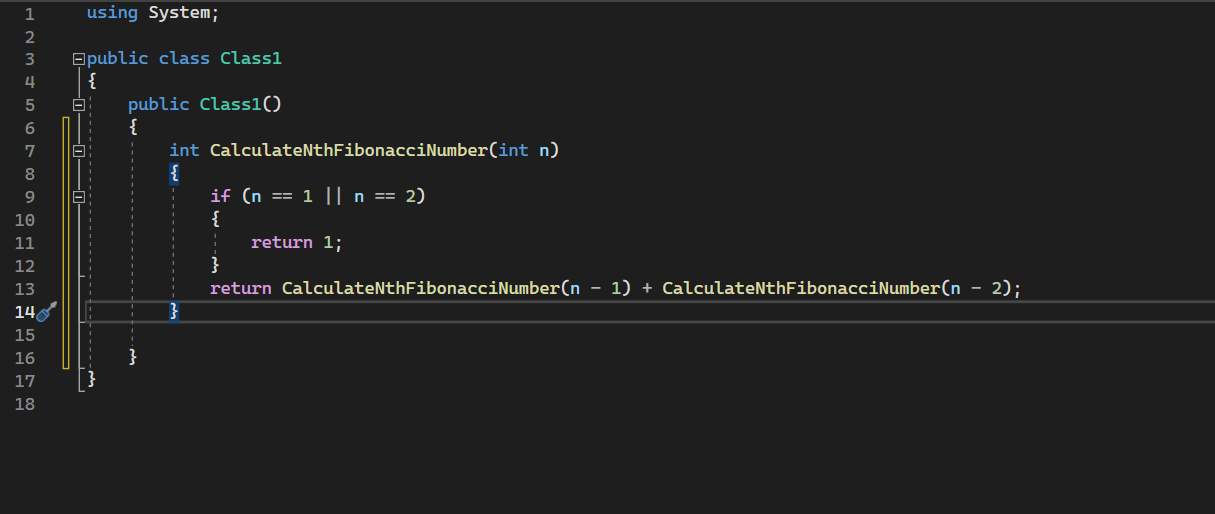
While Windsurf supports many languages, we’ll demonstrate with C#. Create or open a C# file.
Windsurf can suggest multiple lines of code from a partial function signature:
Close the window and relaunch Visual Studio.
Open or create a project. A browser window will open and prompt you to sign in.
If you don’t have an account yet, you’ll be redirected to create one.
You're all set. Windsurf's AI features are now available in Visual Studio.
### Using Windsurf Plugin
While Windsurf supports many languages, we’ll demonstrate with C#. Create or open a C# file.
Windsurf can suggest multiple lines of code from a partial function signature:
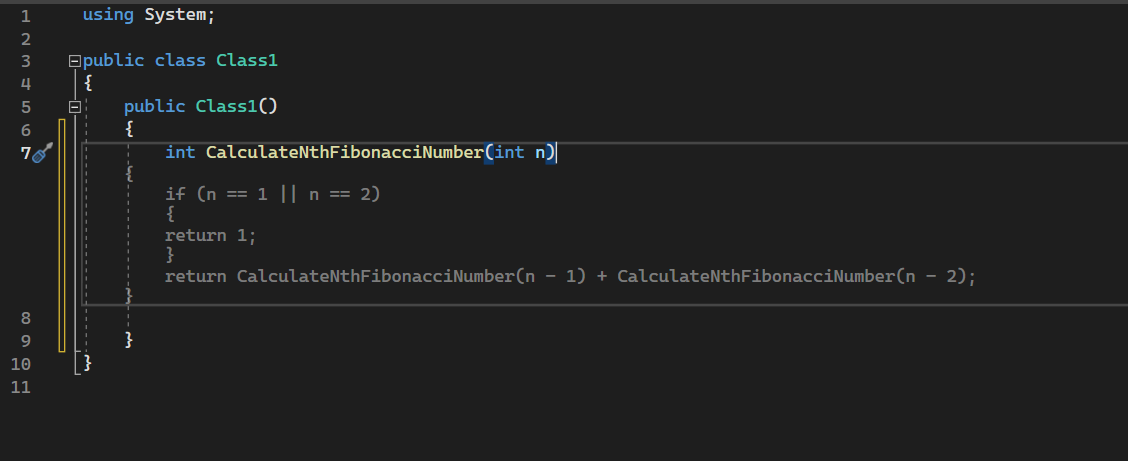 Press **Tab** to accept.
 ### Install Windsurf Plugin
Open a new Jupyter Lab session. In a cell, paste and run `Shift+Enter` the following:
```python theme={null}
import sys
!{sys.executable} -m pip install -U pip --user
!{sys.executable} -m pip install -U codeium-jupyter --user
```
If you’re inside a virtual environment, run:
```python theme={null}
import sys
!{sys.executable} -m pip install -U pip
!{sys.executable} -m pip install -U codeium-jupyter
```
When the commands finish, close the notebook and stop the Jupyter server.
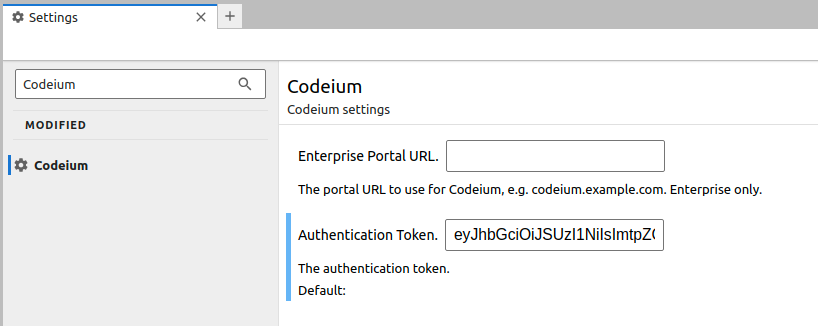
Relaunch Jupyter and open a notebook. Open the settings (Ctrl + ,) and navigate to the **Windsurf** section. You’ll see fields for an enterprise URL and a token.
### Install Windsurf Plugin
Open a new Jupyter Lab session. In a cell, paste and run `Shift+Enter` the following:
```python theme={null}
import sys
!{sys.executable} -m pip install -U pip --user
!{sys.executable} -m pip install -U codeium-jupyter --user
```
If you’re inside a virtual environment, run:
```python theme={null}
import sys
!{sys.executable} -m pip install -U pip
!{sys.executable} -m pip install -U codeium-jupyter
```
When the commands finish, close the notebook and stop the Jupyter server.
Relaunch Jupyter and open a notebook. Open the settings (Ctrl + ,) and navigate to the **Windsurf** section. You’ll see fields for an enterprise URL and a token.
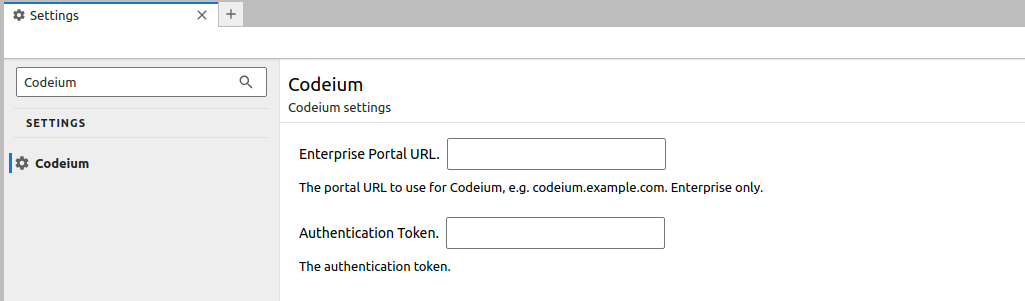 Click **Get Windsurf Authentication Token** and follow the link. Paste the token back into the settings dialog.
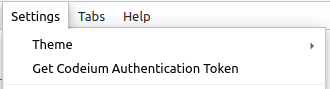 If you can’t find the Windsurf settings, you likely didn’t restart Jupyter. Stop the server (Ctrl+C) and start it again with
 jupyter lab.
If you don’t have a Windsurf account, you’ll be prompted to create one.
After signing in, copy the token and paste it into the settings dialog.
 You're all set. Windsurf's AI features are now available in Jupyter.
### Using Windsurf Plugin
Windsurf can suggest multiple lines of code from a partial function header:
You're all set. Windsurf's AI features are now available in Jupyter.
### Using Windsurf Plugin
Windsurf can suggest multiple lines of code from a partial function header:
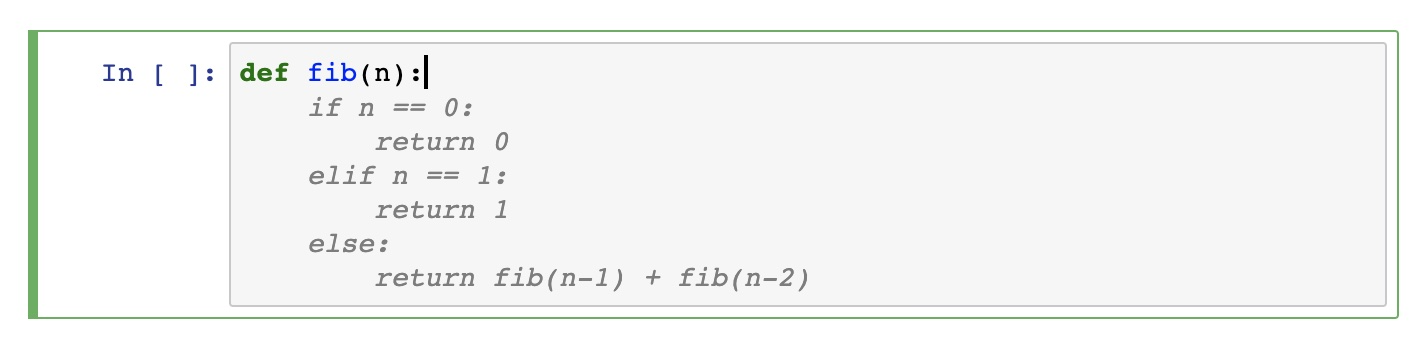 Press **Tab** to accept.
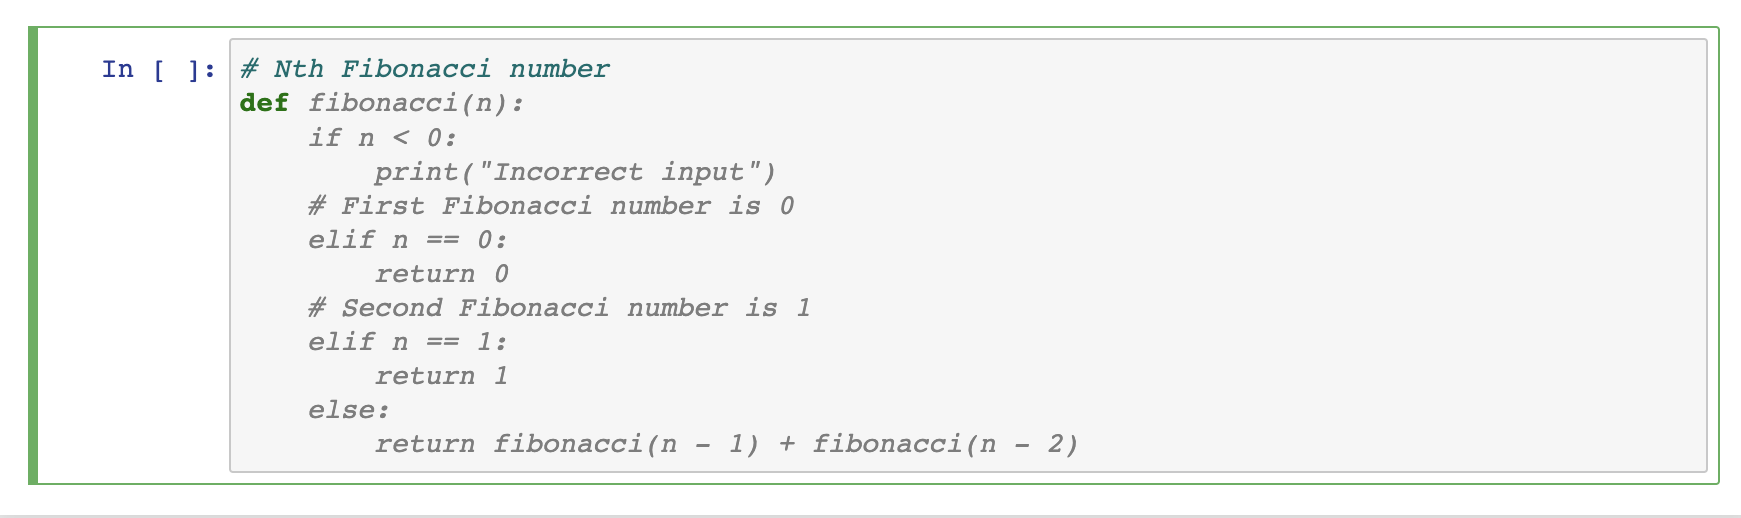
Windsurf also understands comments:
Press **Tab** to accept.
Windsurf also understands comments:
 ### Install Windsurf
Visit the [Chrome Web Store page](https://chrome.google.com/webstore/detail/codeium/hobjkcpmjhlegmobgonaagepfckjkceh) and click **Add to Chrome**.
### Install Windsurf
Visit the [Chrome Web Store page](https://chrome.google.com/webstore/detail/codeium/hobjkcpmjhlegmobgonaagepfckjkceh) and click **Add to Chrome**.
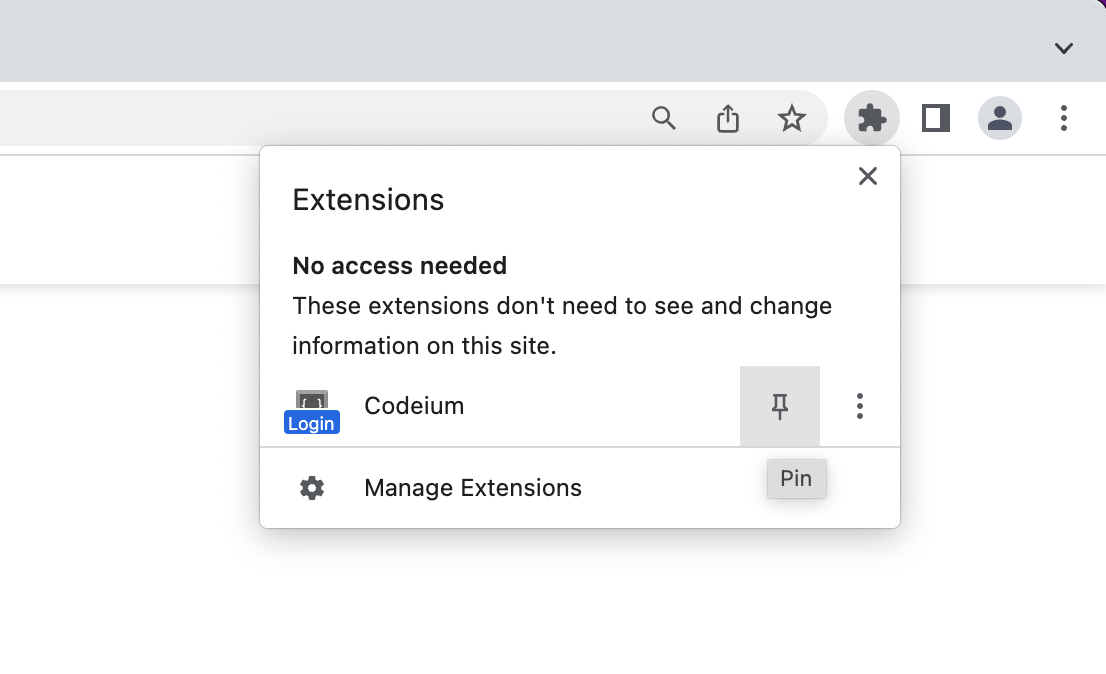
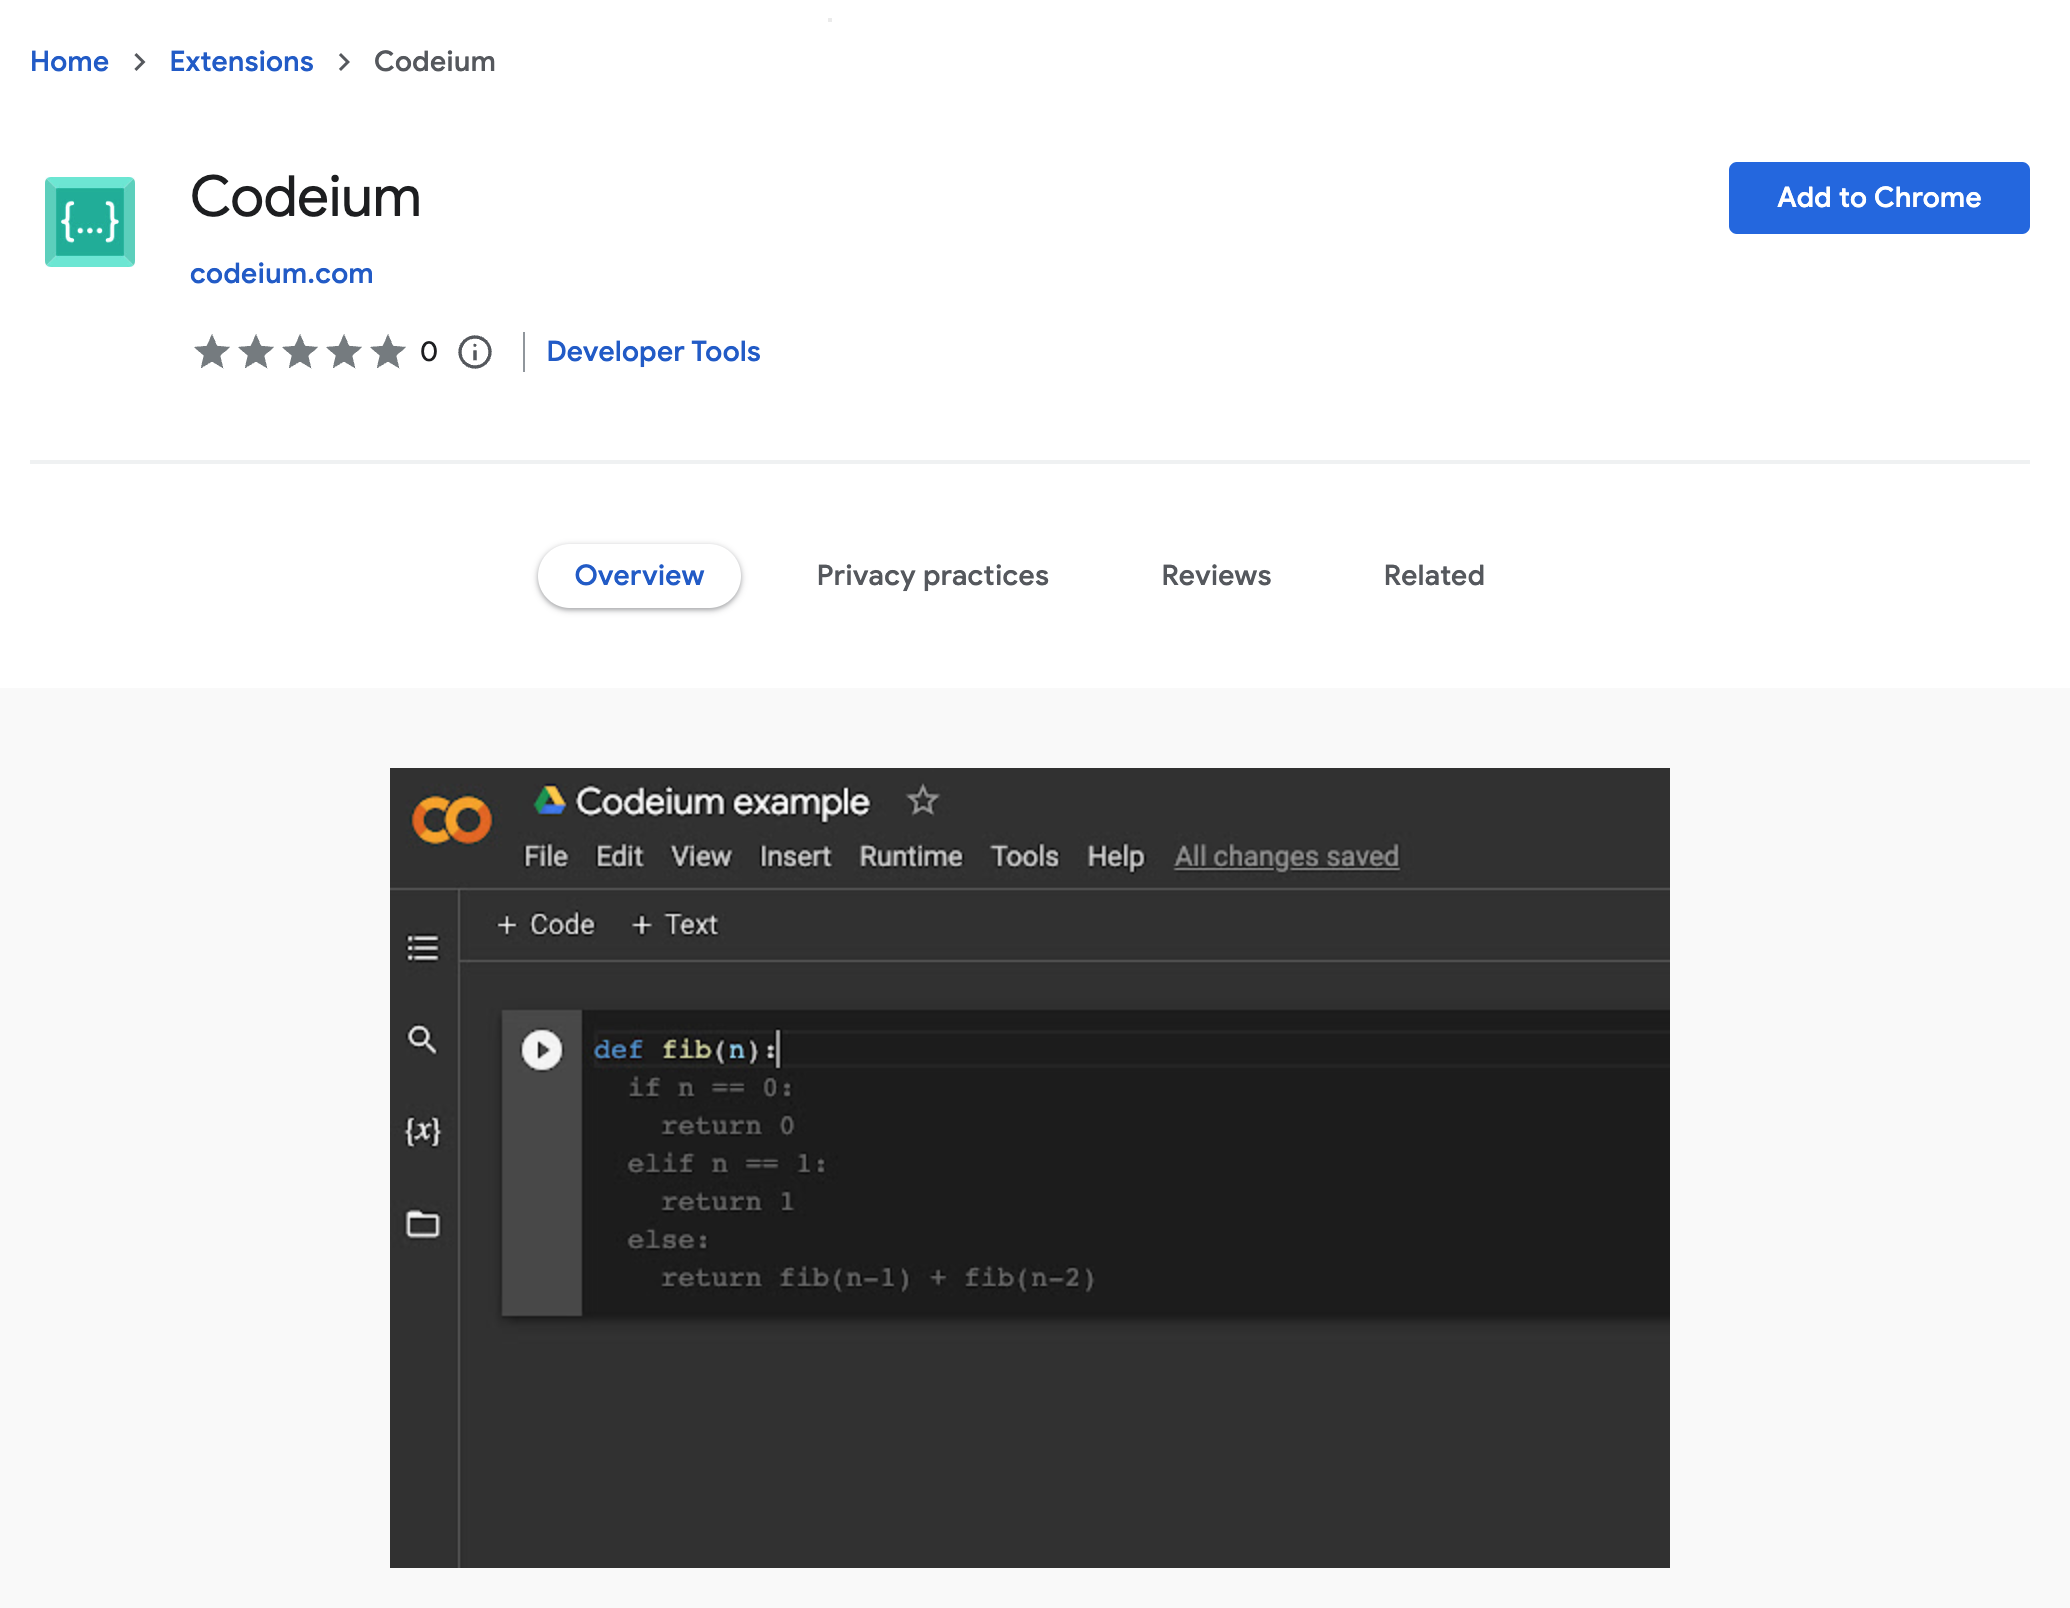 Open the extensions dropdown and click the **Pin** icon so the Windsurf icon stays visible.
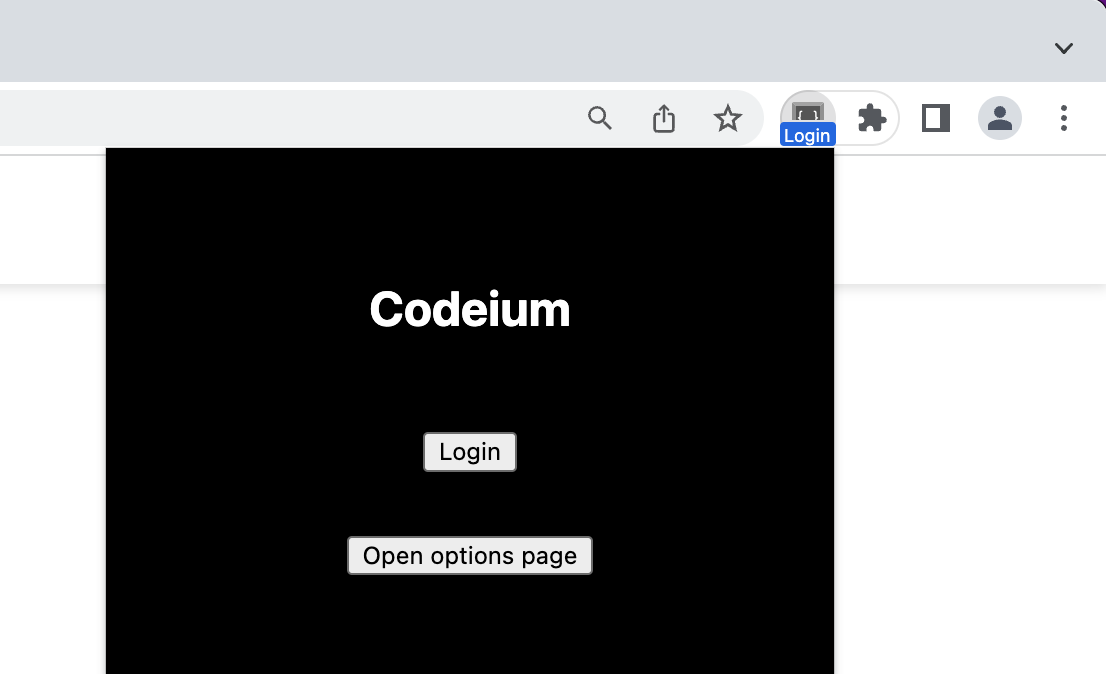
 The extension opens a login page automatically. If not, click the extension icon and follow the link.
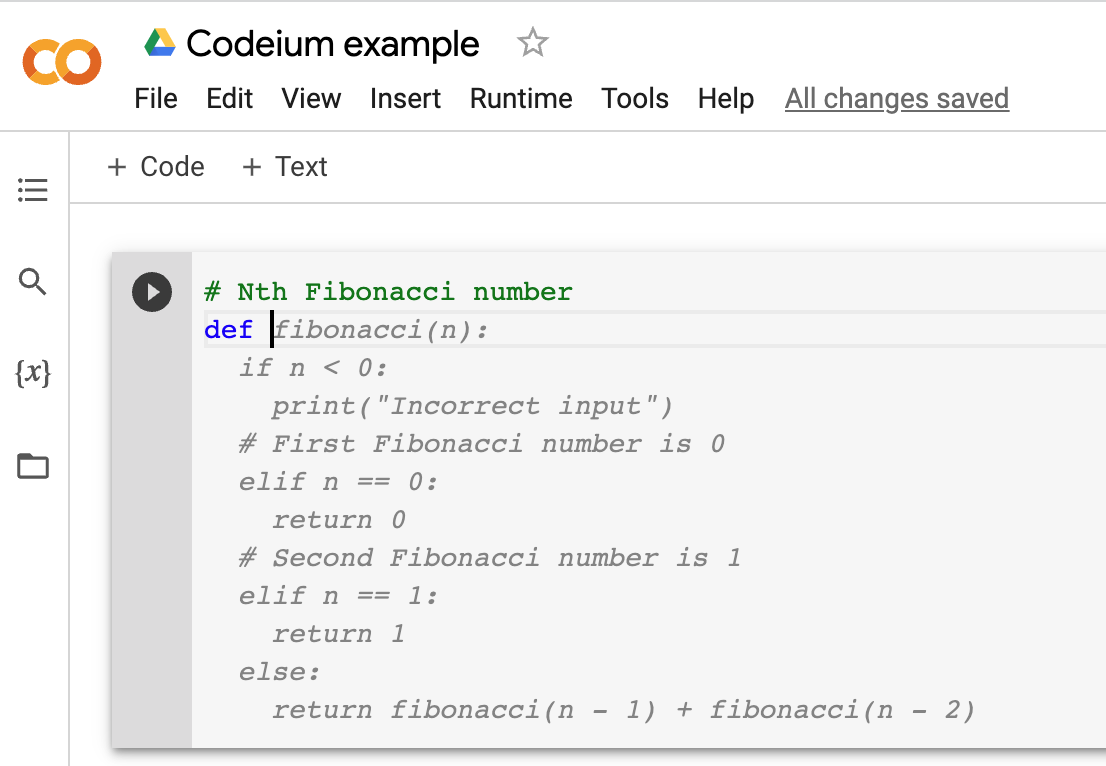
 You're all set. Try [creating a new Colab notebook](https://colab.research.google.com/#create=true).
 ### Using Windsurf
Windsurf can suggest multiple lines of code from a partial function header:
### Using Windsurf
Windsurf can suggest multiple lines of code from a partial function header:
 Press **Tab** to accept.
Windsurf also understands comments:
Press **Tab** to accept.
Windsurf also understands comments:
 ### Extension Installation
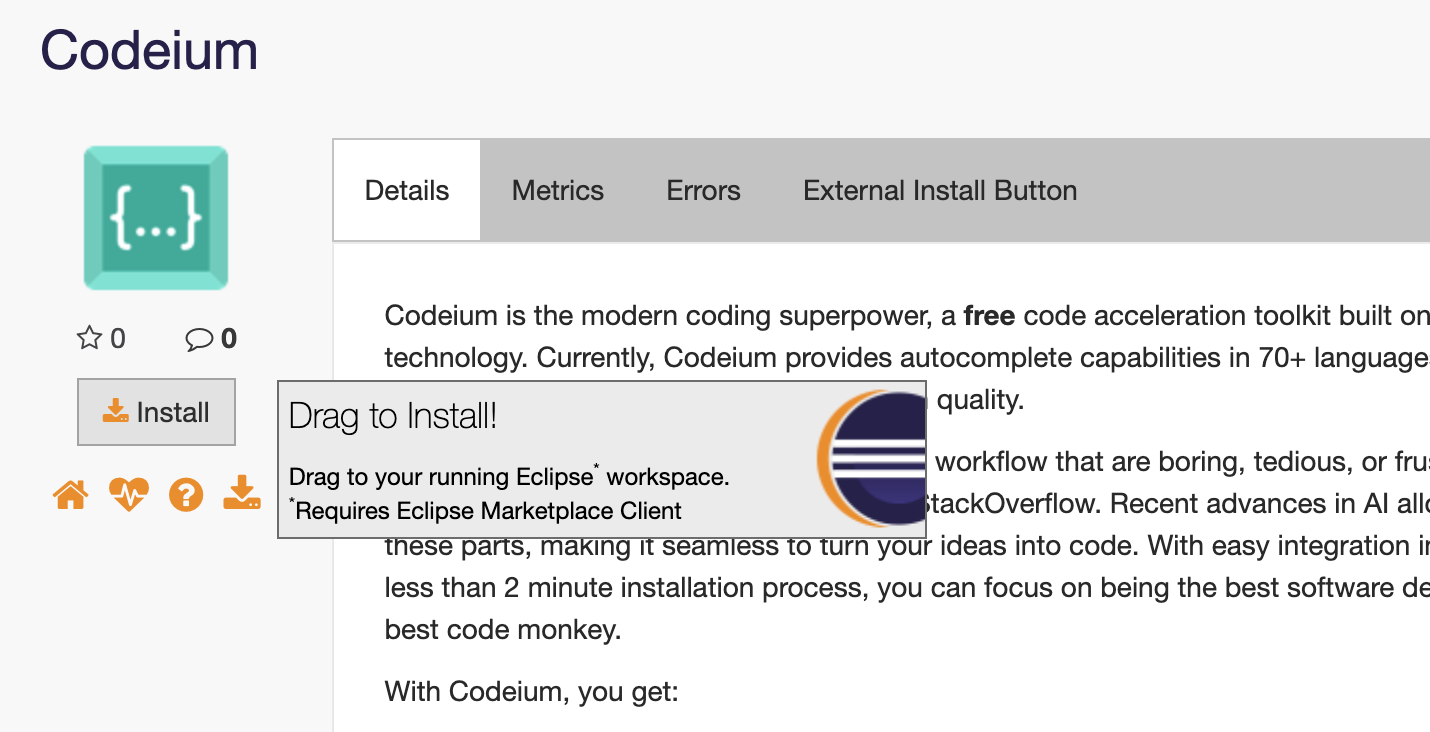
Visit the [Windsurf Plugin page on Eclipse Marketplace](https://marketplace.eclipse.org/content/codeium) and drag the **Install** button to the Eclipse toolbar.
### Extension Installation
Visit the [Windsurf Plugin page on Eclipse Marketplace](https://marketplace.eclipse.org/content/codeium) and drag the **Install** button to the Eclipse toolbar.
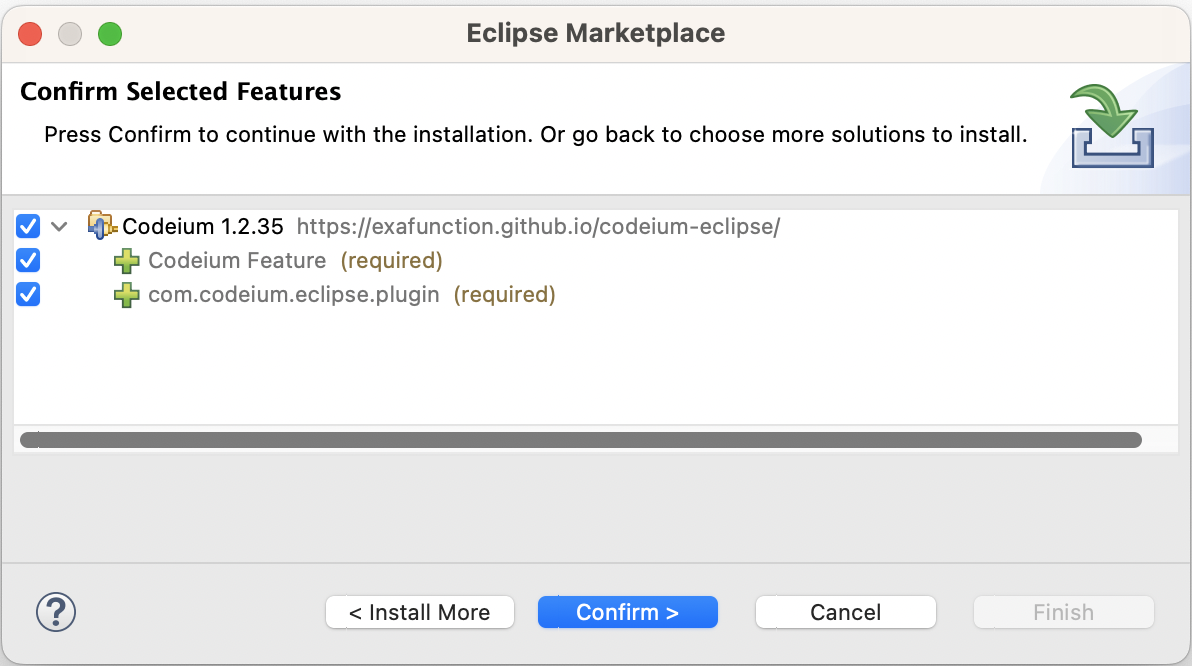
 In the **Confirm Selected Features** prompt, click **Confirm**.
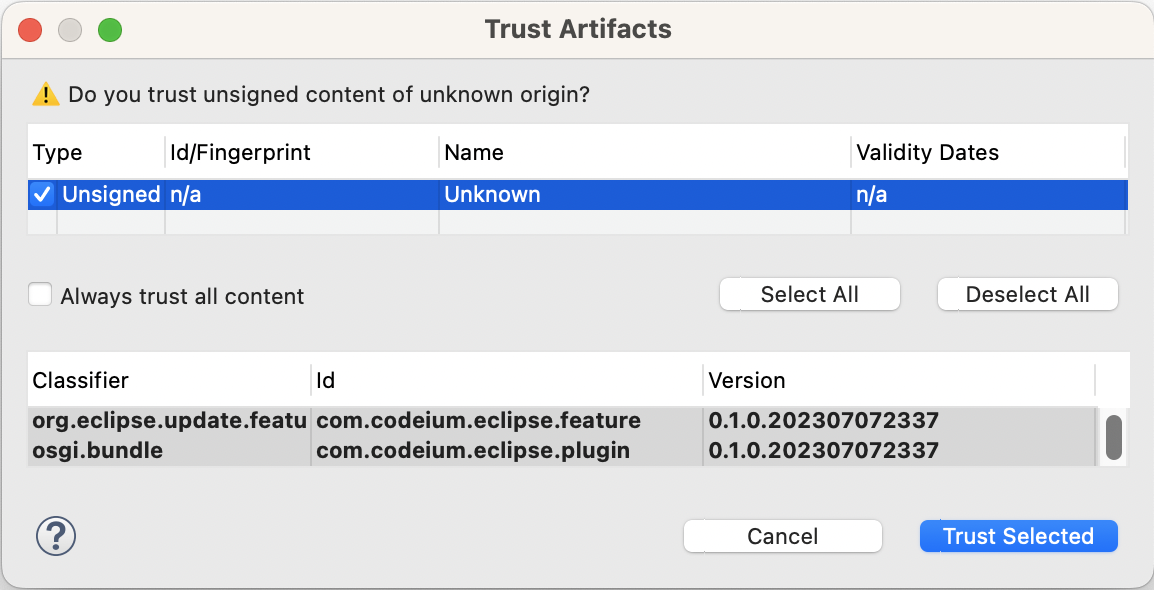
 In the **Trust Artifacts** prompt, select **Unsigned** and click **Trust**.
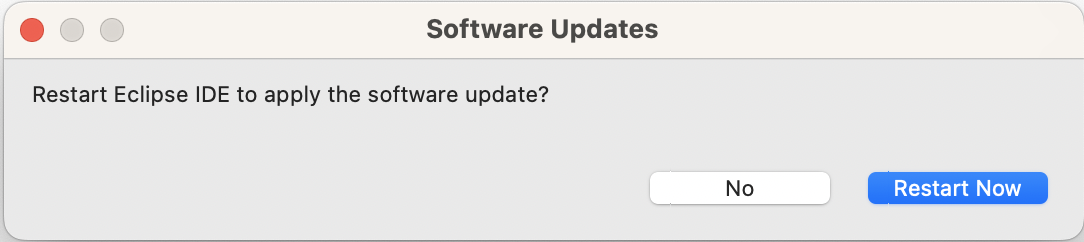
 When prompted, restart Eclipse to complete the installation.
 When the browser opens, sign in or create an account, then return to Eclipse.
You're all set. Windsurf's AI features are now available in Eclipse.
### Using Windsurf
While Windsurf supports many languages, we’ll demonstrate with Java. Create a new file `Fib.java`.
Windsurf can suggest multiple lines of code from a partial function header:
```java theme={null}
package test;
public class Fib {
public int fib(int n) {
}
}
```
Press **Tab** to accept.
When the browser opens, sign in or create an account, then return to Eclipse.
You're all set. Windsurf's AI features are now available in Eclipse.
### Using Windsurf
While Windsurf supports many languages, we’ll demonstrate with Java. Create a new file `Fib.java`.
Windsurf can suggest multiple lines of code from a partial function header:
```java theme={null}
package test;
public class Fib {
public int fib(int n) {
}
}
```
Press **Tab** to accept.