> ## Documentation Index
> Fetch the complete documentation index at: https://docs.windsurf.com/llms.txt
> Use this file to discover all available pages before exploring further.
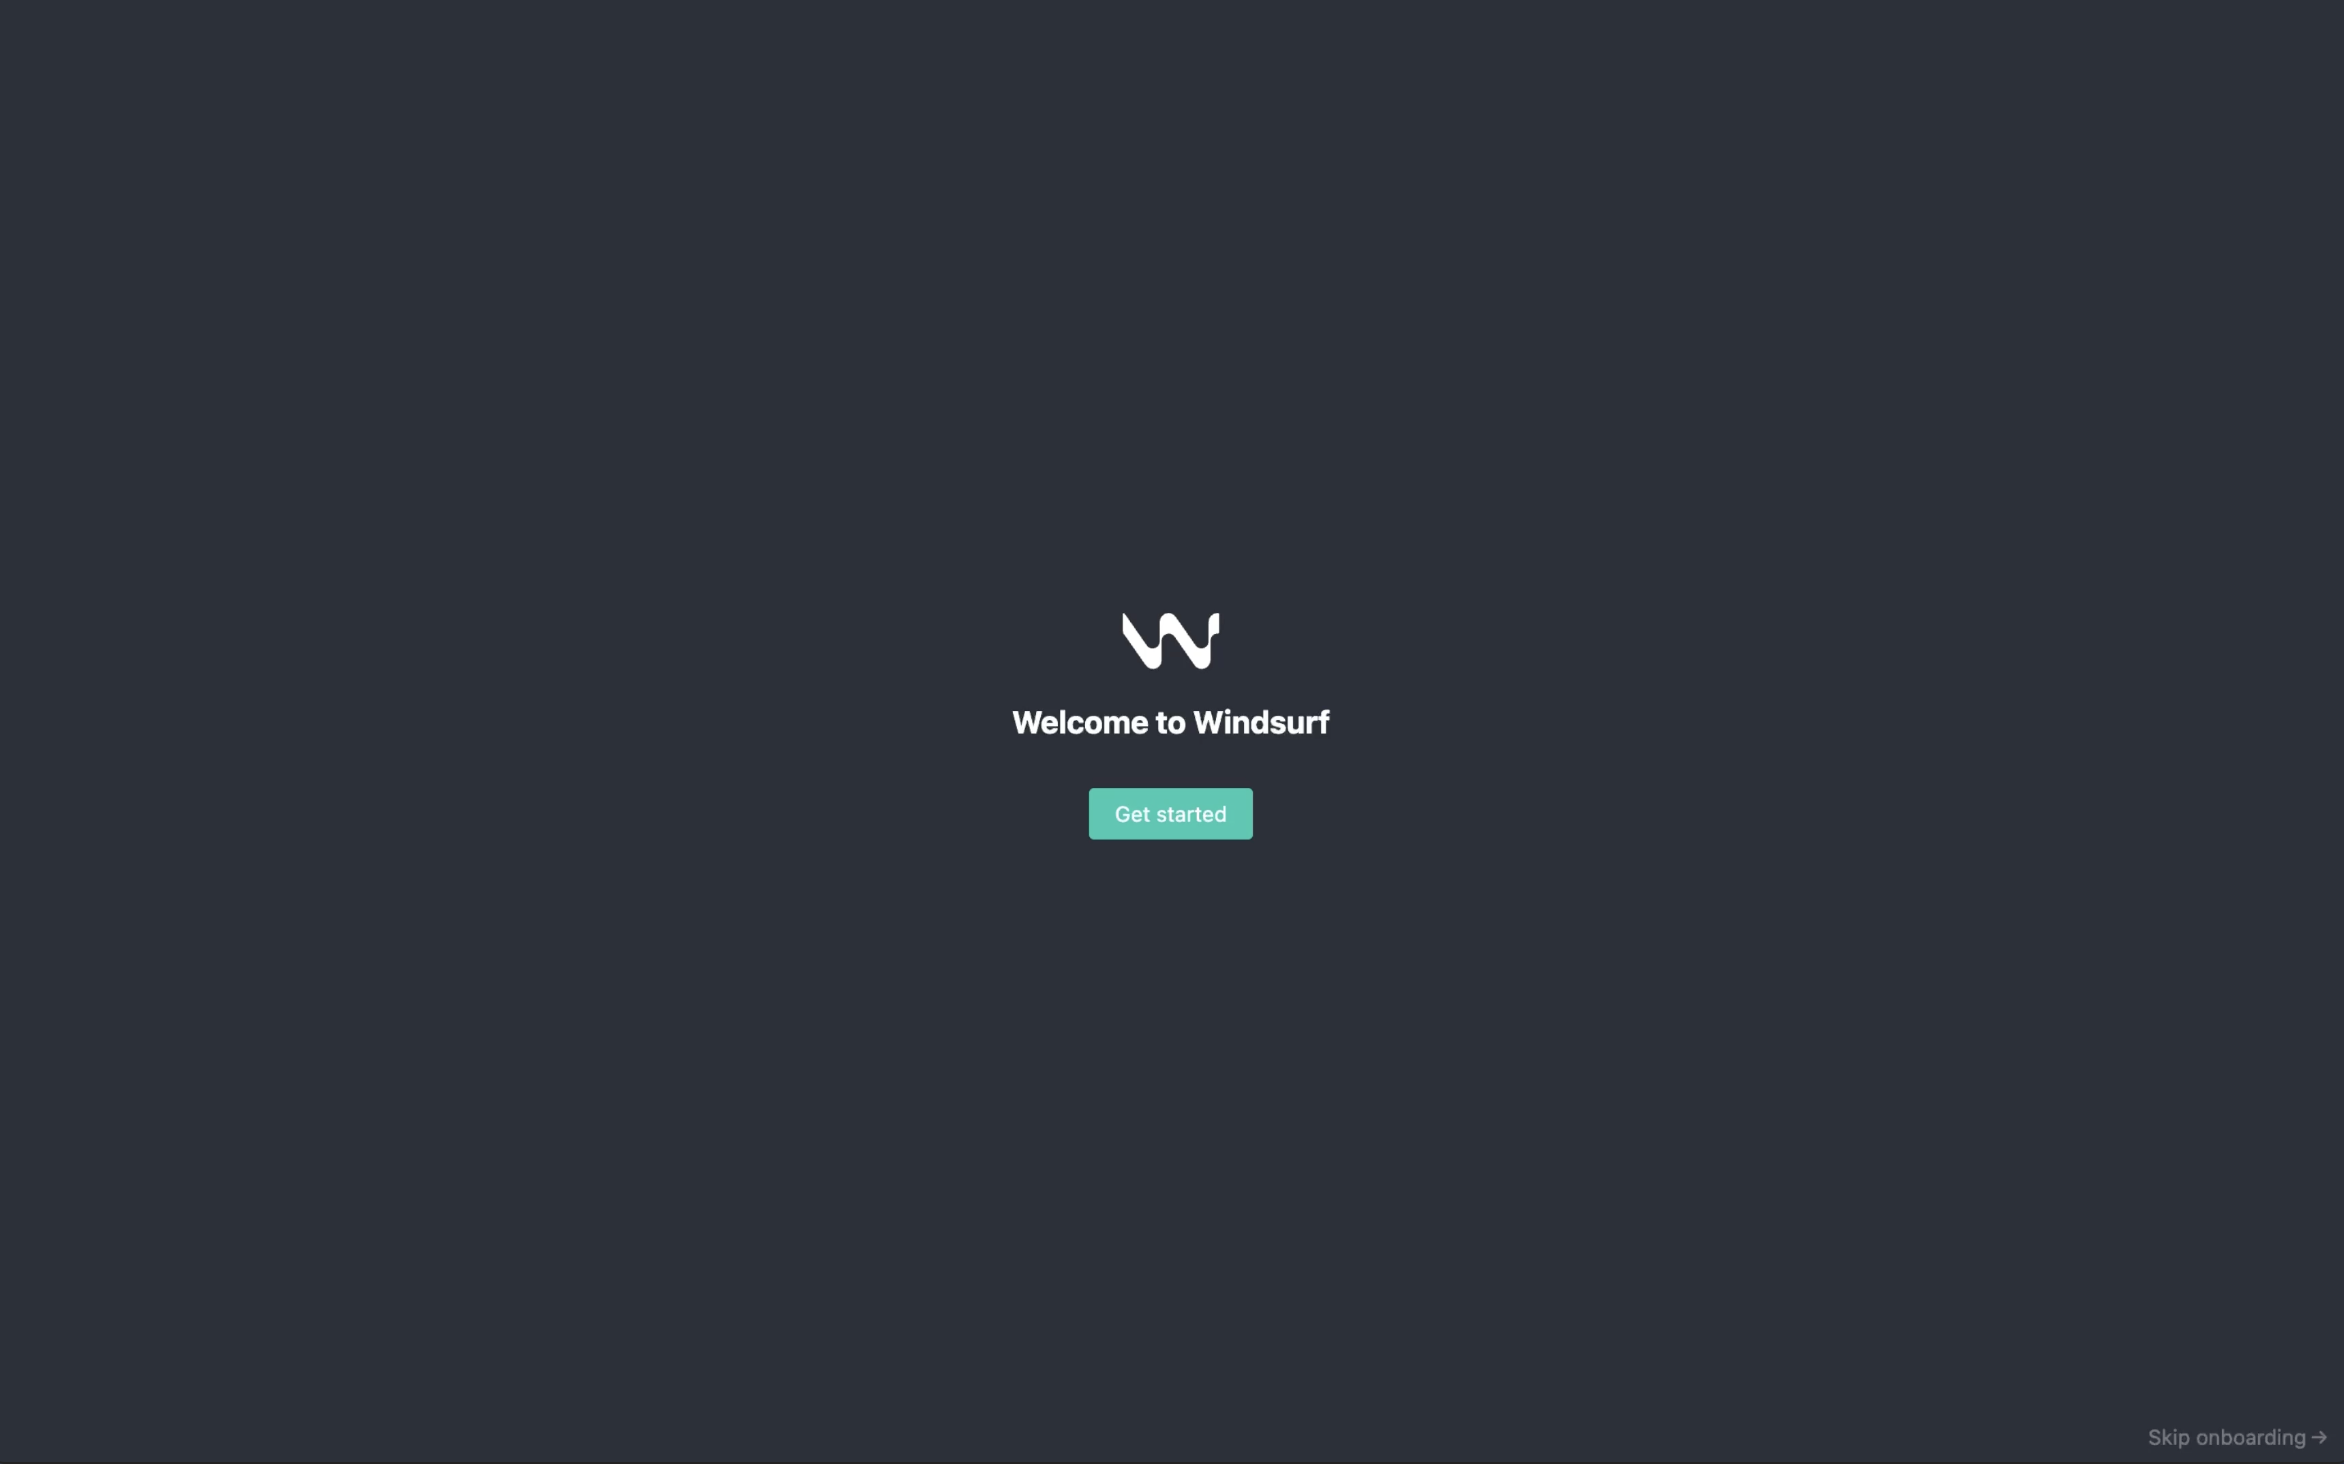
# Windsurf へようこそ
> Mac、Windows、Linux 向けに Windsurf IDE をダウンロードしてインストールします。VS Code または Cursor の設定をインポートし、テーマを設定して、AI による支援を受けながらコーディングを開始しましょう。
明日のエディタを、今日。
Windsurf は開発のフローを途切れさせないために設計された次世代の AI 搭載 IDE です。このページでは、Windsurf をコンピュータにインストールする手順、オンボーディングの進め方、そして最初の AI 活用プロジェクトの始め方を説明します。
}
href="/ja/windsurf/cascade"
>
かつてないコラボレーション体験を実現するエージェント型チャットボットです。
クレジットと利用状況。
強化された Terminal 体験。
MCP サーバーでエージェントの機能を拡張できます。
Memories とルールで動作をカスタマイズできます。
コードベースを即座に把握します。
高度な設定オプション。
繰り返しのワークフローを自動化します。
ワンクリックでアプリケーションをデプロイ。
Windsurf の最新情報は[変更履歴](https://windsurf.com/changelog)をご覧ください!
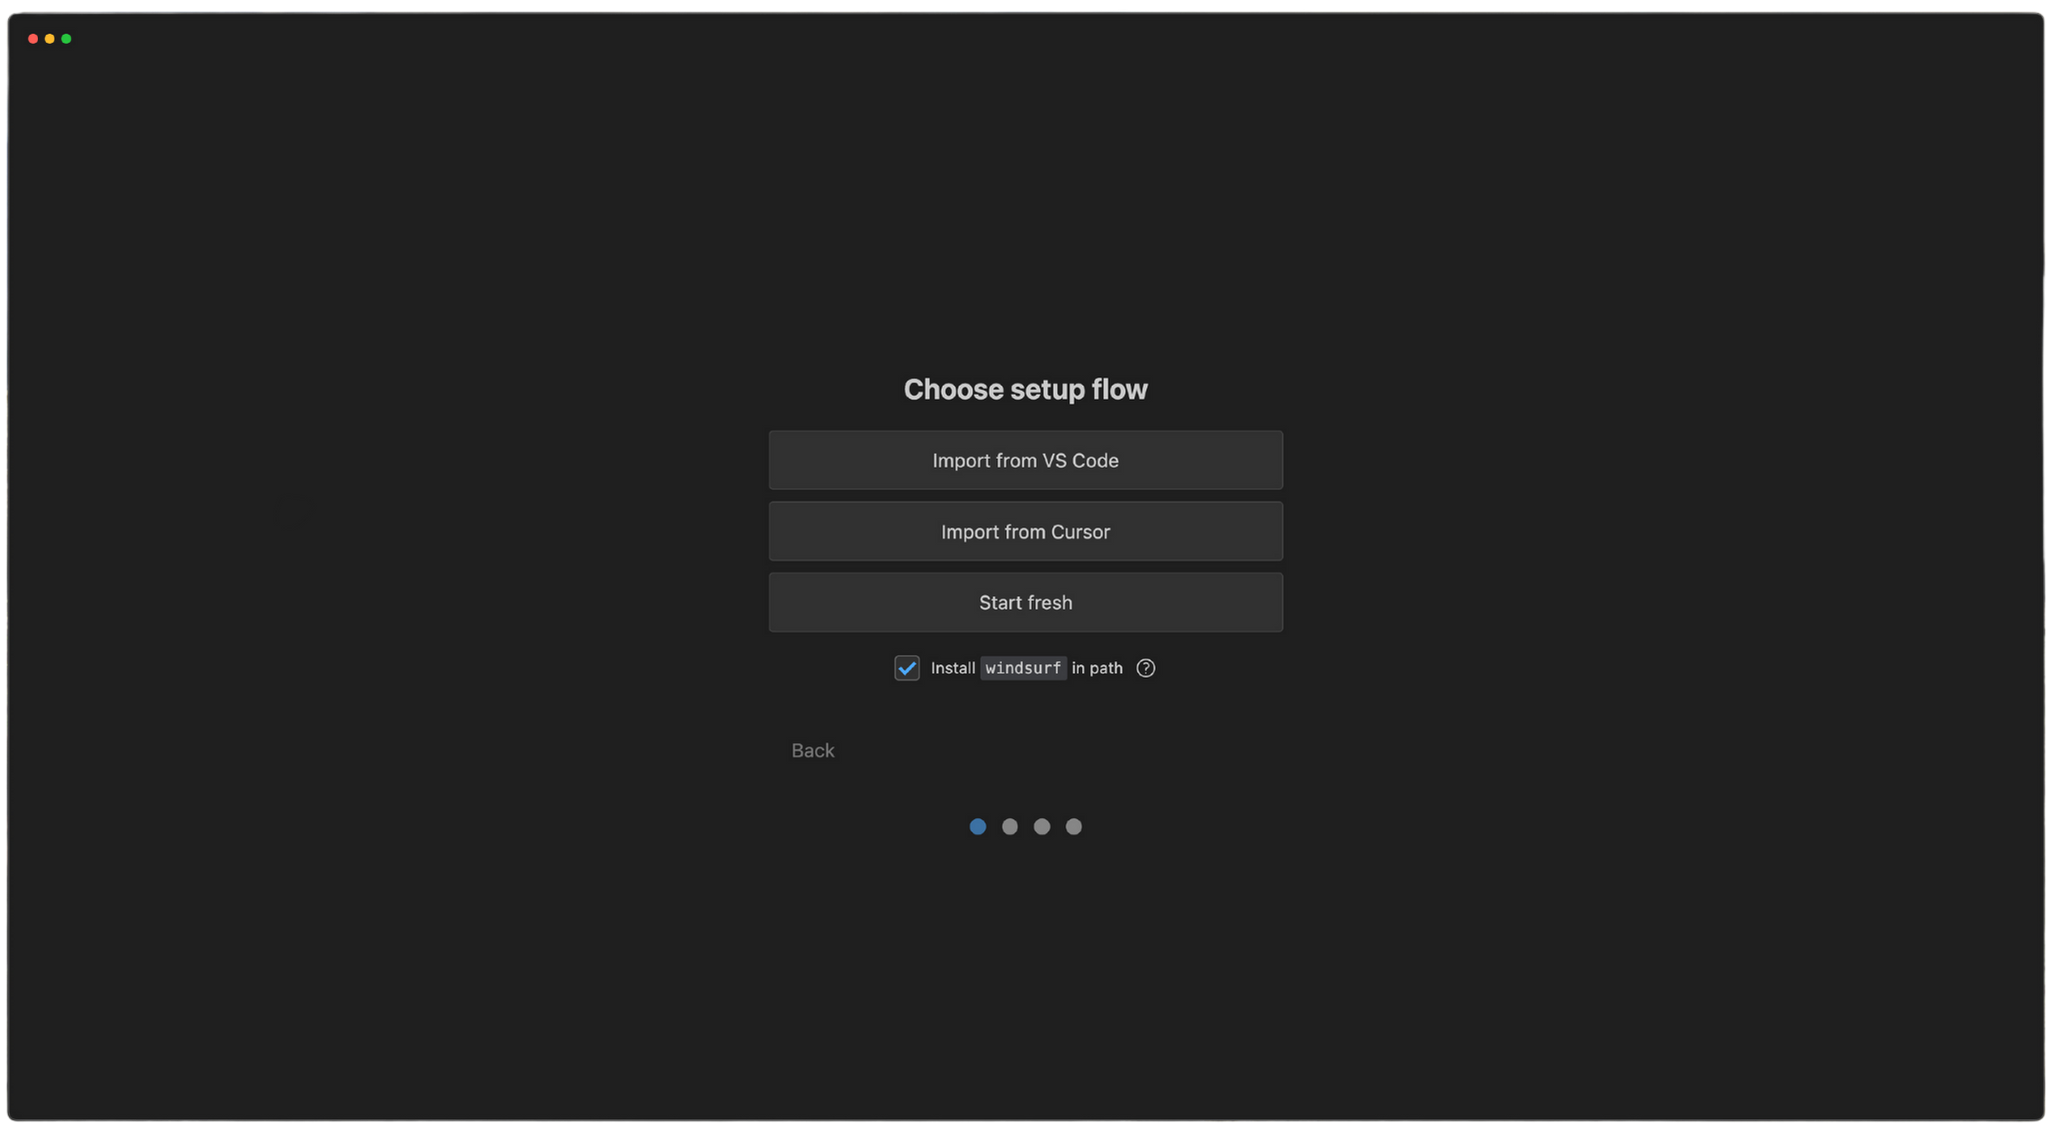
## セットアップ
開始するには、お使いのデバイスが要件を満たしていることを確認し、ダウンロードリンクをクリックして、手順に従って Windsurf をインストールして起動してください。
Windsurf の更新方法をお探しの場合は[こちら](#update-windsurf)をご覧ください。
最低 OS バージョン: OS X Yosemite
最低 OS バージョン: Windows 10
最低 OS バージョン: >= 20.04 (または glibc >= 2.31、glibcxx >= 3.4.26)
最低 OS バージョン: glibc >= 2.28、glibcxx >= 3.4.25
Windsurf Next は Windsurf のプレリリース版で、機能がまだ十分に練り上げられていない段階でも、最新の機能や特長にいち早くアクセスするためにユーザーが参加 (オプトイン) できます。新機能は通常、まず Windsurf Next に展開され、その後まもなく安定版に反映されます。
[こちらからダウンロード](https://windsurf.com/editor/download-next)するだけで、Windsurf Next に参加 (オプトイン) できます。
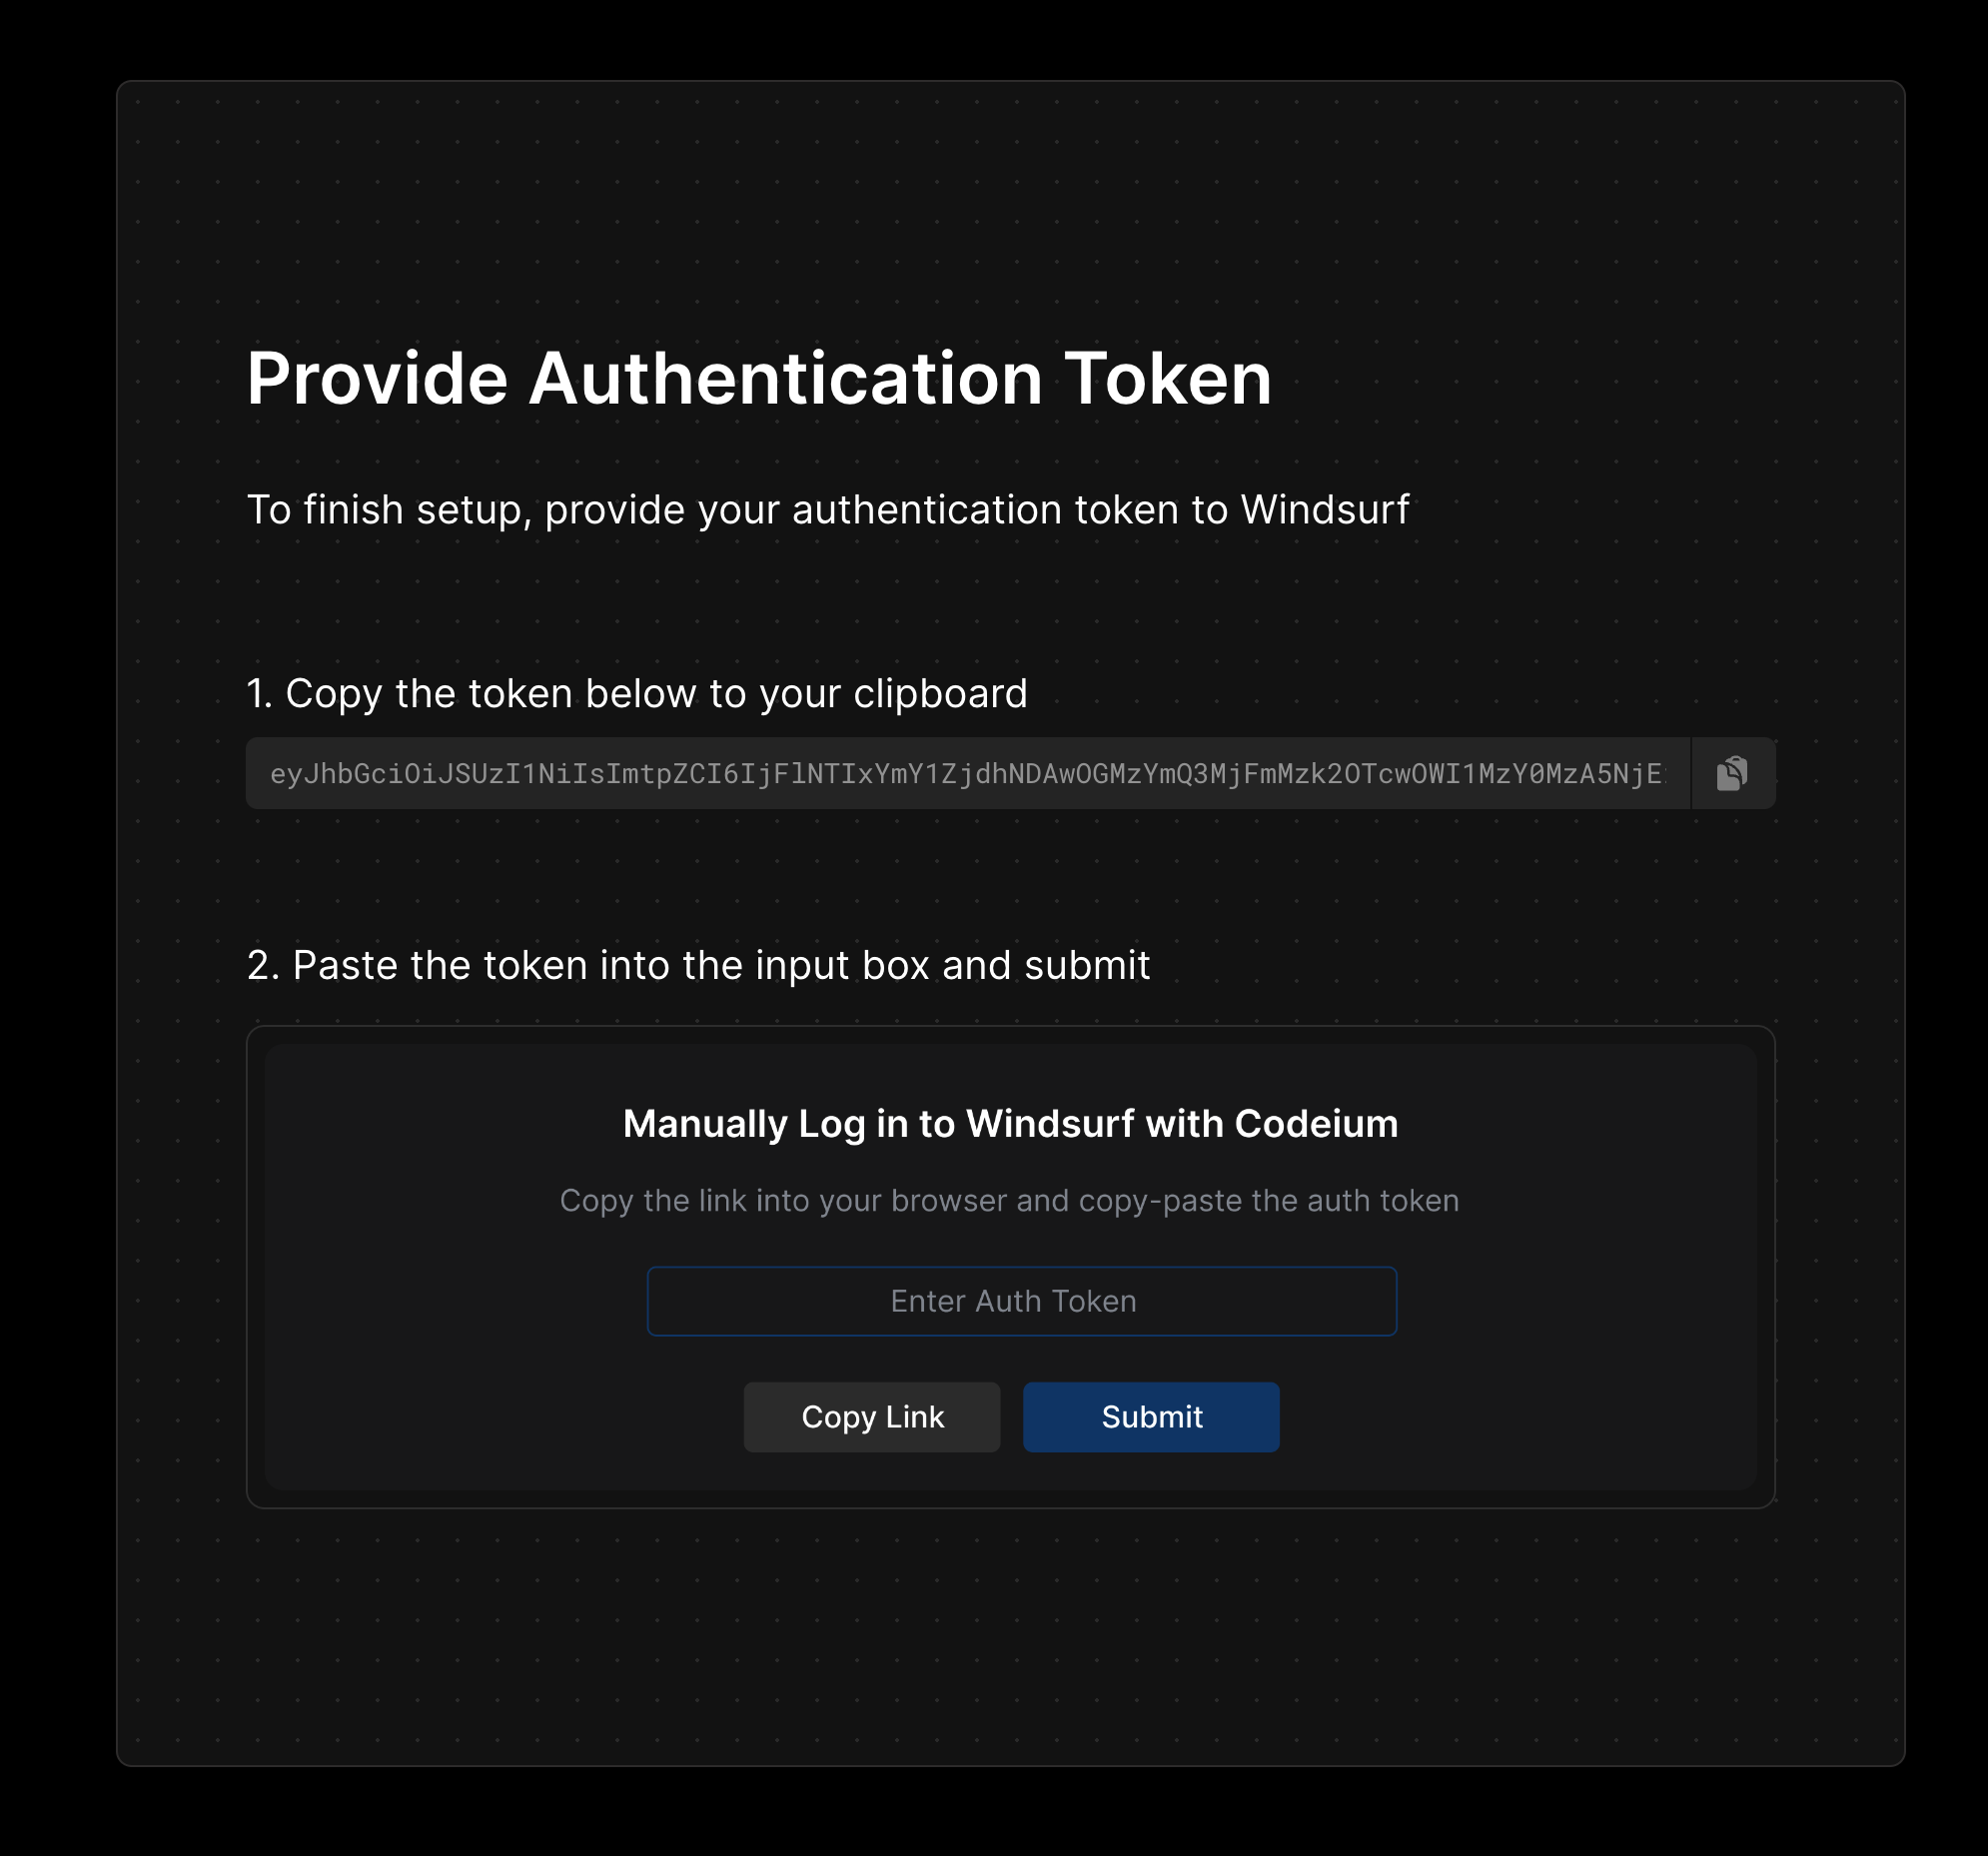
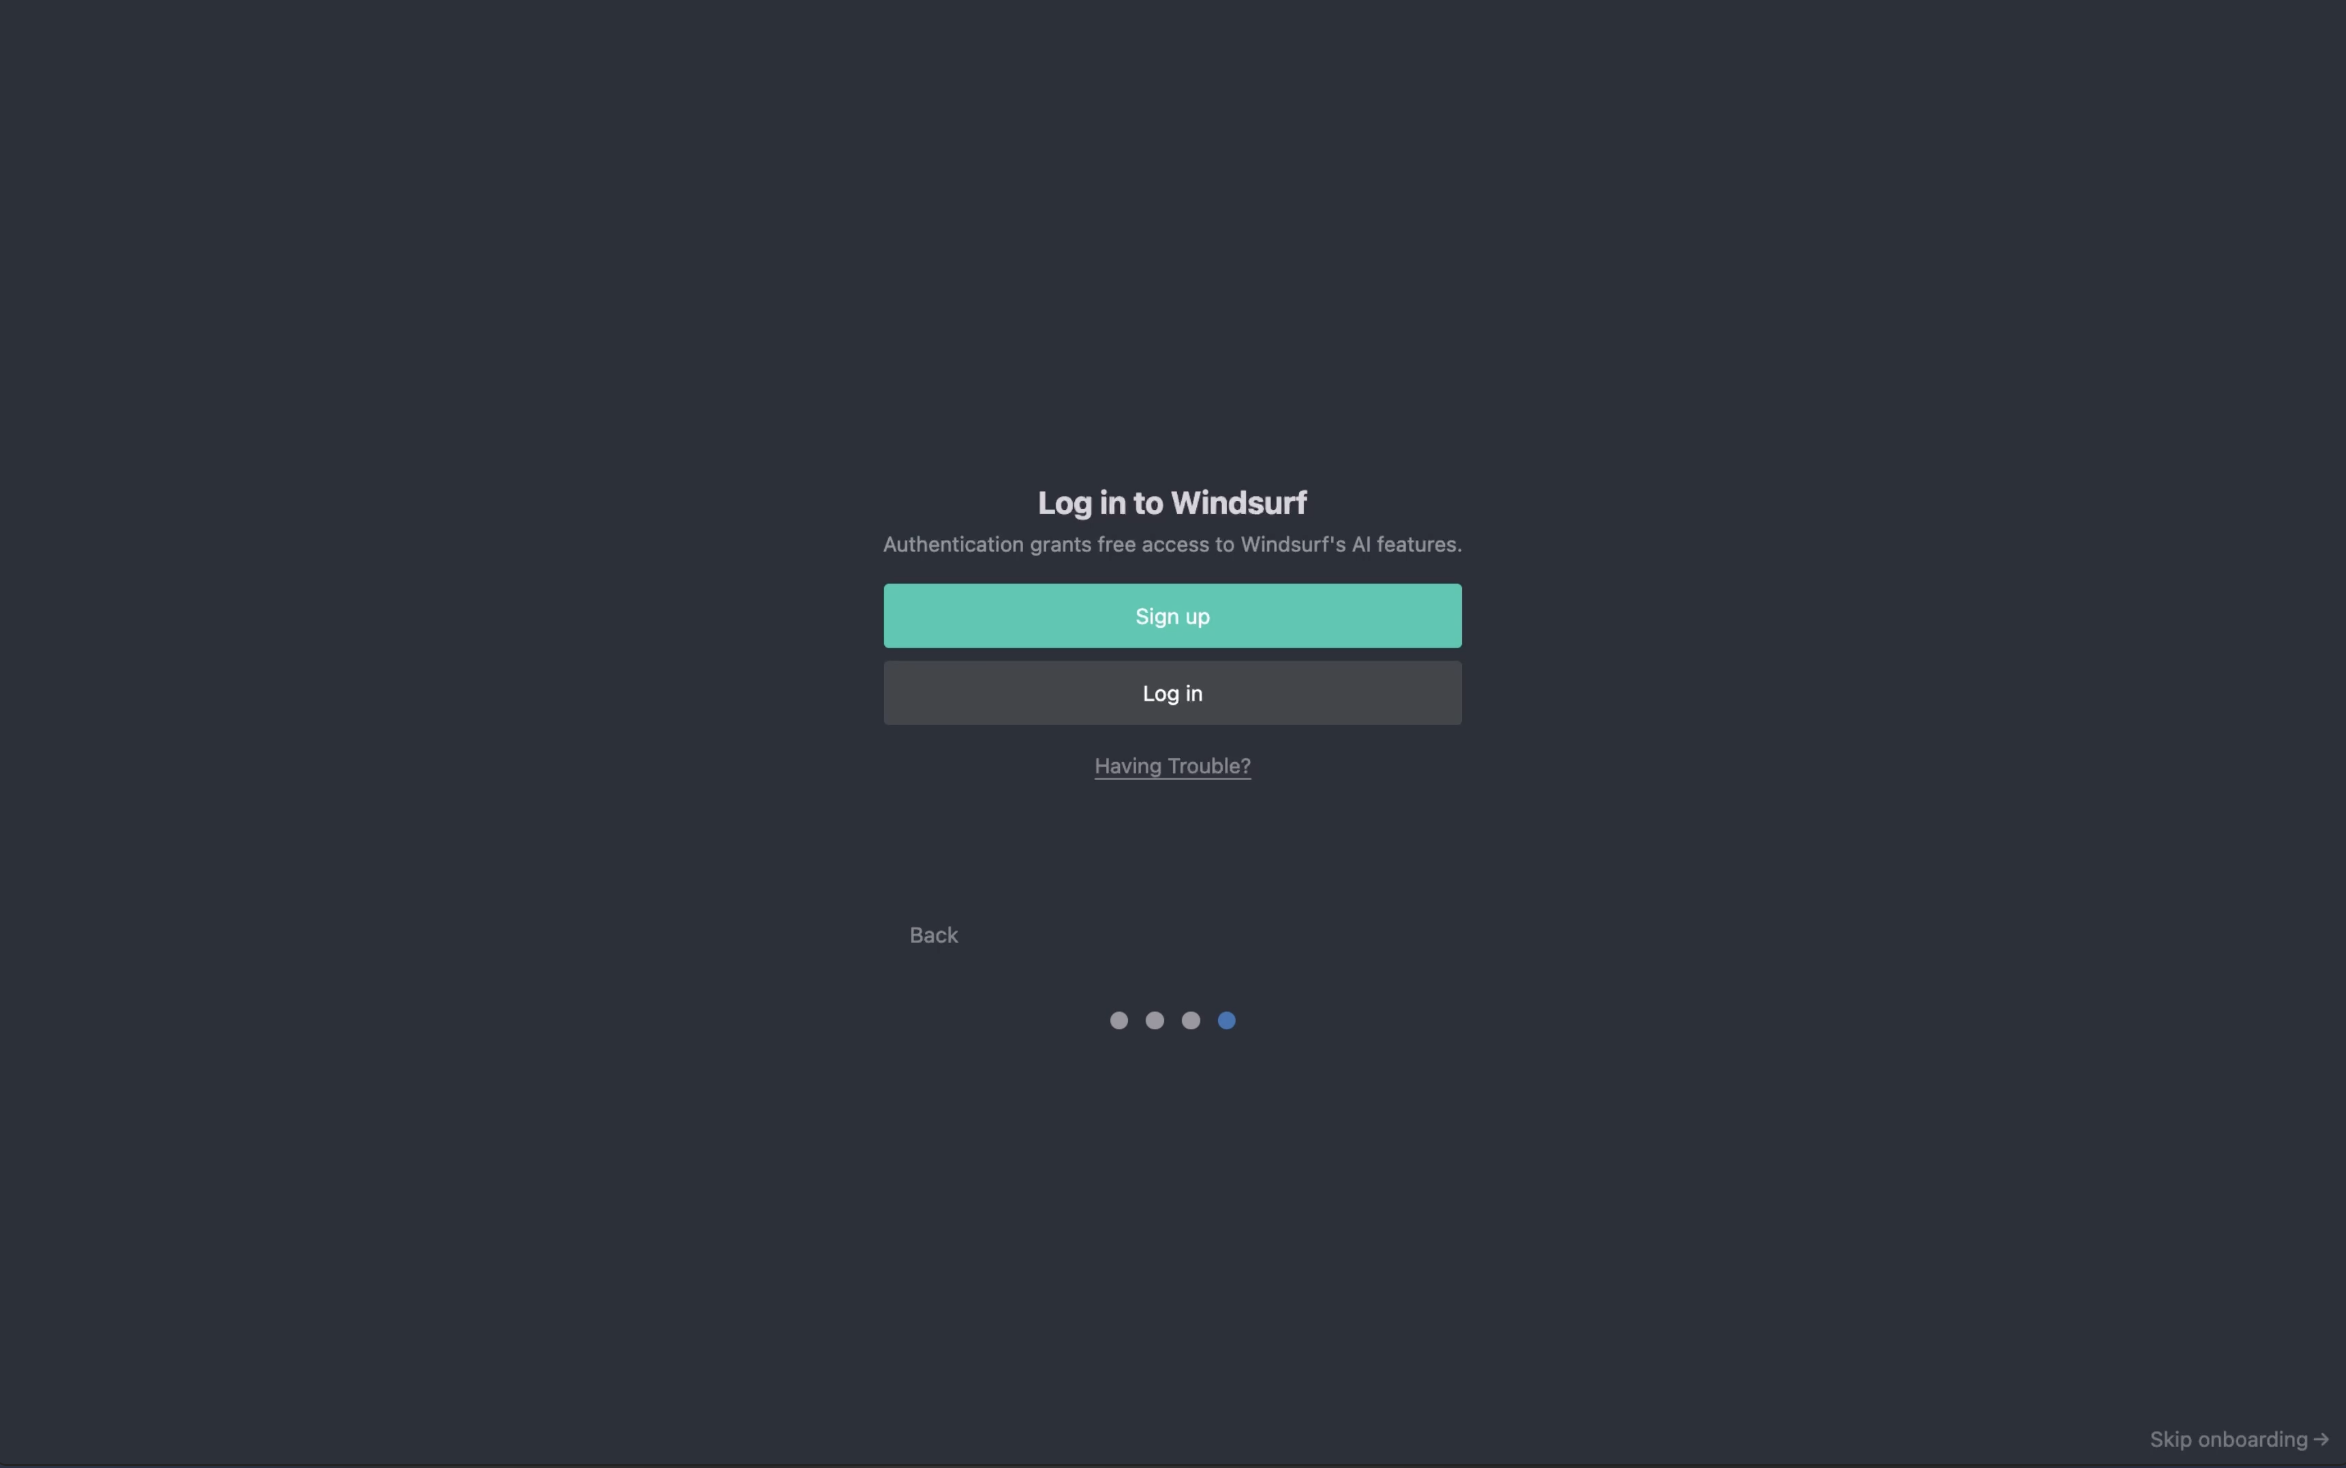 認証が完了すると、このページが表示されます。「Open Windsurf」をクリックすれば準備完了です。

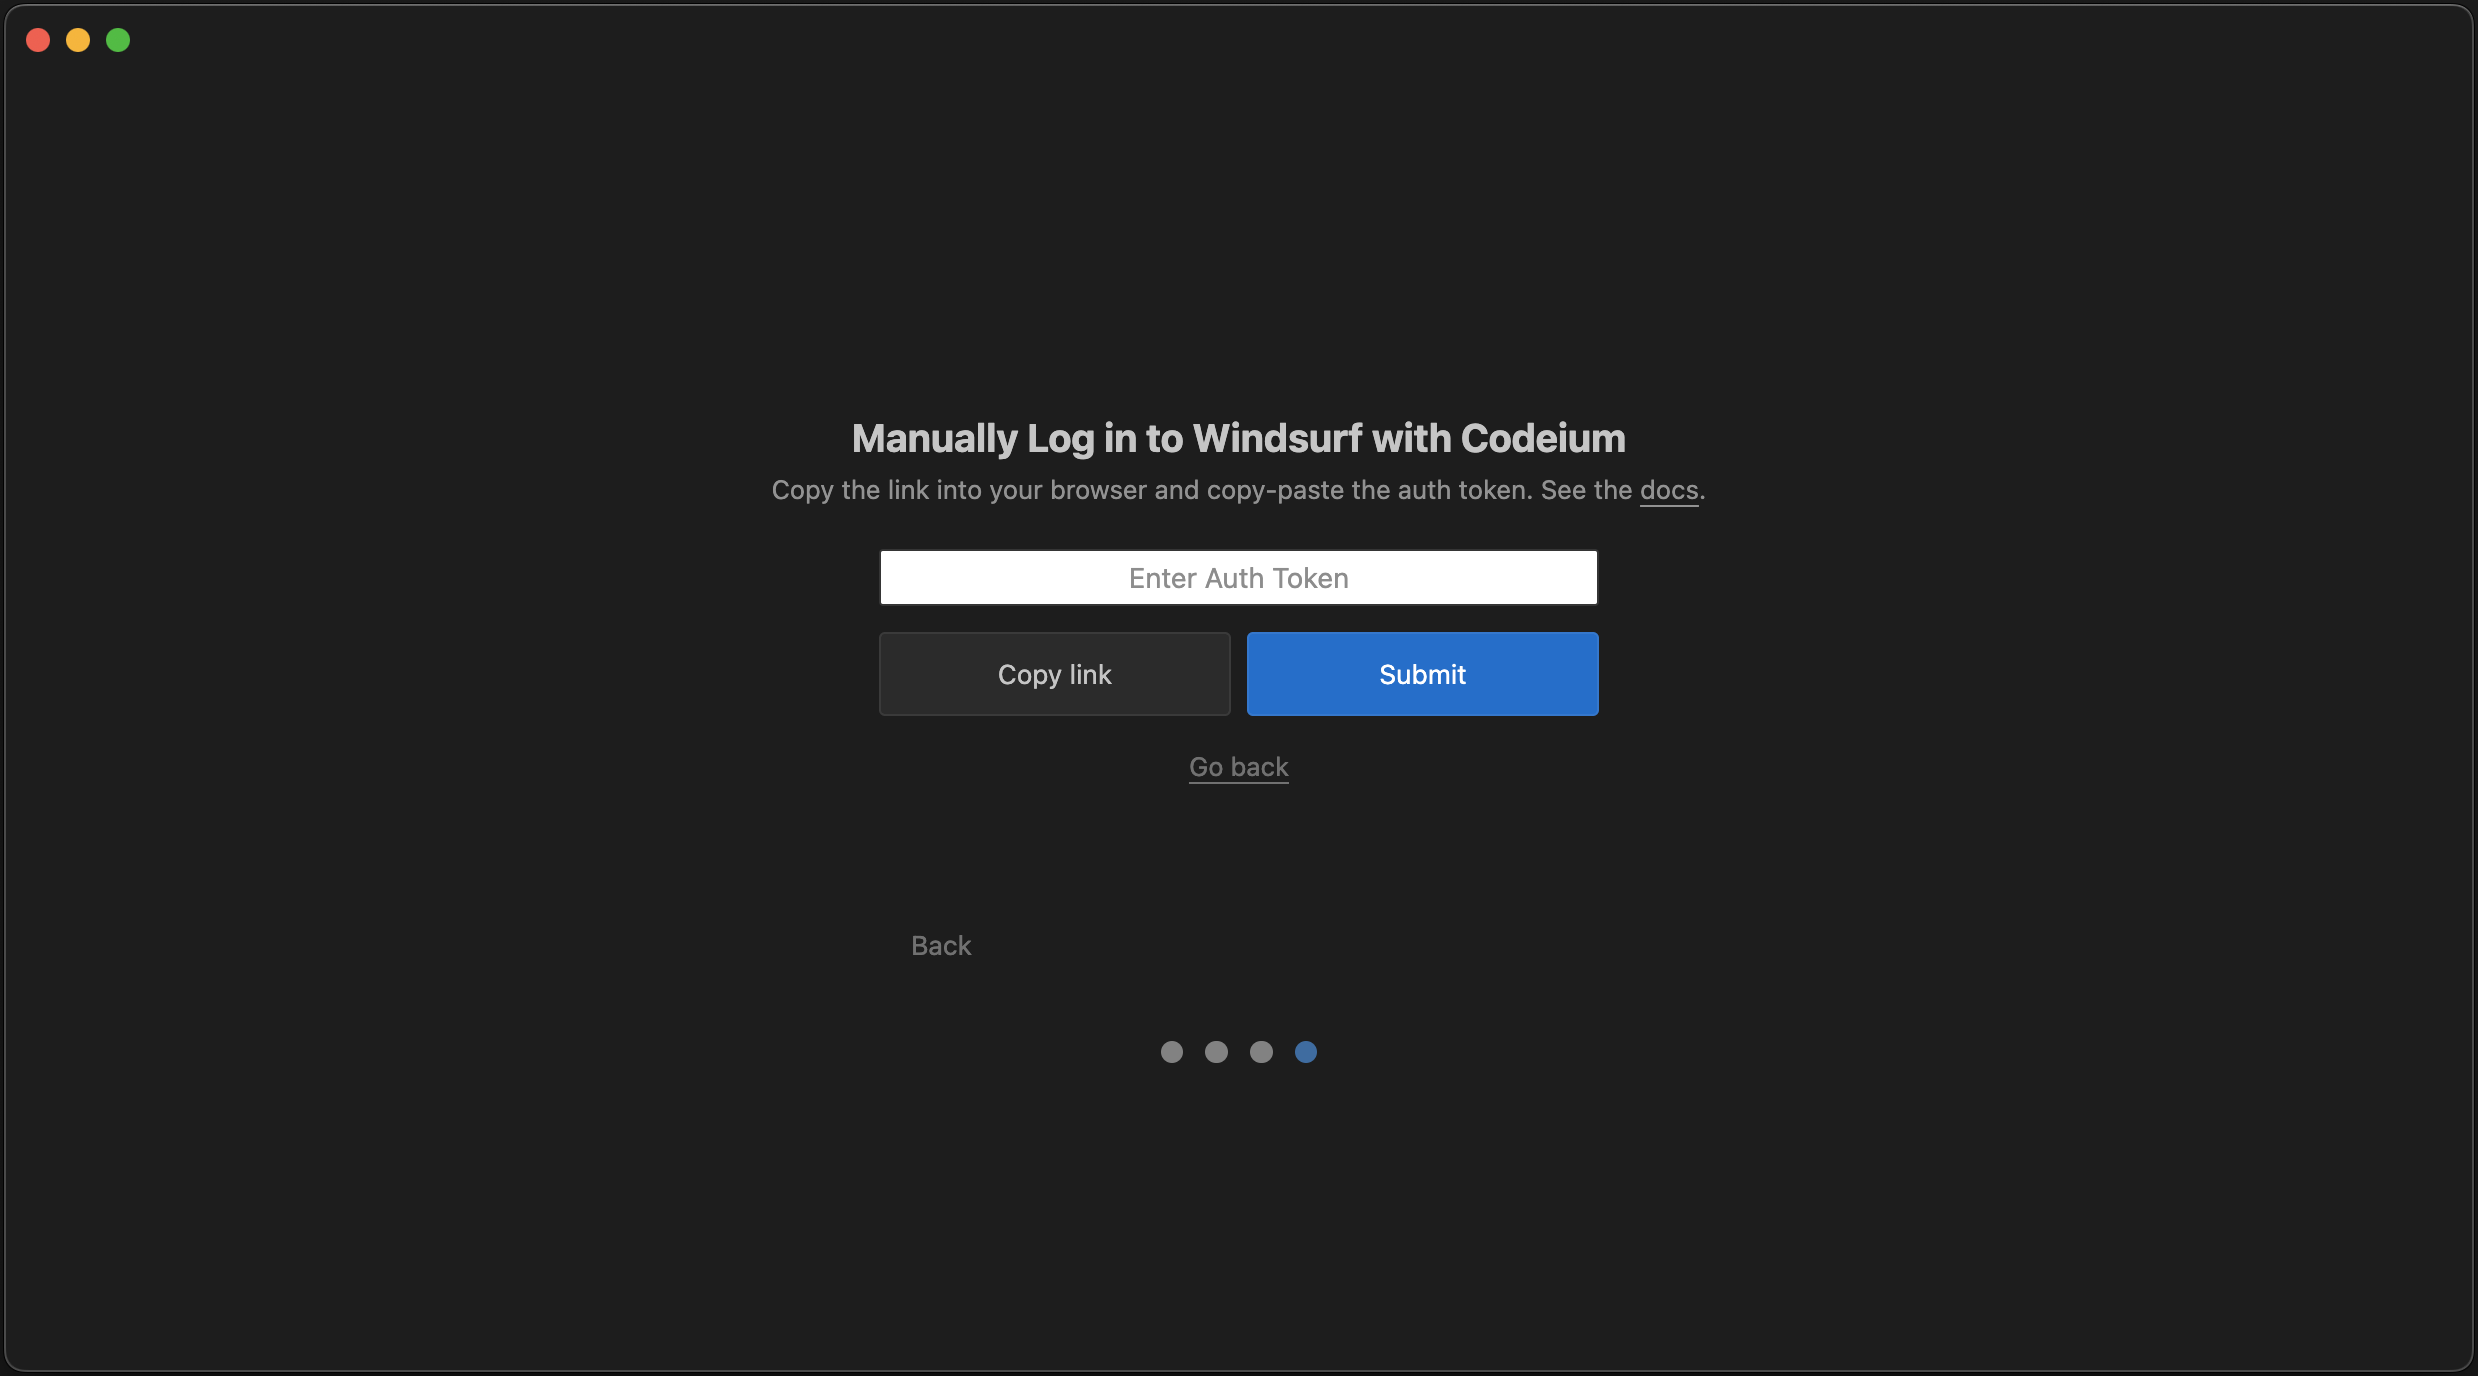
 このボタンが表示されない場合は、次のいずれかを実行してください:
1. プロフィールアイコンのドロップダウン > Check for Updates をクリック
2. コマンドパレット (`Cmd/Ctrl+Shift+P`) > 「Check for Updates」
このボタンが表示されない場合は、次のいずれかを実行してください:
1. プロフィールアイコンのドロップダウン > Check for Updates をクリック
2. コマンドパレット (`Cmd/Ctrl+Shift+P`) > 「Check for Updates」
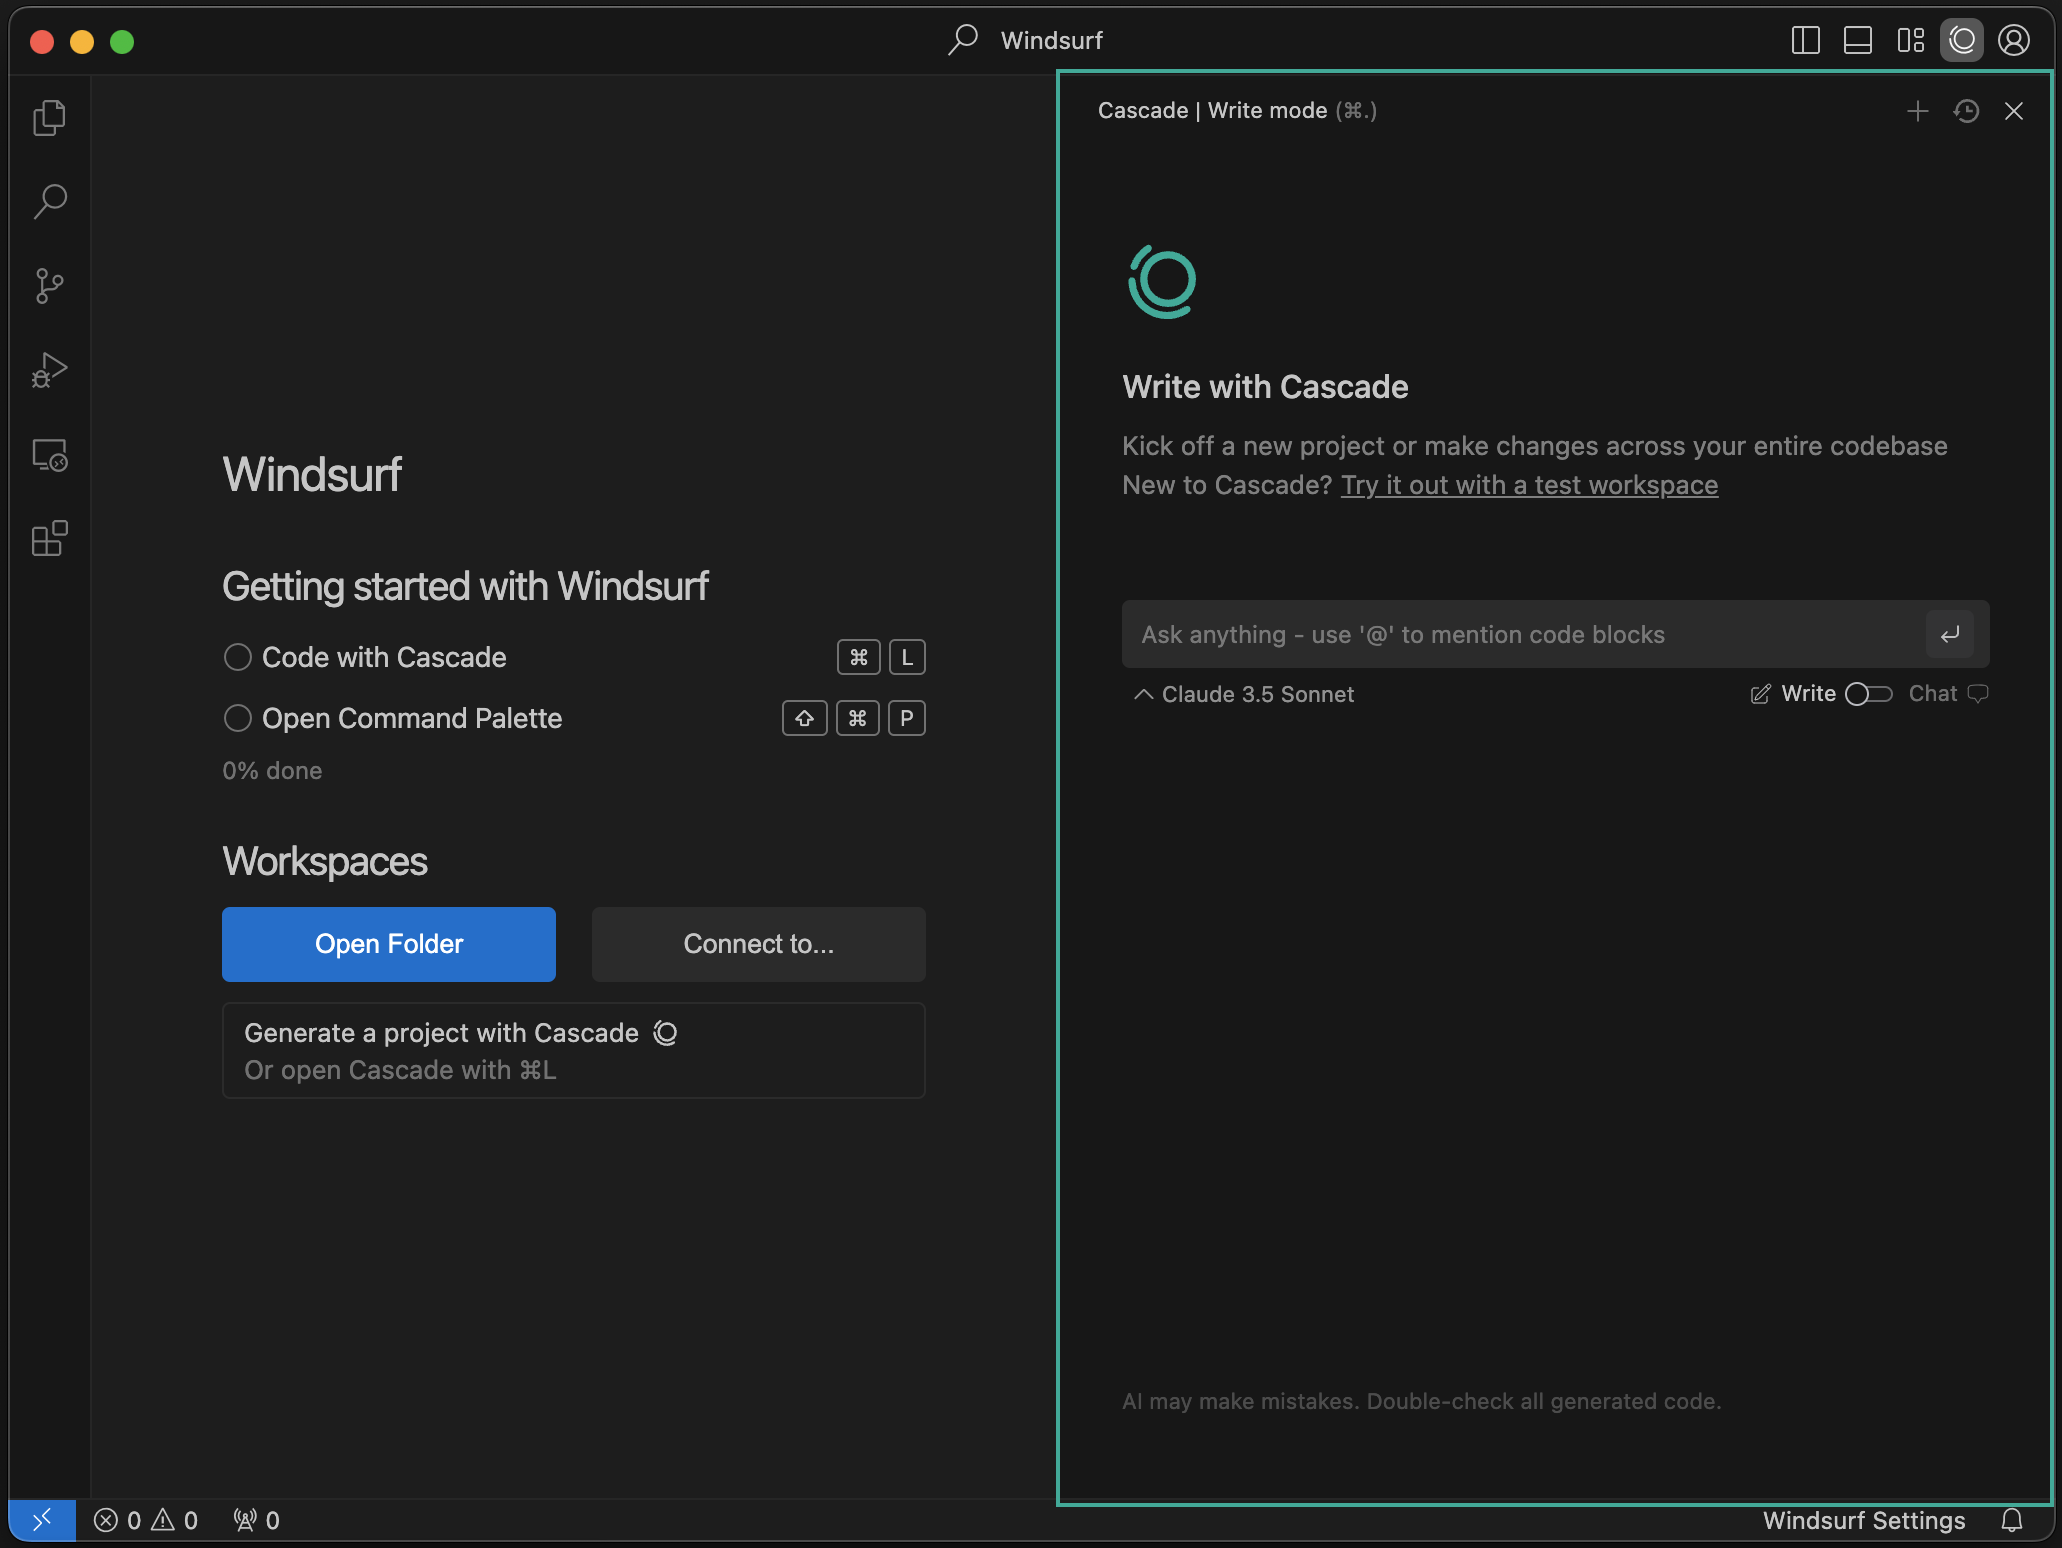 IDE の右側に「Cascade」という新しいパネルが表示されています。これは AI 搭載のコードアシスタントです。Cascade では Chat、コードの作成、実行が行えます。仕組みの詳細は[こちら](/ja/windsurf/cascade)をご覧ください。
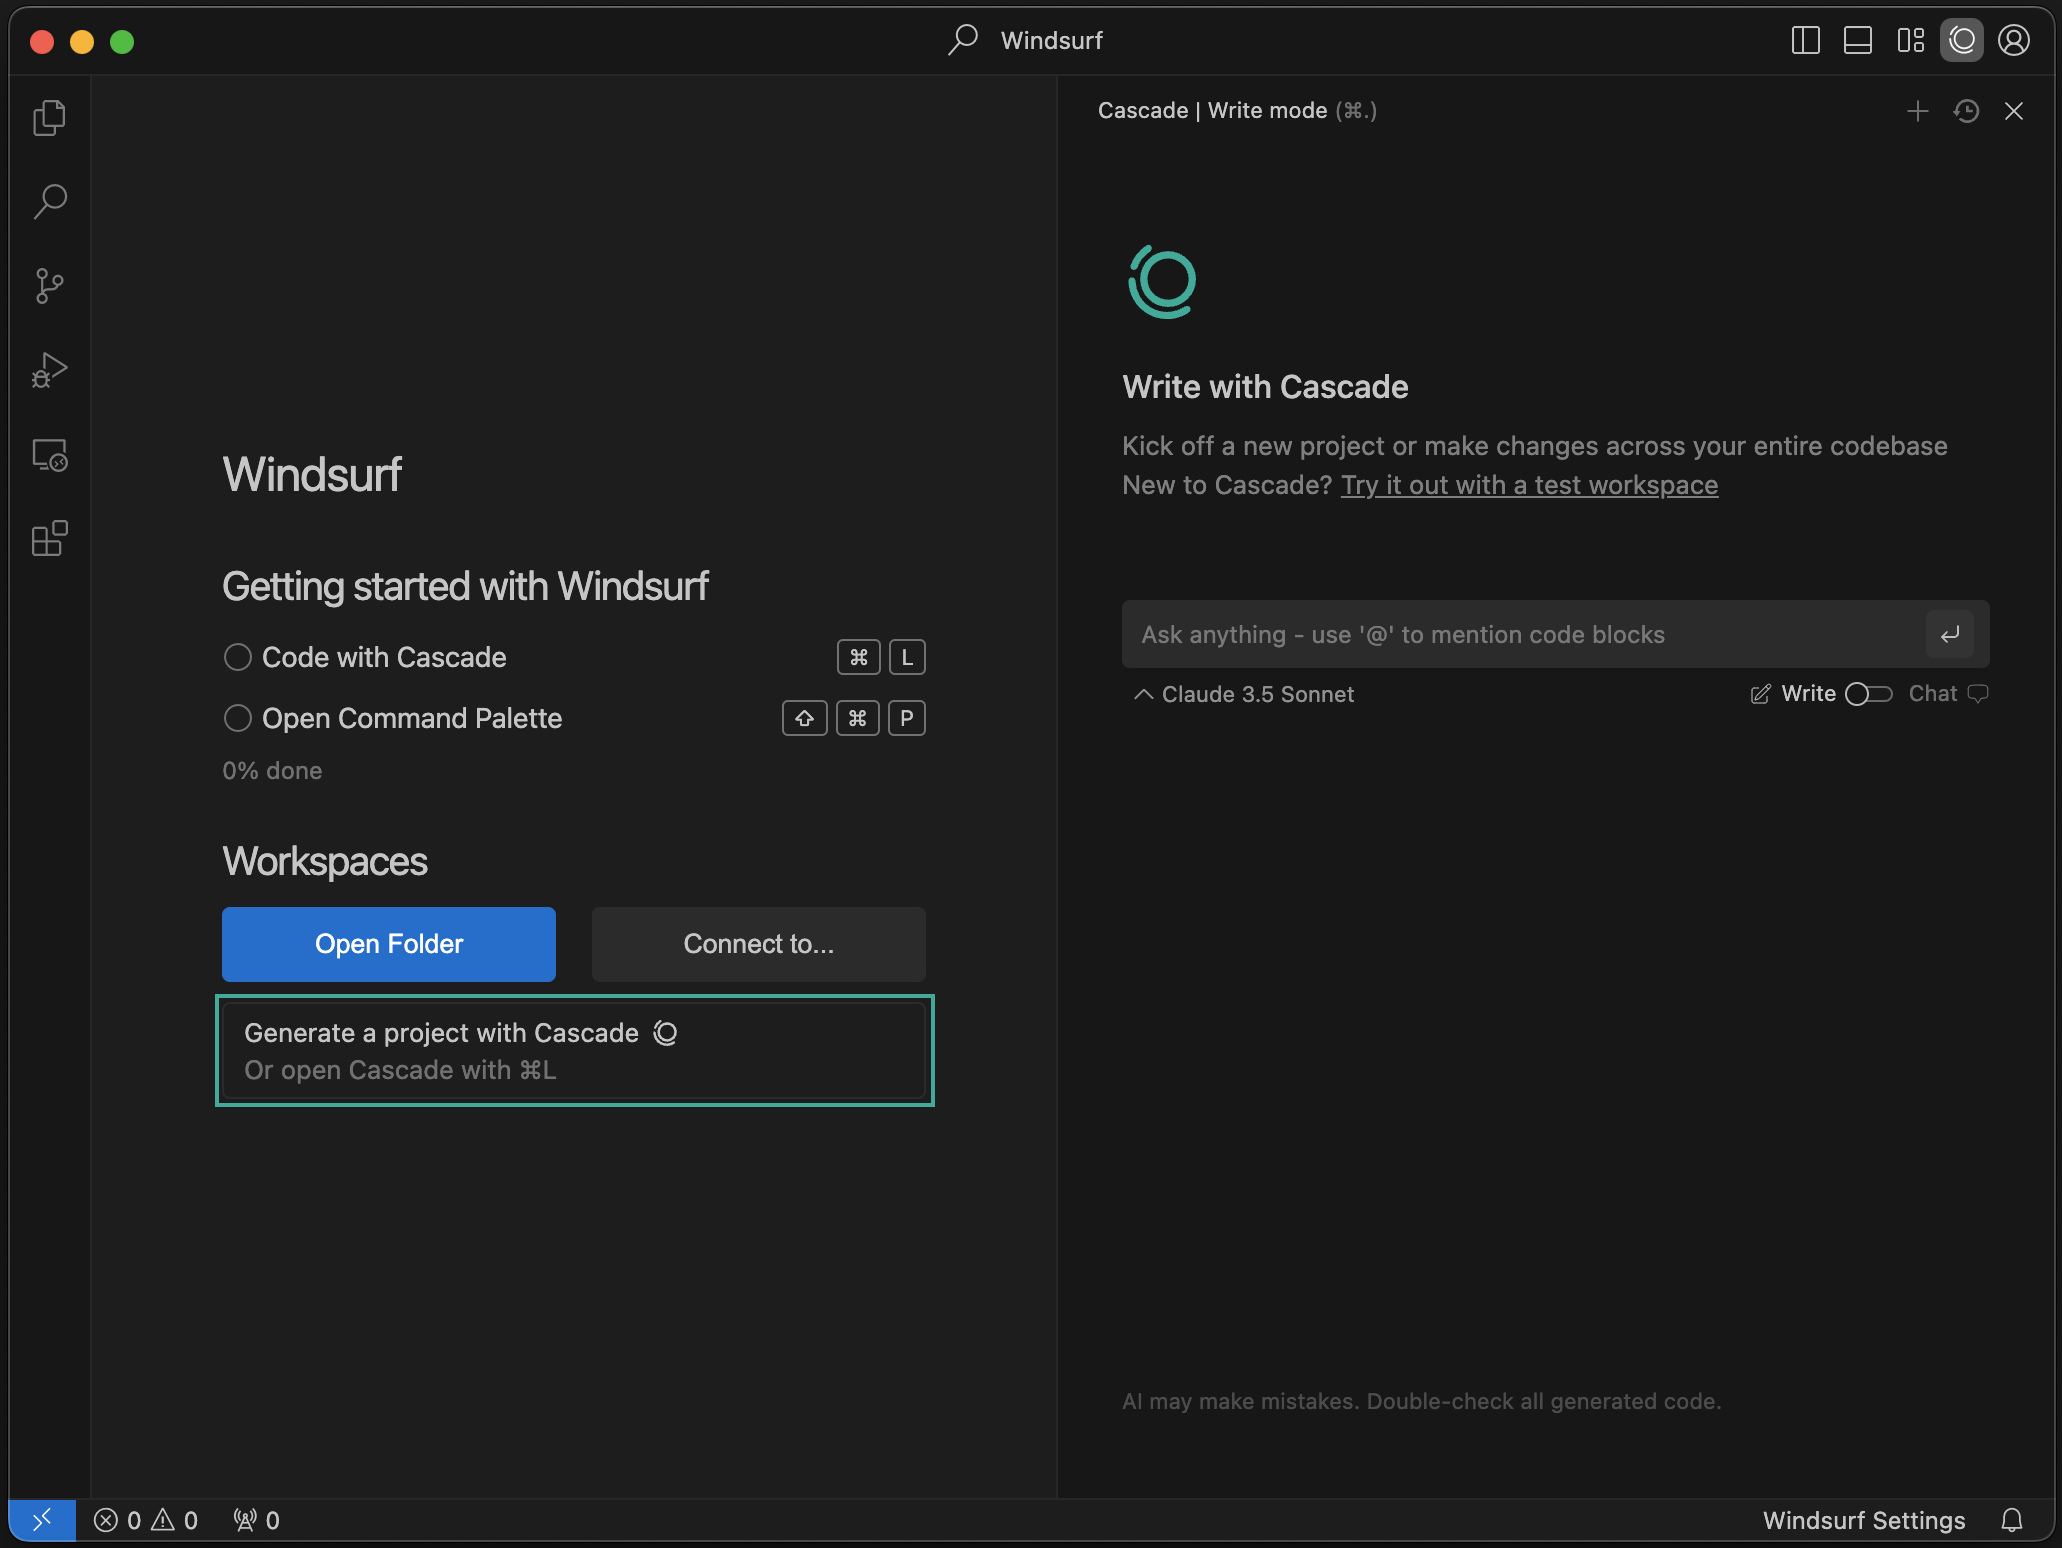 Cascade を使って新しいプロジェクトを作成できます。「New Project」ボタンをクリックして始めましょう。
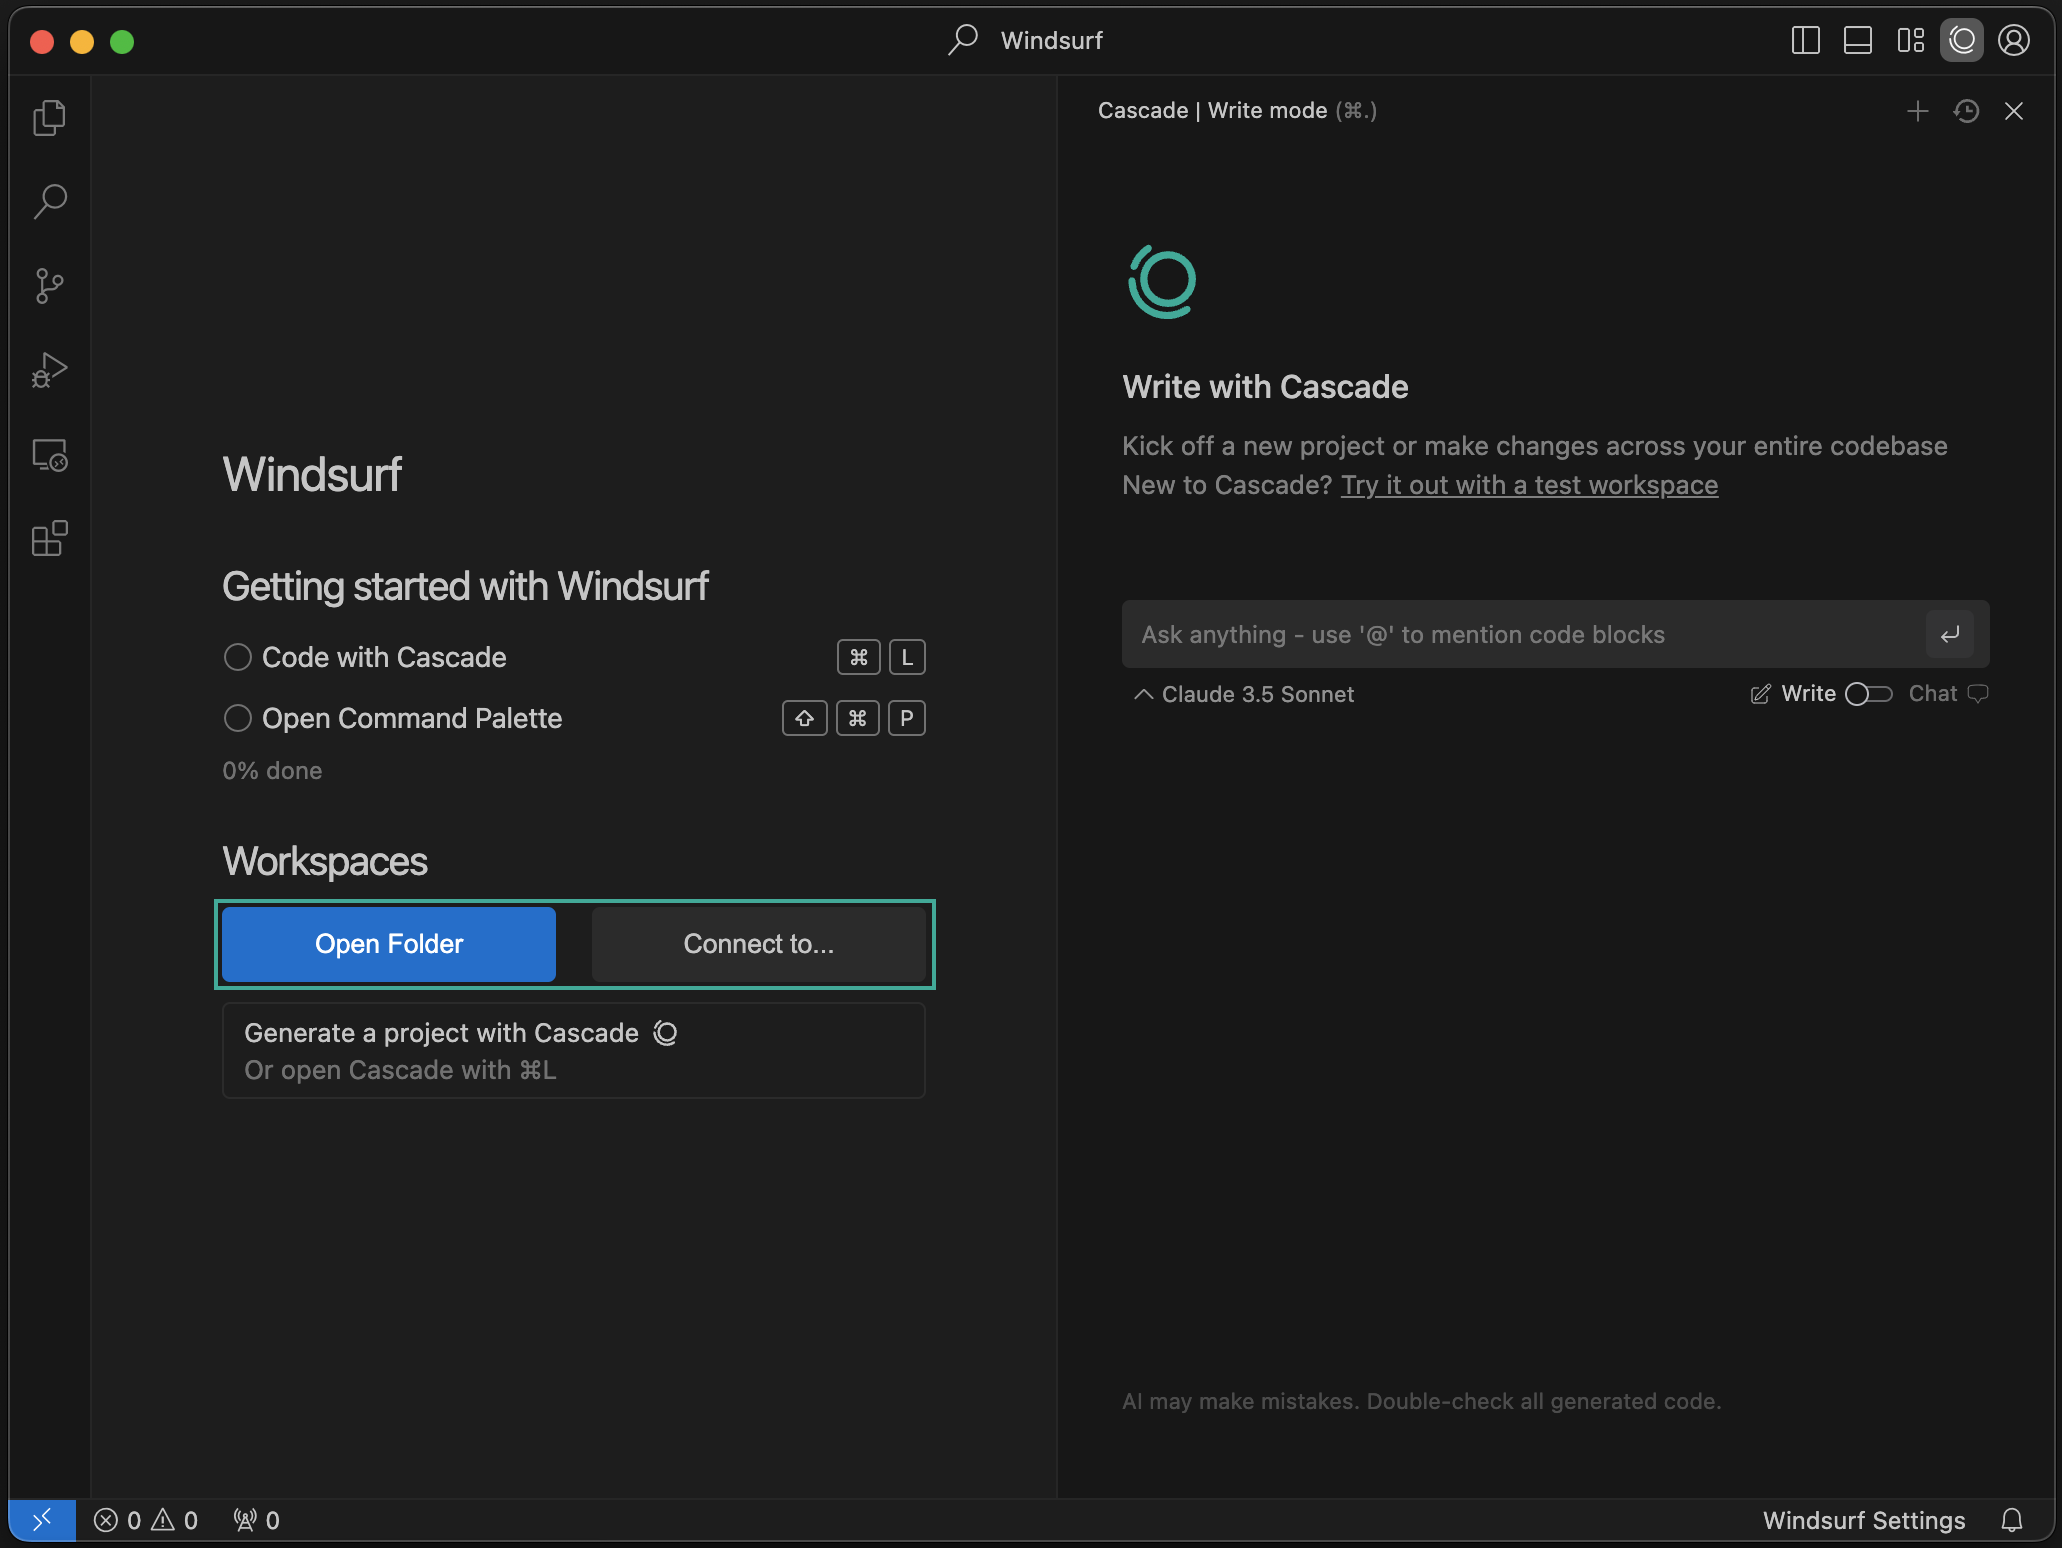 フォルダを開くか、SSH やローカルの開発コンテナ経由でリモートサーバーに接続できます。詳細は[こちら](/ja/windsurf/advanced)をご覧ください。
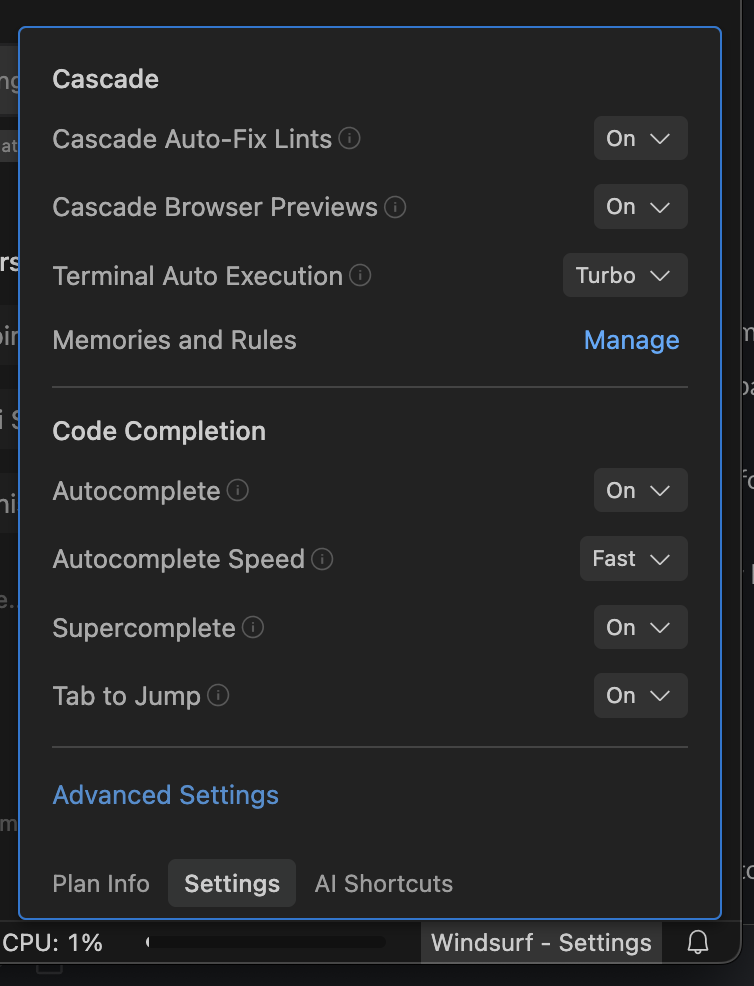 右下の「Windsurf - Settings」ボタンをクリックすると設定パネルが表示されます。高度な設定にアクセスするには、このパネル内のボタンをクリックするか、右上のプロフィールのドロップダウンで「Windsurf Settings」を選択します。
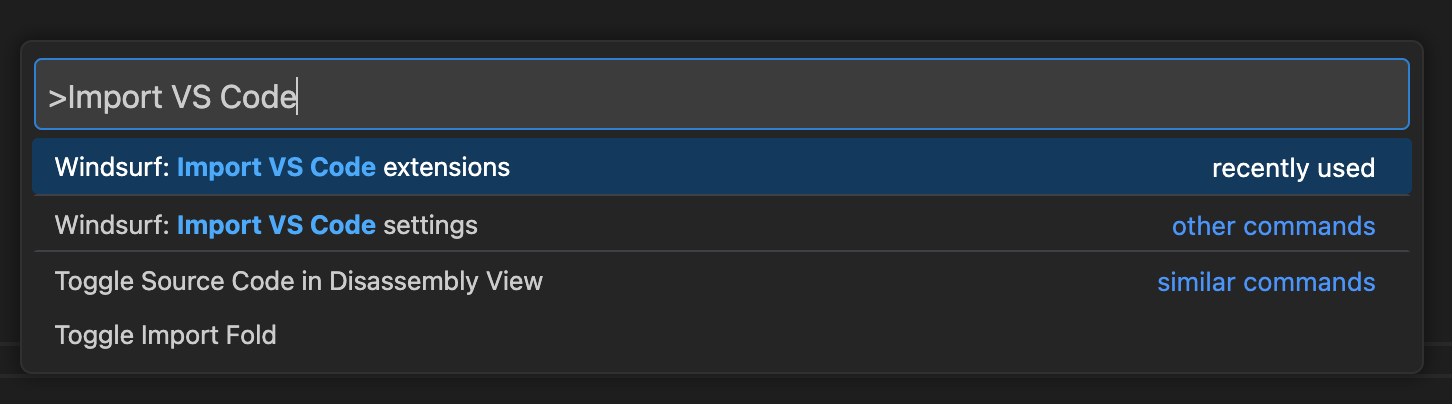
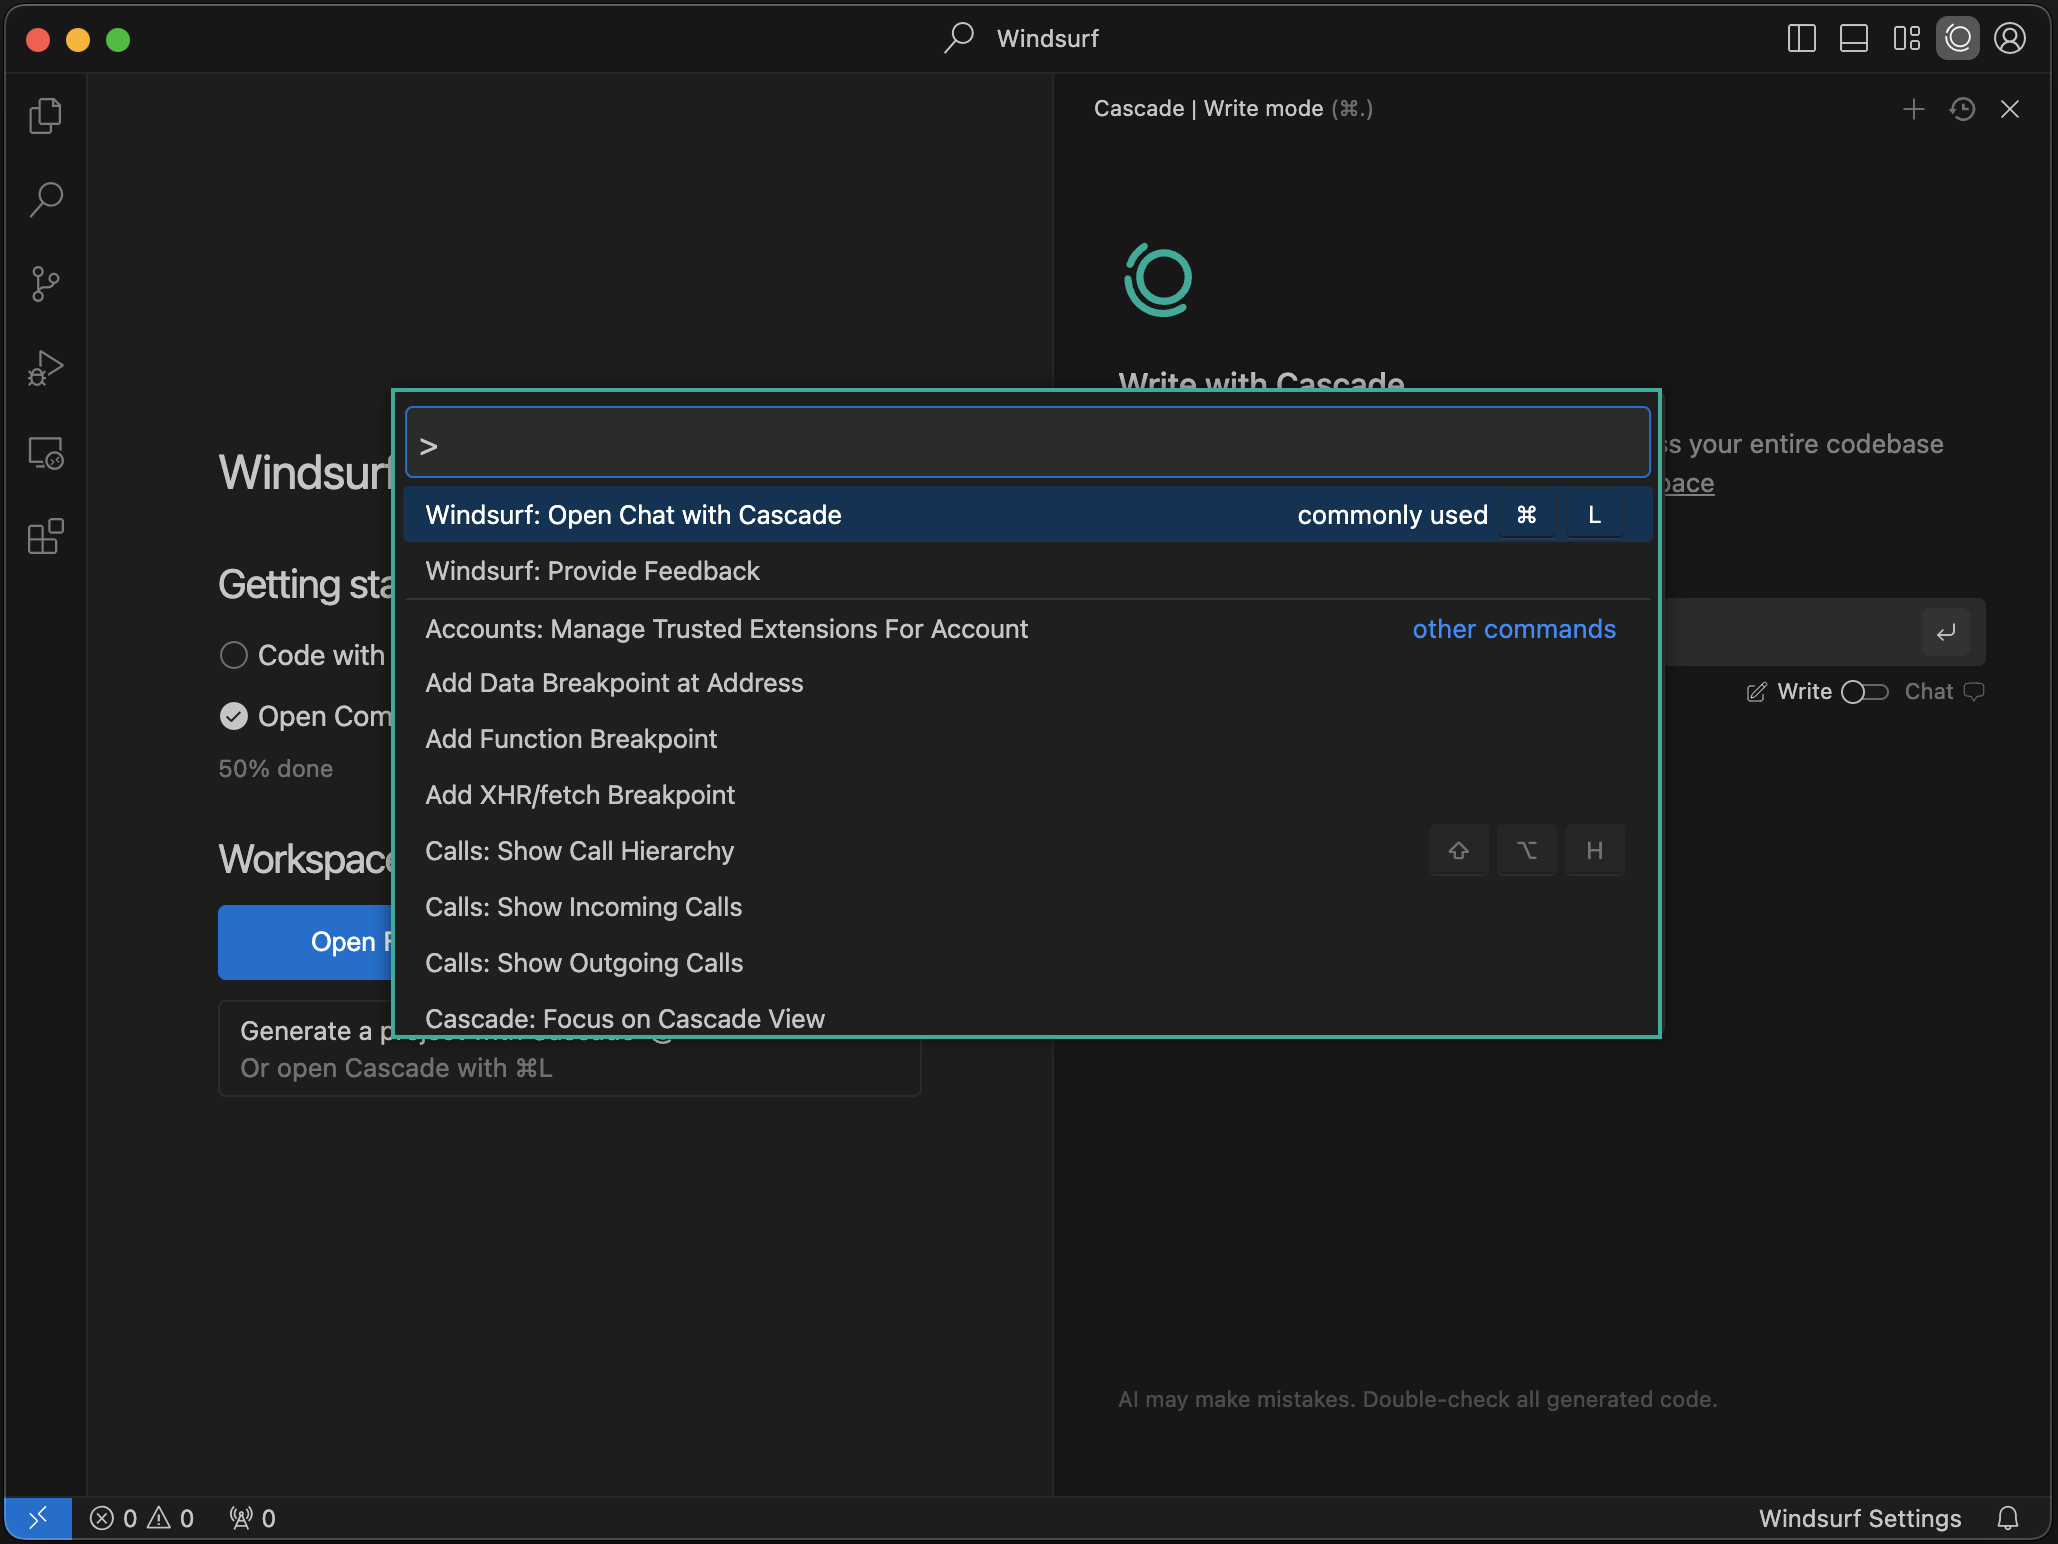 コマンドパレットは `⌘+⇧+P` (Mac) または `Ctrl+Shift+P` (Windows/Linux) のショートカットで開けます。利用可能なコマンドを試してみましょう。